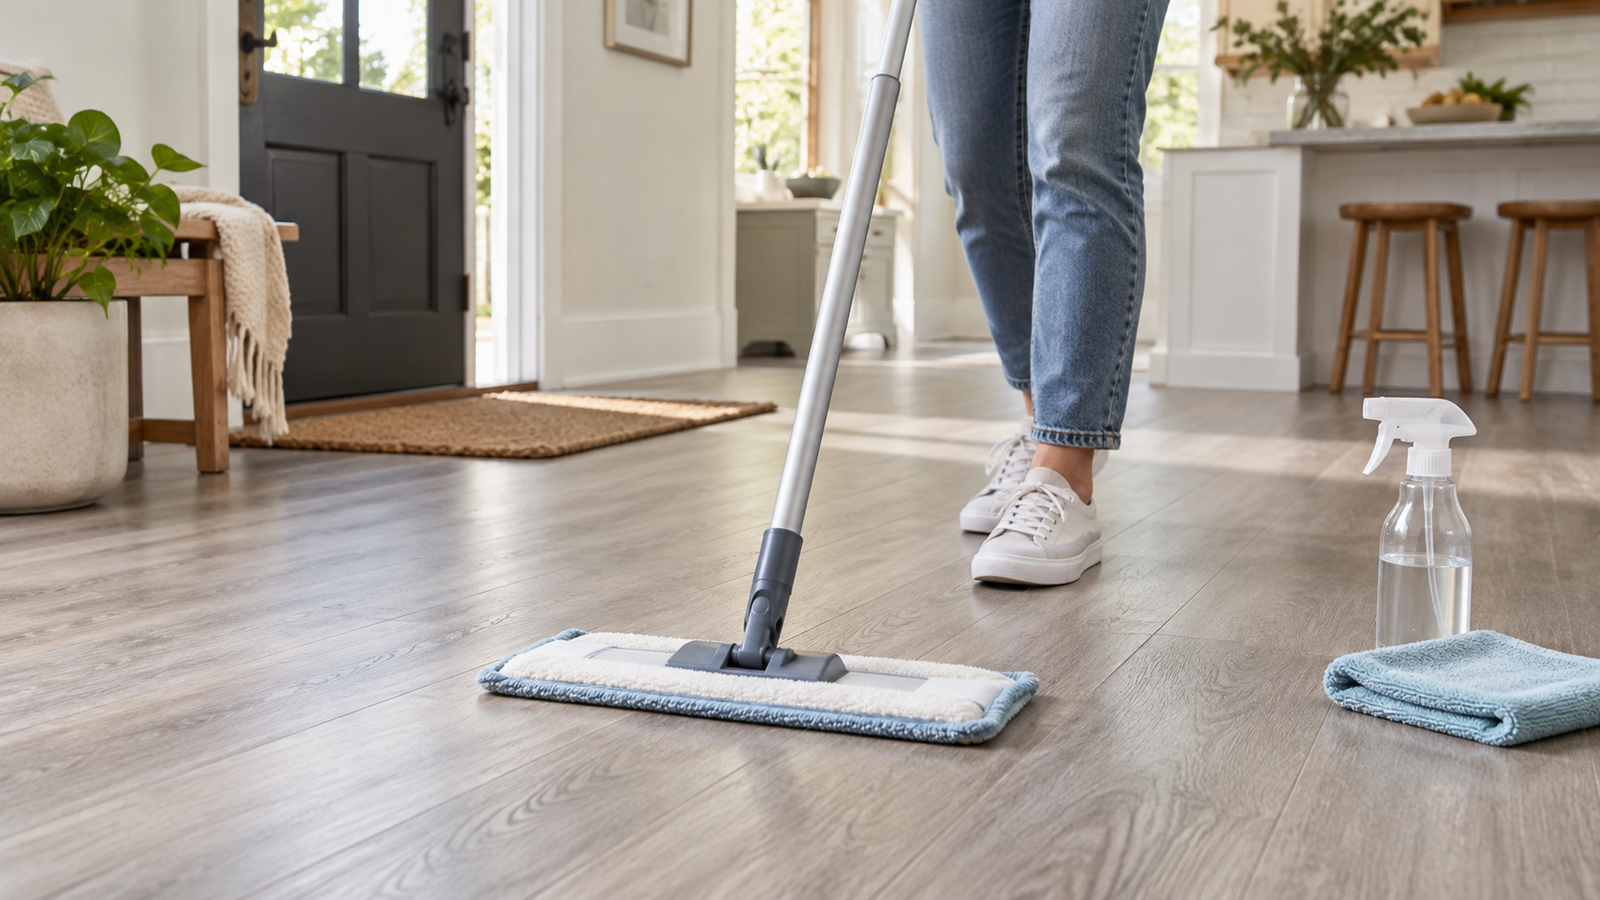
How to Clean Vinyl Floors Without Leaving a Film or Damaging the Finish
Vinyl floors are safest to clean with the least aggressive method that your flooring maker allows: remove grit first, then use a lightly damp microfiber mop and a neutral-pH vinyl-floor cleaner if the care guide calls for one. Do not assume that a popular vinegar, steam, wax, or heavy-water method is safe for every vinyl floor. Shaw’s current vinyl guidance, for example, says to avoid abrasive, ammonia-based, vinegar-based, and harsh products, and to check the product’s care guide.
Safety first
Never mix cleaners. Do not use bleach after ammonia, vinegar, alcohol, or an unknown cleaner residue. Keep children and pets away until the floor is dry, and follow the cleaner label’s ventilation and dilution directions.
Quick answer
Use the mild method until you know the floor
Remove grit first. Then, only if the care guide allows it, use a clean microfiber mop that is lightly damp with a vinyl-safe neutral-pH cleaner. Do not soak the floor, use a steam cleaner, or rely on a popular home remedy when you do not know the product or finish.
Updated October 22, 2026: Added a small-area check for cleaning film, separate rinse/no-rinse instructions, dry-result decisions, and a newly installed floor precaution.
Already mopped, but the floor is sticky or streaky? Go to the after-mopping check. For ordinary loose dirt and spills, use the regular cleaning steps.
First: decide what the floor needs
| What you see | Start here | Do not jump straight to |
|---|---|---|
| Dust, crumbs, pet hair, or tracked grit | Dry microfiber mop, soft broom, or vacuum on the hard-floor setting | A wet mop that turns grit into slurry |
| Normal dullness or light soil | Dry-clean first, then use a well-wrung microfiber mop and the cleaner named in the care guide | Soaking the floor or applying more product than the label calls for |
| A fresh spill | Blot with a clean, soft, absorbent cloth; check the maker’s spill instructions | Scrubbing with an abrasive pad or an unknown solvent |
| Material or finish is unknown | Find the product name, a leftover plank, invoice, or building information; use only dry cleaning until you know | Steam, vinegar, bleach, wax, or a strong spot cleaner |
| Lifting edges, open seams, curling, or water getting under the floor | Stop routine wet cleaning there and identify the moisture source | Trying to force water or cleaner into the gap |
Why the mild method matters
Luxury vinyl, sheet vinyl, and older resilient floors do not all have the same wear layer, seam construction, or manufacturer care rules. The safest general advice is deliberately simple: remove loose grit, keep wet cleaning controlled, and use product-specific instructions when you can find them.
Shaw recommends vacuuming or dusting before wet cleaning and using a neutral-pH cleaner for its luxury vinyl. Mohawk’s SolidTech R care guide advises a soft-bristle broom, a mop moistened with warm water, and a nonabrasive neutral-pH cleaner for that product line. Their detailed spill advice is product-specific, so use the guide for your own floor as the final authority.
What you need
- A dry microfiber dust mop, soft broom, or vacuum with a hard-floor setting
- A clean microfiber flat mop and spare pad
- A clean, soft white cloth for spills or a small test spot
- A vinyl-safe, neutral-pH cleaner only when your flooring maker permits or recommends it
- Your flooring’s product name, care guide, or warranty page if available
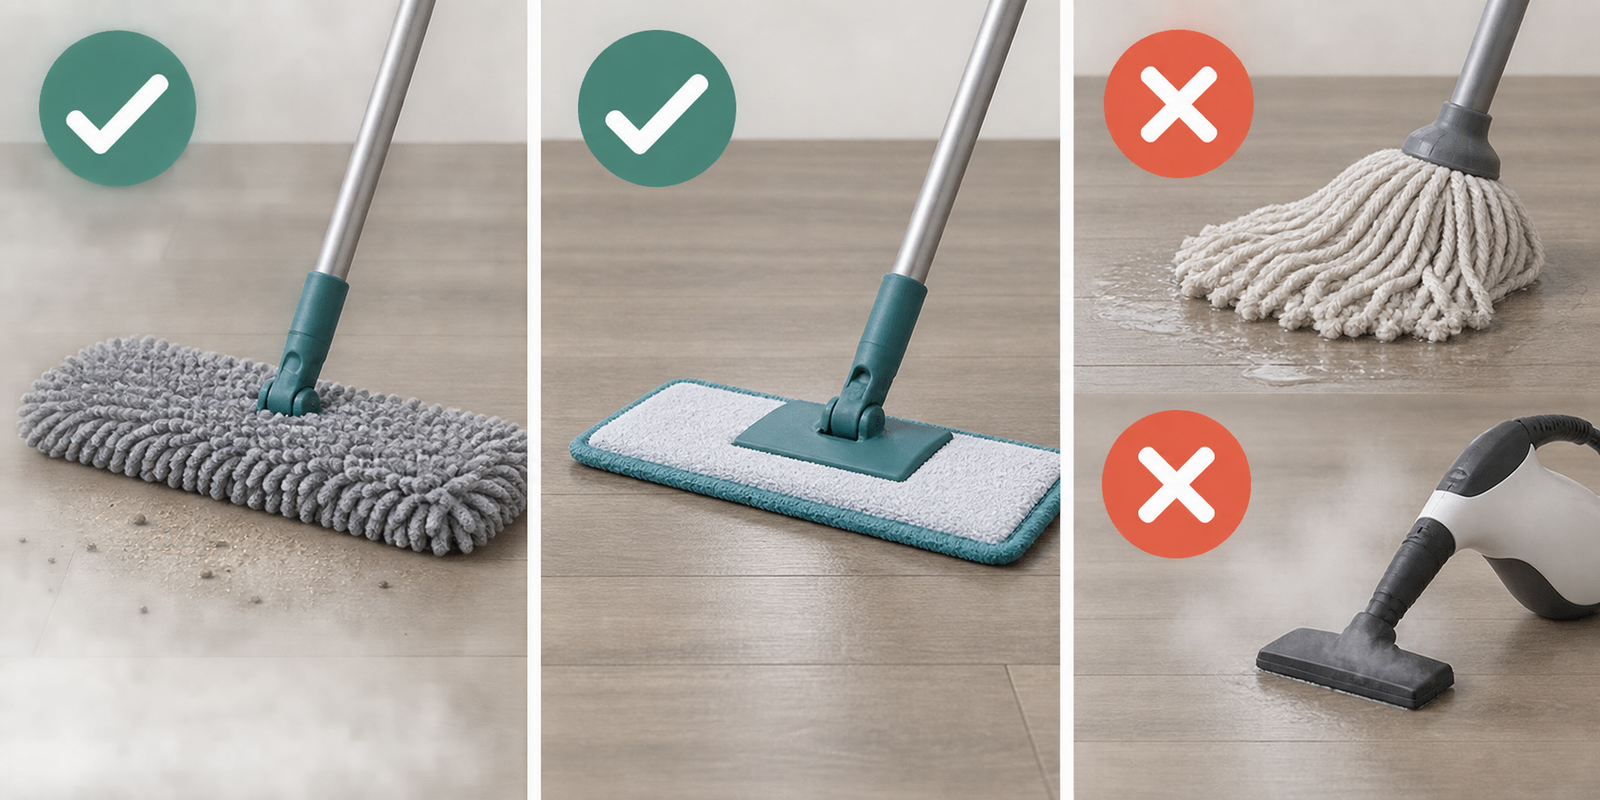
How to clean vinyl floors safely
1. Find the care instructions when possible
Look for a box label, invoice, product name, plank code, or the builder’s flooring record. Search the exact name plus “care and maintenance.” If you rent and cannot identify the floor, ask the property manager before trying a stronger cleaner or a steam appliance.
Shaw’s vinyl guide says to avoid vinegar-based, ammonia-based, abrasive, and harsh products on its luxury vinyl. Its resilient-vinyl guidance also warns that steam can contribute to expansion, wrinkles, or glue-bond problems. Do not turn a brand-specific exception into a universal rule for every vinyl floor.
If the floor was just installed, check the installer’s initial-care instructions before wet cleaning. Adhesives, seams, and grouted products can have different waiting periods. Armstrong separates new-installation care by product type; do not borrow a waiting period from another floor.
2. Remove grit before any damp cleaning
Sweep, dust-mop, or vacuum first. If you use a vacuum, use the hard-floor setting and avoid a rotating beater bar unless your floor maker specifically says it is suitable. Mohawk’s SolidTech R guide and Shaw’s vinyl-care guidance both include this precaution for their respective floors.
Work along plank lines and around entryways, pet bowls, and chair areas where grit collects. Empty or change the microfiber pad when it is visibly loaded; otherwise you may move abrasive particles across the finish.
3. Test a cleaner before using it across the room
Use only a cleaner that the manufacturer names or allows. If the care guide permits a vinyl-safe cleaner but does not name one, test it in a hidden corner first, following its label exactly. Let the spot dry fully and check for dulling, stickiness, color change, or a residue line before you use it on the main floor.
Skip homemade formulas unless the care guide for your exact product approves them. A remedy that works on one floor can leave film or affect another finish.
4. Use a lightly damp microfiber mop, not a soaking mop
Wet the pad as directed by the cleaner label, then wring it well. The pad should be damp enough to lift ordinary soil, not wet enough to leave puddles or push water into joints, seams, or the perimeter. Clean one manageable section at a time.
Shaw says not to drench its vinyl with water and advises speeding drying if rinsing becomes necessary. If the floor still looks wet after you finish a small section, pause and use less liquid. A clean dry microfiber cloth can pick up excess moisture where your product instructions allow it.
5. Treat a spill as a spot-cleaning job
Blot a spill instead of grinding it into the surface. Start with a soft, damp white cloth and the treatment the floor maker specifies. Do not use a scouring pad, steel wool, a powdered abrasive, or a knife to chase a mark.
For paint, ink, grease, dye, or another stubborn substance, look up the exact spill in the manufacturer guide. If the product is unknown, do not guess with a solvent.
6. Let the floor dry before replacing rugs or furniture
Let the cleaned section dry completely. Use only rugs and protectors that your flooring maker allows; Shaw notes that some latex or rubber backings can discolor its luxury vinyl. Lift furniture instead of dragging it. Mohawk’s SolidTech R guide also advises nonstaining floor protectors under heavy furniture or appliances.
When a vinyl floor looks sticky, streaky, or dull after cleaning
Do not solve streaks by adding more cleaner. A dirty pad, excess product, an incompatible coating, or a changed surface can give a poor result; appearance alone does not identify the cause. Keep people and pets off a wet or slippery area while you check.
1. Check the product before treating the floor again
Set aside the newest cleaner and read its label alongside the floor’s care guide. Is it ready to use or a concentrate? If dilution is required, measure the labeled amount rather than adding an extra splash. Do not dilute a ready-to-use product unless its instructions say to. If you cannot identify the floor or the product already on it, stop chemical treatment and ask the maker or installer for a compatible recovery method.
2. Choose the permitted small-area route
Remove loose grit and replace the dirty mop pad with a clean one. Start in a small, inconspicuous area. Follow the maker’s cleaning or residue-removal instructions, including any required rinse. Only use a clean-water, well-wrung-pad pass if that method is permitted for your floor; do not flood the area or introduce another cleaner over an unknown residue.
Armstrong names a no-rinse cleaner for routine care of its vinyl, while Shaw advises faster drying when rinsing becomes necessary. A correctly used no-rinse product does not automatically need another wet pass. Neither instruction authorizes soaking an unidentified floor.
3. Judge the dry result before doing the whole room
Pick up excess moisture as the care guide allows and let the test area dry completely. Compare it with the adjacent untreated area under the same light. Do not judge a wet shine as success or walk over it to test slipperiness. Stop immediately if the test changes color or sheen, feels tackier after drying, or affects an edge.
- The dry test area looks clearer, without a new mark: continue only with that permitted routine, a clean pad, and controlled moisture. Change the pad when it loads with dirt.
- Haze, dullness, or a scratch-like mark remains: do not assume it is removable dirt. Take photos and ask the maker or installer before scrubbing harder or applying a shine product.
- Stickiness remains or returns: stop repeated mopping. Send the floor name, cleaner name, dilution used, and dry-test photos to the maker or installer; an unidentified film needs product-specific advice.
- An edge lifts, a seam opens, or water is getting underneath: stop wet cleaning there and address the moisture source with the landlord, installer, or appropriate professional. Do not lift planks or force liquid into the gap to investigate.
A routine-cleaning test is not a stripping or restoration procedure. Do not add wax, polish, stripper, solvent, or a stronger homemade mixture to chase the original sheen without approval for the exact floor.
What to avoid unless your own care guide explicitly permits it
- Steam cleaners or very hot wet-cleaning methods
- Soaking wet mops, puddles, or water forced toward seams and edges
- Abrasive pads, steel wool, powdered scouring cleaners, or wax polish
- Ammonia-based, vinegar-based, or harsh cleaners where the product guide says to avoid them
- A vacuum beater bar when your flooring maker advises against it
- Dragging furniture or using unknown rubber or latex-backed mats directly on the floor
Keep vinyl floors easier to clean
Put a suitable entry mat where outside grit comes in, clean spills promptly, and use pads or wide protectors under furniture. Follow the maker’s cleaning frequency rather than trying to restore shine by using more product. Shaw recommends weekly cleaning for its luxury vinyl, with more attention in high-traffic areas; your floor may need a different schedule.
If moisture is coming from windows rather than a normal spill, see Condensation on Windows? Find Out Where the Moisture Is First. Water that repeatedly reaches a floor edge needs a source check, not just another cleaning pass.
Questions about cleaning vinyl floors
Can I use vinegar on vinyl floors?
Do not assume it is safe. Shaw’s current luxury-vinyl care page says to avoid vinegar-based products. Follow the care instructions for your exact flooring product instead of relying on a universal vinegar recipe.
Can I use a steam mop on vinyl plank flooring?
Treat steam as off-limits unless the flooring maker specifically says otherwise. Shaw advises against steam on resilient vinyl because high heat can contribute to expansion, wrinkles, and glue-bond issues. Product construction differs, so your own guide controls.
Why does my vinyl floor still look dirty after mopping?
Start with the dry step. Grit, a dirty mop pad, excess cleaner, or an incompatible product can affect the result. Use a clean microfiber pad and the maker’s approved method. Stop and get product-specific help if the floor is tacky, cloudy, changing color, or lifting.