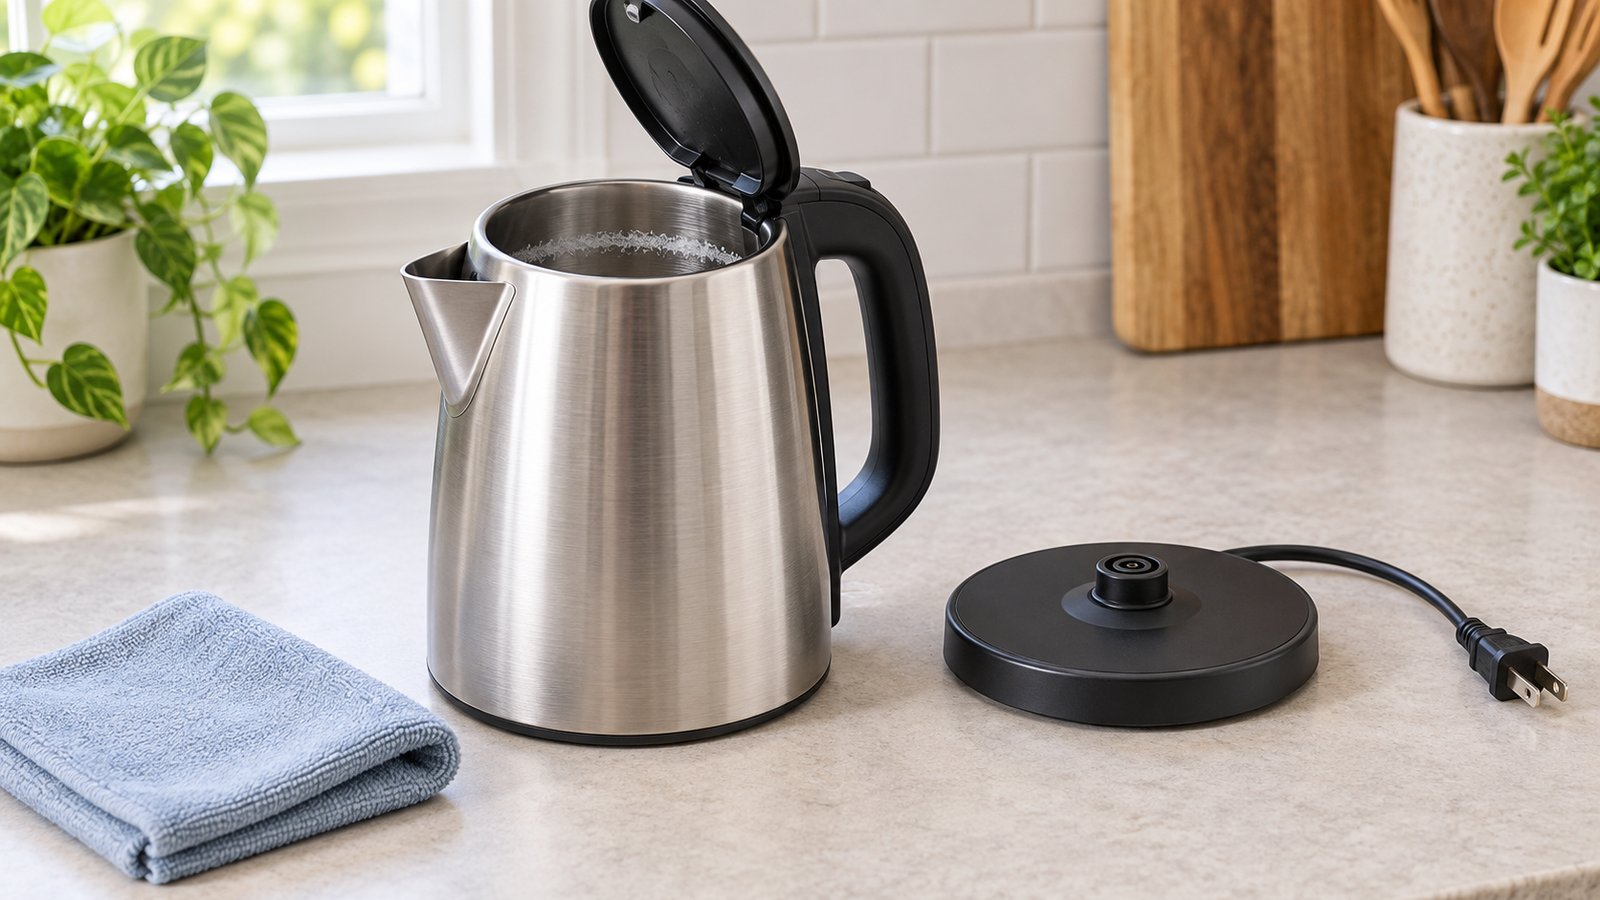
How to Clean an Electric Kettle Without Damaging It
Quick answer: Clean an electric kettle in two separate jobs: clean the cooled kettle body, then remove mineral scale only with the method your model allows. Keep the power base, cord, and plug dry. Do not treat a kettle like a pot that can be soaked or scrubbed with steel wool.
The important question is not simply which cleaner to use. It is whether you are looking at ordinary water marks, mineral scale, a removable filter, or a problem that cleaning will not fix. Manufacturer instructions vary: Fellow, KitchenAid, and Krups all publish different descaling ratios and timing for their own models. Your manual wins over a general recipe.
Updated October 22, 2026: Added a controlled descaling sequence, after-cleaning decisions, wet-electrical precautions, and a corrected safety illustration; improved the steps shortcut.
For mineral buildup, go to the model-led descaling steps. If you have already cleaned it but flakes, odor, or a fault remain, use the after-cleaning checks. Read the electrical warning below before either route.
Before you start: separate the kettle from the base
Safety first: For an intact kettle in a dry area, turn it off, unplug it with dry hands, let it cool completely, and empty it. Keep the base, cord, and plug away from the sink. If the plug, outlet, controls, or electrical connection are wet, do not touch or move the appliance to clean it; keep others away and get qualified help to isolate power safely. Do not use a kettle with a cracked cord, damaged plug, unexplained leak, smoke, or burning smell. For an active fire, leave the area and call emergency services.
Fellow says not to submerge its kettle, while Krups specifically says not to put the kettle, lead, plug, or electrical base in water. A damp cloth for the outside is different from rinsing or soaking an electrical appliance.
Hawaiian Electric advises unplugging appliances before cleaning and not touching electrical cords or appliances while in contact with wet surfaces. An immersed base or water inside an electrical connection is not made safe by wiping the outside dry; ask the manufacturer or qualified service provider before reuse.
What are you trying to remove?
| What you see | Most useful next step | Do not assume |
|---|---|---|
| White or off-white film on the bottom or sides | Treat it as likely mineral scale and use the model’s descaling directions. | Every kettle accepts the same vinegar ratio or heating time. |
| Loose pale flakes near the spout | Check whether the manual identifies a removable scale filter. Clean it only as that model directs. | Every kettle has a removable filter or that it can be pulled out the same way. |
| Fingerprints or splashes on the outside | Wipe the cooled exterior with a lightly damp soft cloth, then dry it. | The base may be rinsed or left wet. |
| Brown or dark marks, poor heating, leaking, or an electrical smell | Stop use for unexplained leakage, electrical smell, or abnormal operation. For color alone, check the model instructions before more treatment. | Scrubbing harder will solve a heating or electrical fault. |
Fellow describes light-colored, usually white or off-white interior marks as limescale on its kettles. Krups notes that mineral deposits can look brown or black in some high-iron-water areas. Those examples are useful clues, not a diagnosis for every make and model.
Clean the outside without wetting the electrical parts
- With the kettle cool and disconnected, wipe the kettle body with a soft, lightly damp cloth.
- Wipe any remaining moisture away with a dry soft cloth.
- Wipe the base only with a damp cloth if your manual permits it, and allow it to dry fully before the kettle goes back on it.
Avoid abrasive powders, scouring pads, steel wool, and harsh brushing. Fellow and KitchenAid both warn against abrasives; Fellow says steel wool or an abrasive brush can damage the inside surface of its kettles.
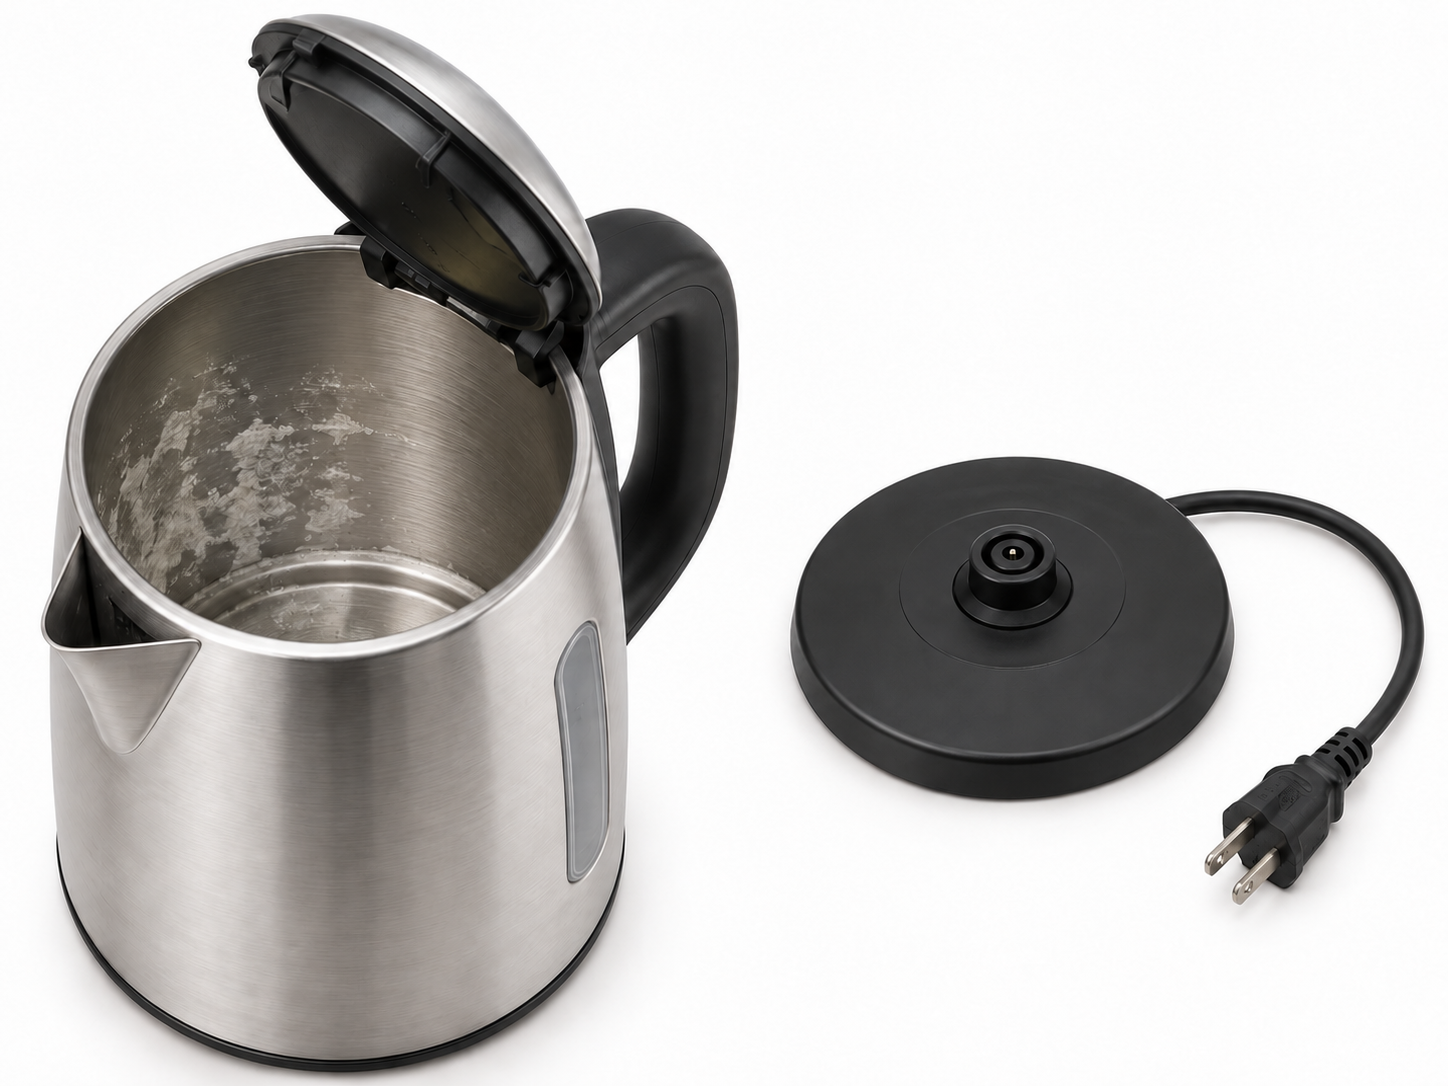
Descale the inside by following your own model’s method
Descaling removes mineral buildup left as water is heated. The safe sequence is simple: find your model’s care instructions, use its recommended descaler or its stated household method, rinse as directed, and stop if the manual prohibits the approach.
The exact method is where general advice becomes unreliable. Fellow’s current support page gives one process for specific Fellow kettles: a half-vinegar, half-water solution heated and left for at least 30 minutes. The KitchenAid KEK1565OB/ER guide uses one part vinegar to three parts water and an overnight stand. A Krups model directs a different volume and no heating for its vinegar method. These are not interchangeable instructions.
If you cannot locate a manual, use the manufacturer’s support site and model number before heating any cleaner in the kettle. A commercial descaler should also be used only according to its label and your kettle manufacturer’s guidance.
- Prepare off the base. Start with the empty, cooled, disconnected kettle. Find the exact model’s descaling directions, permitted agent, amount, contact time, and rinse sequence. Do not fill an unidentified model with cleaner to experiment.
- Measure one approved treatment. Use only the solution and amount specified for that model. Do not combine descalers, add bleach, or add baking soda to neutralize an acid. Respect the marked fill limits and the manual’s descaling fill amount; do not top up automatically to the maximum.
- Heat only if the procedure says to. A cold soak stays off the powered base. If heating is required, first make sure the exterior, connector, base, and work area are dry, then follow the manual’s lid and operating instructions. Stay nearby, keep hands away from steam, and do not move the kettle while it heats. Never run it empty.
- Cool, empty, and complete the rinse sequence. Turn it off and disconnect safely before handling the cleaning liquid. Let it cool enough to handle safely, lift by the handle, and empty away from the electrical base without splashing the connector. Use the prescribed fresh-water rinses or boil-and-discard cycles before preparing a drink; do not use cleaning water for food.
Rinse fully before making a drink
After a model-approved descale, follow that model’s rinse process. For example, some manufacturers call for one or more plain-water boil-and-drain cycles. Complete the full rinse sequence even if the smell has faded. Do not taste the cleaning or rinse water to decide whether it is safe. If an unknown cleaner was used, or chemical odor or foam remains after the prescribed rinsing, keep the kettle out of beverage use and ask the manufacturer or descaler supplier for advice. Do not add fragrance, lemon, or another chemical to mask the result.
If your kettle has a scale filter
Many kettles have no user-removable filter. If yours does, the manual should show its location and removal method. KitchenAid’s filter guide, for example, places the filter behind the spout and directs cleaning it under running water with a soft brush or cloth before replacing it. Let the kettle cool and empty it before handling the filter. Do not force a filter loose or dismantle the lid or base to reach one. Replace it in the orientation shown in the model diagram before use; a cracked, distorted, or unseated filter needs the correct replacement or support advice, not operation with the part missing.
Check the result before returning the kettle to use
After the approved treatment and rinsing, inspect the cooled interior, the spout, any documented filter, and the dry exterior. These observations choose the next step; they do not prove water quality or electrical safety.
- Loose pale flakes remain: empty and rinse the interior as the manual directs, then check the removable filter only if your model has one. Repeat descaling only when that procedure permits it. Do not scrape a heating surface or mesh with metal tools.
- A mark remains but loose scale is gone: do not assume the remaining color is removable dirt. Photograph it and ask the maker if it is new, worsening, rough, flaking, or associated with a changed surface. Stop abrasive treatment rather than chasing a spotless finish.
- Chemical odor, foam, or uncertainty about the cleaner remains: do not make a drink. Follow the rinse warning above and get product-specific advice instead of another mixed cleaning recipe.
- It leaks, smells electrical, repeatedly cuts out, or does not shut off normally: stop using it. Cleaning does not establish that a fault is repaired. Follow the exact troubleshooting/service instructions; do not hold the switch down, defeat a safety device, open the base, or repeatedly restart it to force a boil.
Krups’s BW442D50 instructions direct owners not to use a leaking or visibly damaged kettle and not to dismantle its safety devices. Before contacting support, record the model, cleaner and amount used, rinse steps completed, and when the symptom occurs. Keep a faulty kettle out of use while waiting for advice.
What not to do
- Do not immerse the kettle, base, cord, or plug.
- Do not use steel wool, scouring powder, or an abrasive brush inside the kettle.
- Do not use a cleaning mixture, heat it, or leave it standing just because it worked for a different brand.
- Do not boil liquids other than water unless the manufacturer explicitly says your model supports it.
- Do not keep using a kettle with a damaged electrical lead, unexplained leak, smoke, or burning smell.
Keep scale from becoming a bigger job
Emptying leftover water after use can reduce water staining in the models where the manufacturer recommends it. Watch the interior instead of using a fixed calendar: water hardness and daily use change how quickly scale appears. When light deposits first appear, look up the model care guidance and descale before they become a heavy crust.
For more practical kitchen cleaning guidance, see How to Clean Baking Sheets Without Damaging the Finish or browse the Kitchen guides.