How to Clean a Dehumidifier Safely: Filter, Bucket, Grilles, and Drain Hose
Quick answer
Unplug the dehumidifier, empty the bucket, and clean only the parts your owner’s manual says you can remove. For many portable units, that means the bucket, a removable air filter, and the outside grilles and case. Let every washed part dry fully before putting it back. Do not remove panels to reach coils or electrical parts unless your manufacturer’s instructions specifically tell you to do so.
Stop and get help
- Stop if water has reached the cord, plug, control panel, or an outlet. Leave the appliance unplugged and have the electrical issue assessed.
- Do not force a stuck filter, bucket cover, hose fitting, or outer panel. Parts and access points vary by model.
- If the unit leaks, smells strongly after cleaning, freezes, or will not run with a properly seated bucket and dry filter, use the manufacturer’s support path or a qualified appliance technician rather than opening the cabinet.
A dehumidifier is simple to wipe down, but the details matter. One model may have a slide-out washable mesh filter; another may use a filter reminder, a pump, a splash guard, or a drain connection that changes the safe cleaning method. The best rule is not “clean every part the same way.” It is “clean the user-removable parts in the order your manual shows.”
First, identify what your model lets you clean
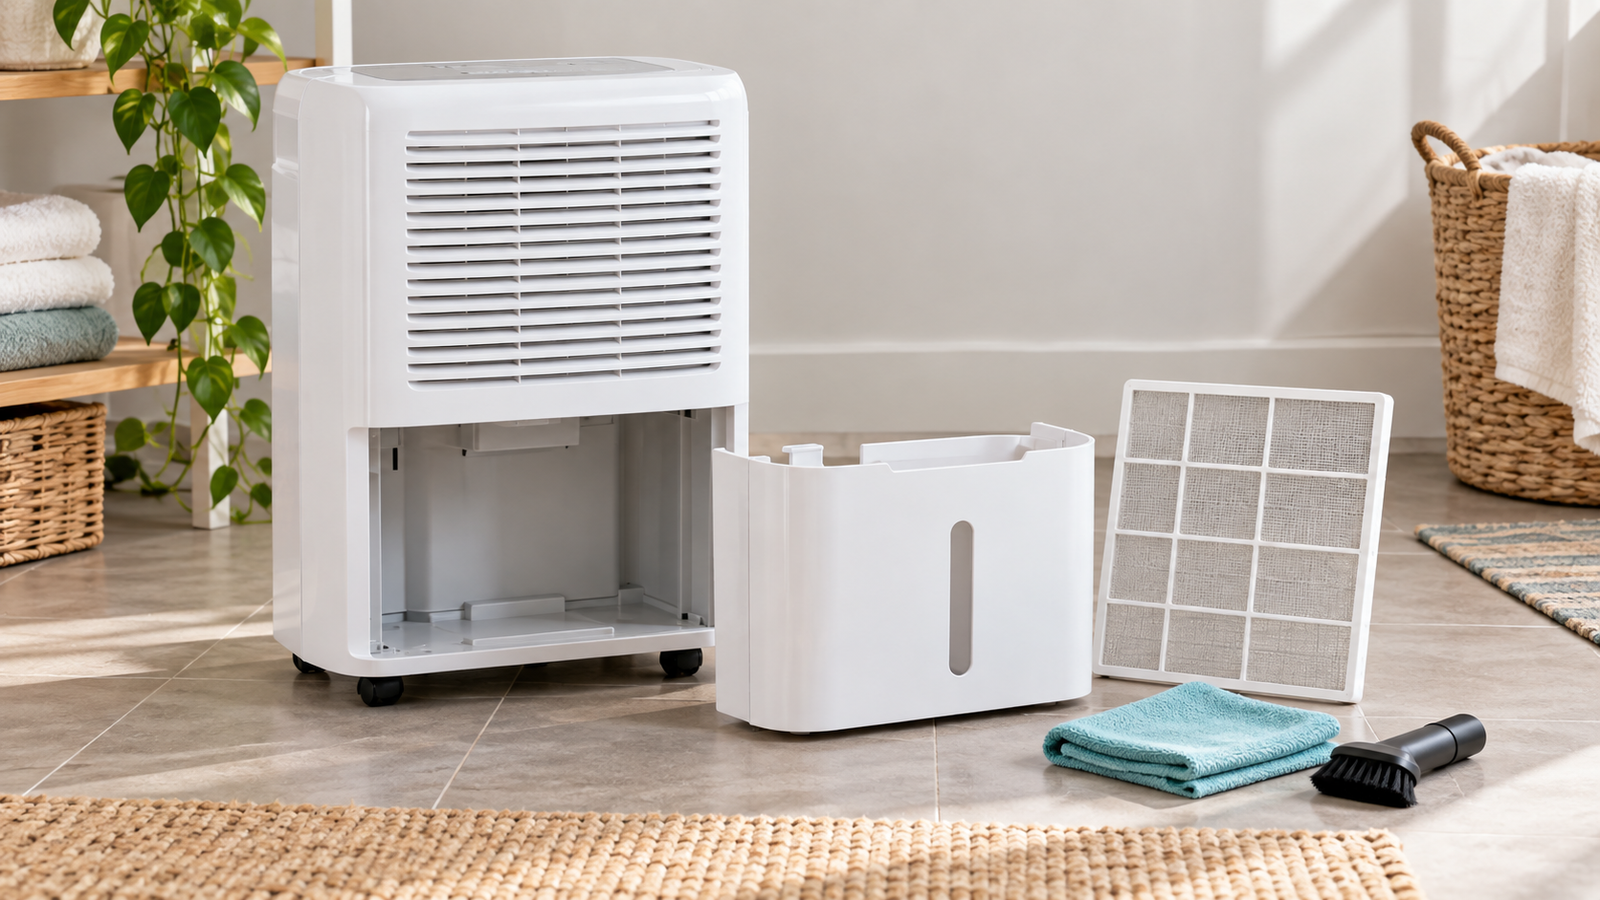
- Water bucket: Usually removable. Empty it first and look in the manual before taking off a handle or splash guard.
- Air filter: Often behind a grille or near the bucket, but its location and washing instructions vary. Some units only need vacuuming; others allow gentle washing.
- Case and grilles: Normally safe to wipe on the outside after the unit is unplugged. Keep excess water away from vents and controls.
- Continuous-drain hose: Relevant only when your unit is set up for continuous drainage. Follow the manual for disconnecting and reconnecting it.
- Coils and enclosed interior: Treat these as off-limits unless your manual gives a specific owner-cleaning procedure.
This small check prevents most cleaning mistakes. GE, for example, gives different filter procedures for older and newer dehumidifiers, while Frigidaire tells owners to review the model’s bucket-disassembly instructions before removing those parts.
What to gather
- A soft, dry cloth or a cloth lightly dampened with mild soapy water
- Mild dish soap and clean water for parts your manual says are washable
- A soft vacuum brush attachment for a dusty accessible grille or filter, if your manual allows it
- A dry towel or open, clean surface where the bucket and filter can air-dry
Skip abrasive pads, strong solvents, and a blanket “bleach everything” approach. Manufacturer guidance differs by part: Frigidaire says not to use bleach or ammonia on the cabinet, while some GE bucket guidance includes a model-specific bleach option. Your owner’s manual wins when it gives a different instruction.
Clean the dehumidifier in this order
1. Turn it off, unplug it, and empty the bucket
Turn the unit off, unplug it, and wait until you can handle it safely. Slide the bucket out carefully and empty the water into a sink, tub, or suitable drain. If your unit has been using a hose, consult the manual before disconnecting anything.
2. Wash the removable bucket
Wash the bucket with mild dish soap and water when that matches the manual. Rinse it well and dry the outside before reinstalling it. If there is a removable splash guard or handle, remove it only by following the model instructions; forcing those pieces is an easy way to break a tab or leave the bucket unable to seat properly.
3. Clean the filter the way your model specifies
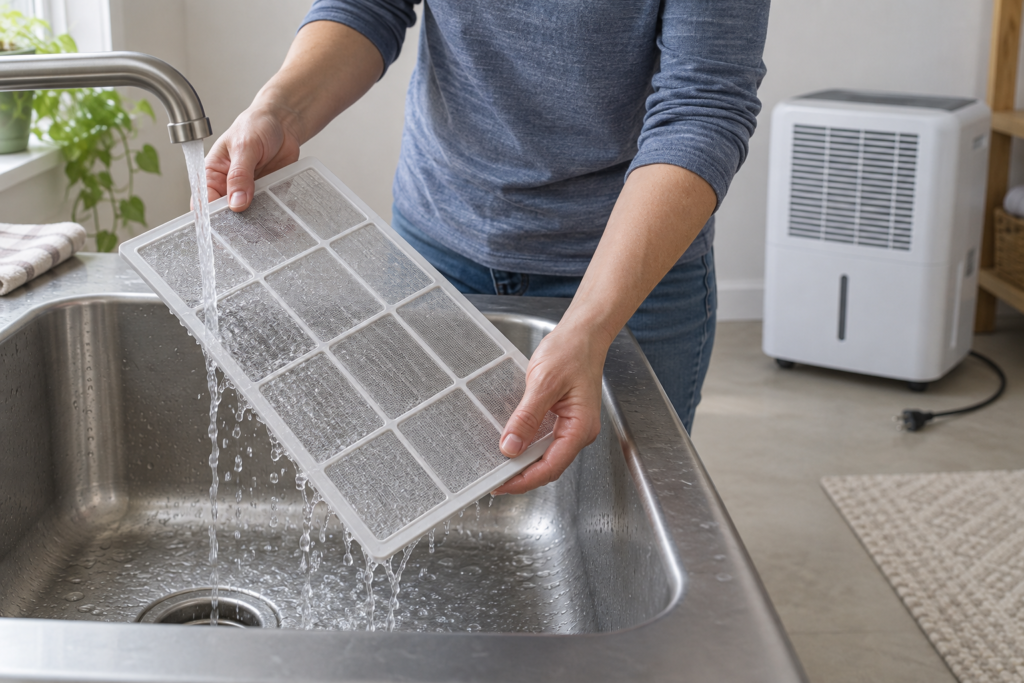
Locate the filter using the owner’s manual. A light layer of dust may be suitable for a gentle vacuum. If the manual permits washing, use the stated method and let the filter dry completely before putting it back. GE specifically says not to run a unit without its filter installed and not to put the air filter in a dishwasher.
4. Wipe the case and accessible grilles
Use a soft cloth. It should be damp, not dripping, if you use mild soap and water. Wipe the exterior and accessible grille surfaces without pushing moisture into the controls or vents, then dry the surfaces. Do not spray cleaner directly into the appliance.
5. Check the drain hose only if you use one
Continuous-drain setups are not all the same. Follow the manual for hose removal and reinstallation. Frigidaire notes that its continuous-drain hose can be periodically flushed with clean water to remove debris, but a hose must also have the correct routing and fall to drain properly. If yours uses a pump, an unusual fitting, or an unclear path, stop and use the manufacturer’s instructions.
Do not clean these parts by guessing
- Internal coils behind a sealed or screwed-on panel
- Electrical controls, sensors, plug, or cord
- Any pump or internal drain channel that the manual does not show as user-serviceable
- A filter that is torn, warped, or will not go back into its tracks
Generic cleaning advice often jumps straight to coils, disinfectants, or taking the case apart. That can create a warranty, safety, or reassembly problem without solving a clogged filter or dirty bucket. A clean filter and correctly seated bucket are the sensible first checks; an inaccessible part is a manufacturer-support question.
When should you clean it?
Use the schedule in your manual or the machine’s filter reminder if it has one. For example, GE says some older models should have the filter checked every two to three weeks, while newer models may show a reminder after a set number of operating hours. Your home may call for more frequent checks when there is dust, pet hair, laundry lint, or heavy seasonal use.
Clean sooner when you notice visible dust on the filter, slower airflow, a bucket that needs washing, or a drain hose that is not flowing as expected. If the dehumidifier still is not keeping up after normal cleaning, the problem may be room conditions, placement, sizing, a blocked airflow path, or a fault rather than dirt alone.
Use it as part of the moisture fix, not the whole fix
A maintained dehumidifier can help lower indoor humidity, but it cannot repair a leak, failed window seal, wet wall, or plumbing problem. If you are seeing moisture or recurring growth near glass, trim, or a wall, start by identifying why mold is appearing around the window. The first place moisture shows up is often the most useful clue.
Sources and method
This guide uses current manufacturer care guidance rather than a universal cleaning recipe. For your exact model, use the manual first: GE dehumidifier cleaning and maintenance; Frigidaire dehumidifier clean and care; and Frigidaire continuous-drain guidance.