How to Clean Oven Racks Without Ruining the Finish or Slide
Quick answer: Switch the oven off, let it cool fully, and identify each rack and its model-specific removal method before taking it out: fixed shiny metal, coated, or telescopic/roller. Standard racks can usually be washed with warm soapy water and a soft cloth or nonabrasive pad. Do not soak a telescopic rack or let cleaner enter its slide mechanism unless the exact manual allows it. Leave racks in a Self Clean cycle only when the model manual explicitly identifies them as cycle-safe.
The finish and slide design matter more than the oven brand. A single range can ship with two ordinary racks and one extension rack that requires different care. Use the chart before choosing a soak, scrubber, dishwasher, self-clean cycle, or lubricant.
Updated October 22, 2026: clarified model-specific rack removal, separated sticking cavity supports from sticking extension slides, and added drying, stop-lock, and reuse checks. The rack-construction illustration added October 20 is retained.
Remove and wash safely · Find where the rack sticks · Check before cooking
Identify your rack before cleaning
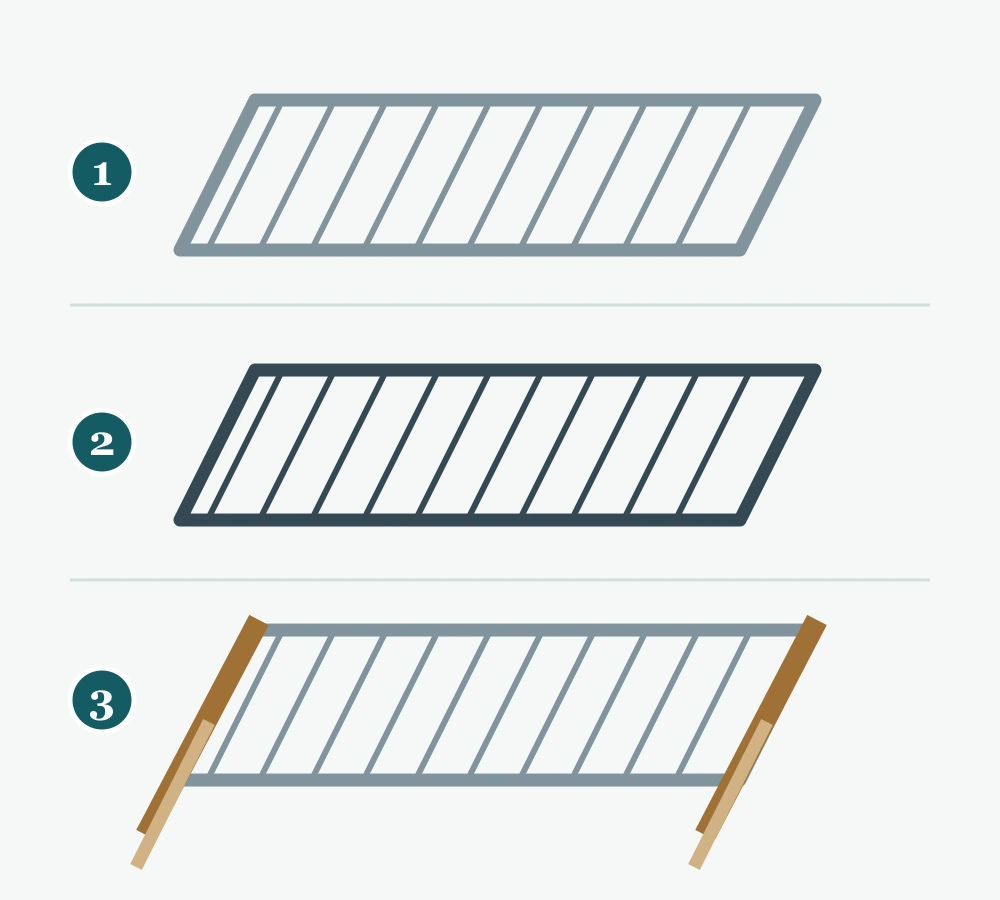
- Shiny fixed rack: no moving rails. Check the manual before abrasives, soaking, or Self Clean.
- Dark coated rack: confirm the exact finish and whether the manual permits Self Clean. Do not infer permission from the color.
- Extension rack: nested moving rails need separate care. Keep water and cleaner out of the slide mechanism unless the manual explicitly permits immersion.
| Rack type | Clues | Safe starting route | Main risk |
|---|---|---|---|
| Standard nickel/chrome rack | Light, shiny metal; no moving side rails | Warm soapy water, soft cloth or approved pad, rinse, dry | Self Clean can discolor it and make it hard to slide |
| Porcelain-coated or “Never Scrub” rack | Usually darker; manual or features list says self-clean compatible | Follow the exact model instructions | Color alone does not prove cycle compatibility |
| Telescopic, gliding, roller, or extension rack | Nested rails, bearings, or a sliding frame | Clean frame and grates while protecting the slide mechanism | Soaking, dishwasher detergent, or wrong oil can foul slides |
| Unknown replacement rack | Does not match the manual photo or part list | Match the part number, packaging, or replacement order to the oven manual before strong cleaning | It may use a different coating from the original rack |
Time estimate: 20–40 minutes of active work, plus model-permitted soaking and complete drying. Difficulty: easy for fixed racks; moderate for extension racks. Supplies: dish soap, soft cloth or nonabrasive sponge, a large protected basin if soaking is allowed, dry towels, and only the lubricant specified for the rack.
Safety boundary: Turn every oven control off and wait until racks and cavity are fully cool. Remove bakeware before moving a rack. Stop if a rack is warped, cracked, missing a stop, shedding coating, or will not lock into its support. Do not use the oven with a rack that can tip or slide out unexpectedly.
Remove the rack using its own stop-release method
- Check the release instructions first. Photograph the position and orientation, remove all bakeware, and confirm that the oven and rack are fully cool. Do not copy the release motion from a different rack.
- Support the empty rack and follow its stop-release sequence. Whirlpool’s standard-rack example lifts the front at the stop; GE’s standard-rack instructions describe lifting the rear. These are different designs, not interchangeable steps. If it will not release as shown in your manual, stop instead of pulling harder.
- Keep the assembly controlled. Do not drag it sideways across porcelain guides, use the glass door as a workbench, or let a sliding shelf extend unexpectedly. Keep fingers clear of moving joints.
- For an extension rack, use the model’s tabs, hooks, or latch sequence. Remove only the owner-removable assembly described in the manual; do not dismantle the rails or oven supports to reach dirt.
Method for standard shiny metal racks
- Remove loose debris. Wipe crumbs and dry residue before adding water.
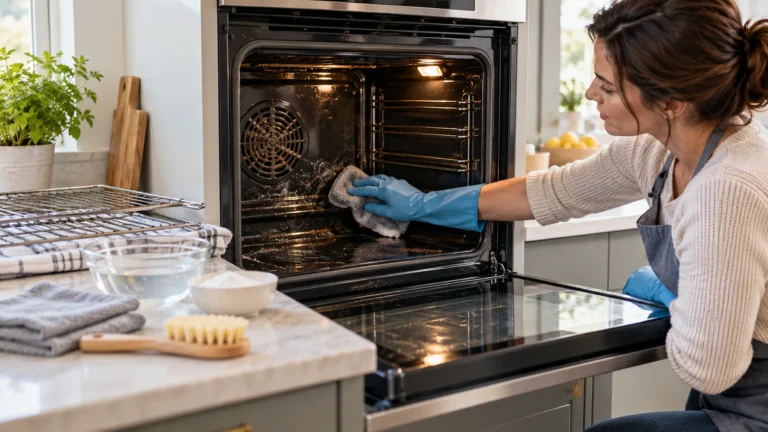
- Wash with soap and water. Use a soft cloth, sponge, or the pad permitted by the manufacturer. Whirlpool’s current rack guidance starts with soap, water, and a soft cloth or sponge.
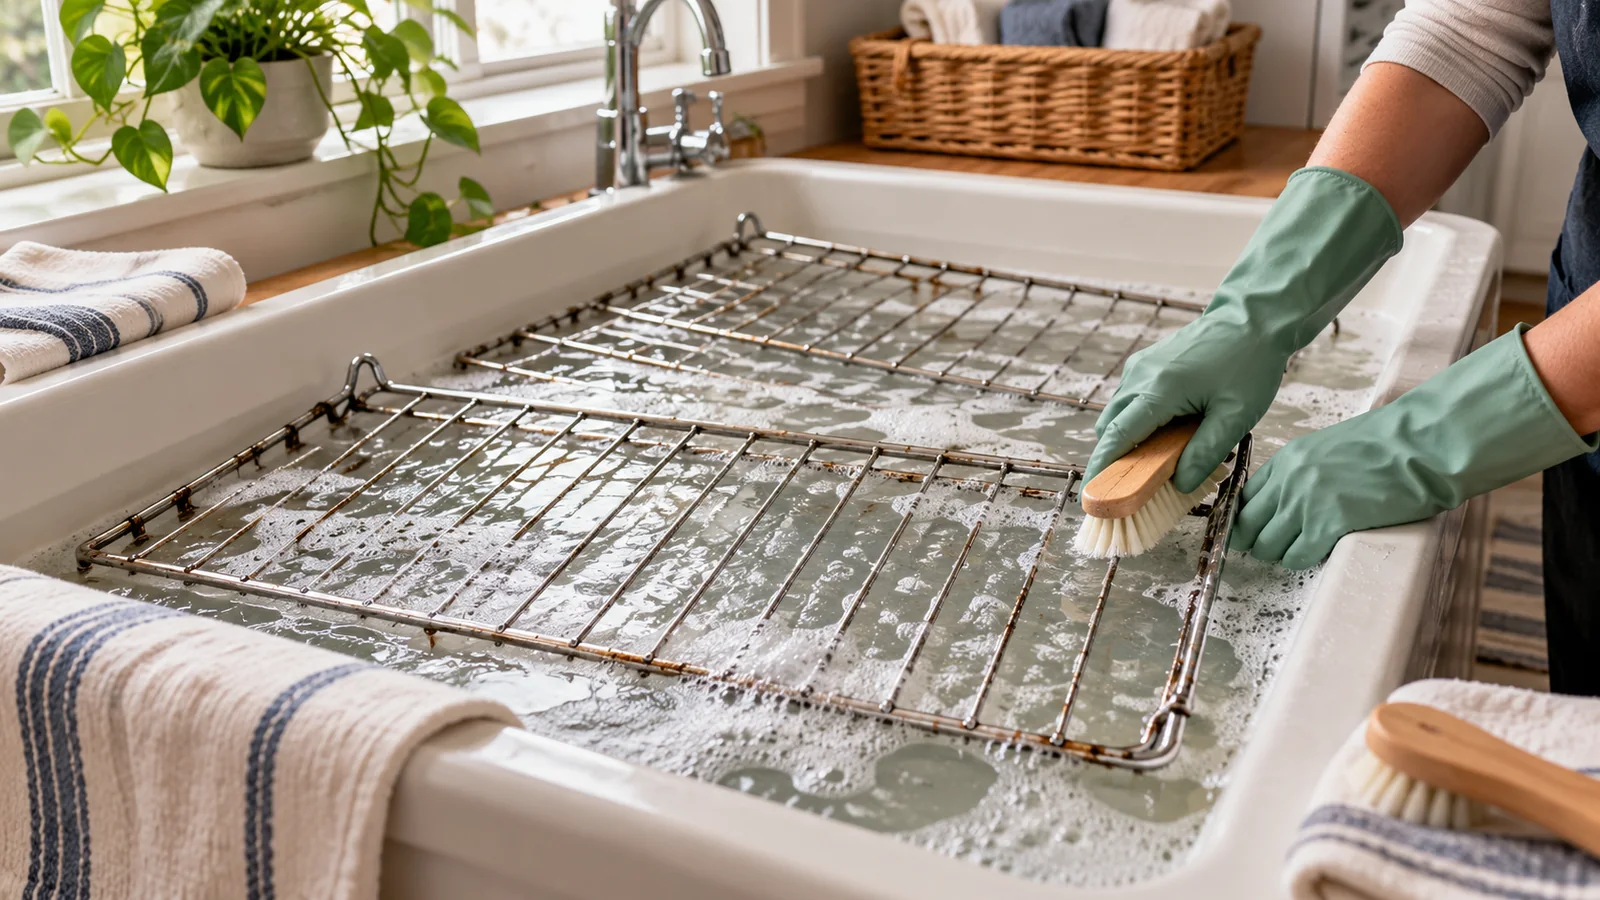
- Soften stubborn food. If the manual allows soaking, use a lined utility sink or large container. Protect porcelain tubs and stainless sinks from rack ends, which can scratch.
- Scrub in the least aggressive way that works. Some Whirlpool rack instructions permit steel wool for hard stains, while other brands call for nonabrasive pads. Follow the rack-specific instruction instead of assuming one scrubber fits all.
- Rinse every joint. Remove soap and loosened food from wire crossings as well as the broad surfaces; do not rely on oven heat to remove cleaning residue.
- Dry immediately and completely. Pay attention to welded joints and rack ends, then reinstall only when the rack is dry.
Do not use the dishwasher unless the manual explicitly permits it. High heat and alkaline detergent can discolor metal or remove the lubrication intended for a sliding assembly.
Method for telescopic or roller racks
Telescopic racks contain moving channels that can trap water, abrasive grit, and cleaner. For example, Dacor’s HIPR30S/HIPR36S manual, page 44, permits immersing a standard rack but excludes its GlideRack and specifies a damp cloth for the mechanism. Another manufacturer may specify a different route, so identify the model before cleaning.
- Follow the rack’s supported cleaning position. Keep the frame stable and open the sliding shelf only as the manual directs. Remove accessible loose crumbs with the specified cloth or paper towel; do not pry apart bearings, stops, or channels.
- Clean the grid and frame without flooding the slides. Use a damp cloth and the model-approved cleaner. Do not spray into openings, immerse the mechanism, or use an abrasive in the tracks unless the exact instructions permit it.
- Remove cleaner residue by the permitted wiping method. Keep rinse water out of the slide openings too. Dry accessible surfaces and allow the assembly to dry fully in the position its instructions allow; do not heat it in the oven to speed drying.
- Refit it according to the manual before the movement check. With the oven still cool and the rack empty, confirm seating and stop engagement, then operate it normally. If it catches, use the diagnosis below—not an improvised oil or an unsupported full-extension test on a countertop.
Can the racks stay in during Self Clean?
Assume no until the manual says yes. Samsung identifies nickel racks as removable before Self Clean but notes that some porcelain-coated shelves may be cycle-safe. GE similarly distinguishes darker “Never Scrub” roller racks that can be self-cleaned from shiny nickel-coated racks that cannot. A rack left in the wrong cycle can darken, warp, lose luster, scratch porcelain guides, or become difficult to slide.
| Manual wording | Decision |
|---|---|
| “Remove racks before Self Clean” | Remove every listed rack and accessory |
| “Porcelain-coated / Never Scrub rack may remain” | Only that identified rack may remain; remove shiny or extension racks unless separately approved |
| No clear rack statement | Remove racks and confirm with manufacturer support |
| Replacement rack with unknown coating | Treat as not self-clean safe until its part documentation confirms otherwise |
Fix a rack that sticks after cleaning
With the oven cool and the rack empty, identify which part resists movement. First check for leftover cleaner or ash on accessible contact surfaces, wrong orientation, an unsuitable rack position, or damage. Cleaning or oil cannot correct the wrong replacement part, bent metal, or a failed stop.
- The whole rack or frame sticks against the oven supports: check alignment and permitted positions before lubricating. For the racks it covers, GE specifies a light wipe of vegetable oil on flat-rack edges or cavity supports—not inside extension slides. Whirlpool and Samsung also give model-dependent edge or guide lubrication instructions.
- The shelf sticks while sliding within its extension frame: this is a different contact area. GE’s extension-slide guidance calls for its specified oven-rack graphite lubricant, not cooking oil in the tracks. Follow the exact product, location, quantity, and movement sequence for your rack; do not substitute hardware graphite, spray lubricant, or another household oil.
- The rack twists, will not seat, lacks a working stop, or still catches: stop using it and ask the maker about installation, service, or a matching replacement. Do not bend it back, force it through the guides, or keep adding lubricant.
Apply only the amount and location specified in the rack’s instructions, keep lubricant away from the food-supporting grid, and remove excess only as directed. Do not scrub factory lubricant out of the slide channels to make a white cloth come away spotless. GE also warns that unsuitable cooking oils can leave brown, rust-like deposits; that residue is not a reason to apply more oil.
Methods that can ruin a rack
- Leaving a shiny nickel or chrome rack in Self Clean without permission.
- Soaking a telescopic rack and filling its slides with water or cleaner.
- Using oven cleaner, caustic degreaser, or abrasives not approved for the coating.
- Putting a rack in a dishwasher merely because it fits.
- Using olive, coconut, peanut, or aerosol cooking oil where the maker specifies another lubricant.
- Wrapping racks in aluminum foil, which can interfere with airflow and heat distribution.
- Forcing a bent rack through porcelain supports.
The clean-and-slide test: reuse, reclean, or stop
Reinstall only when the rack is fully dry and the cleaning product’s residue-removal steps are complete. Use the correct orientation and a position approved for that rack, not simply any slot where it fits. The photo helps restore the setup but does not replace the manual’s stop-lock instructions. GE notes a lowest-position stop limitation on some older range extension racks; that is model-specific, not a ban on the lowest position in every oven.
- Ready to use: the food-supporting grid has no visible food, cleaner film, loose coating, or misplaced lubricant; the dry assembly seats level, engages its stops, and moves normally while empty and cool. Check the grid with a clean cloth if useful, not the intentionally lubricated slide channels. Add bakeware only after seating is confirmed; do not invent a heavy-load test.
- Residue remains: repeat the compatible cleaning and residue-removal steps, then dry completely. Do not use a hotter cycle to burn it off or escalate to an unapproved chemical.
- A seating or movement fault remains: do not cook on that rack. Contact the manufacturer about the exact model and rack part; a shiny surface does not prove a damaged mechanism is safe.
Frequently asked questions
Can I soak oven racks in the bathtub?
Only if the rack may be immersed and the tub is protected from metal ends and chemical damage. Do not soak a telescopic rack unless its manual explicitly allows it. A lined utility sink or plastic container is often easier to protect.
Related oven guides
- Choose the correct manual, Steam Clean, or Self Clean oven route
- Clean baking sheets by material and coating
- Match burnt-pot cleanup to stainless steel, enamel, or nonstick
Sources
- Whirlpool — Cleaning oven racks
- GE Appliances — Solutions for sticking oven racks
- GE Appliances — Roller and extension rack types
- Samsung — Rack cleaning and Self Clean precautions
- GE Appliances — Standard-rack removal and stop-lock operation
- Dacor — HIPR30S/HIPR36S user manual, rack care on page 44
Rack-construction comparison added October 20, 2026. Removal, sticking-location diagnosis, and readiness checks updated October 22, 2026. Coatings, Self Clean compatibility, immersion limits, stop designs, and lubrication methods vary by model and replacement part.