How to Clean an Oven: Manual, Steam, and Self-Clean Routes
Quick answer: For routine food soil—not a suspected gas leak or fire—switch the oven off, let it cool fully, and identify its liner and cleaning system before removing spills or adding water or cleaner. Use steam clean for light fresh soil, self-clean only on a model that provides that cycle, and manual cleaning with the exact product approved in the manual. Remove racks and accessories unless the manual explicitly says they can remain. Keep cleaner and water away from the door gasket, heating elements, igniter, temperature sensor, fan openings, light socket, and vents.
The safest method is determined by the oven liner and controls—not by how dirty the cavity looks. The decision chart below helps you choose a route before a common cleaning shortcut damages a coating, rack, gasket, or electrical part. If you mean a pop-up bread toaster rather than an oven cavity, use the toaster crumb-tray and slot-cleaning guide instead; do not transfer oven-cleaning cycles or chemicals to it.
Updated October 22, 2026: clarified hand-cleaning versus powered-cycle preparation, separated smoke/fire emergencies from routine residue checks, and added clean, reclean, and service decisions. The protected-parts illustration added October 20 is retained.
Prepare for the right method · Handle smoke or suspected fire · Check before cooking
Oven-cleaning route in 30 seconds
| What the controls or manual say | Soil level | Use this route | Do not assume |
|---|---|---|---|
| Steam Clean | Light splatter or a recent spill | Use the model’s water amount and Steam Clean cycle | Steam will not remove every carbonized deposit |
| Self Clean / Pyrolytic | Baked-on residue after large deposits are removed | Prepare and run the manufacturer’s high-heat cycle | Racks and accessories are not automatically cycle-safe |
| Manual Clean | Light to heavy, depending on approved cleaner | Use the cleaner, dwell time, and tool named in the manual | “Natural” pastes are not safe for every liner |
| Catalytic panels | Grease on special porous liners | Follow the catalytic-care section for the exact model | Do not scour or coat panels unless instructed |
| No manual or mode is unclear | Any | Find the model number and current manual first | Do not choose a cycle or chemical by appearance alone |
Time estimate: 15–30 minutes of preparation and wiping. A cleaning cycle and full cool-down can add several hours. Difficulty: easy to moderate. Useful supplies: dry paper towels or a soft brush for crumbs, soft cloths or a non-scratch sponge, gloves, and only the water or cleaner approved for the model.
Suspected gas leak: leave first. If you smell gas or suspect a leak, get everyone outside. Do not operate the oven, plugs, breakers, light switches, or fans, and do not use a phone inside. From a safe distance, call 911 and your gas utility. Do not stay to ventilate, locate, or repair the leak. See PG&E’s gas-leak safety guidance.
Other stop conditions: Do not begin cleaning if the oven has damaged wiring, broken door glass, a loose or torn gasket, or has produced sparks or smoke while empty and clean. Arrange qualified service before using it again. Do not force a locked self-clean door or disassemble the door to reach between glass panes unless the manual provides that procedure.
Suspected oven fire: keep the door closed; do not open it to inspect the food or spray water inside. Turn the oven off only if it is safe to reach the control. If fire is not immediately controlled or smoke threatens you, leave and call 911 from safety. National Park Service fire guidance distinguishes this closed-door response from ordinary cleaning. If you also suspect a gas leak, follow the leave-first gas warning above instead of operating any control.
Preparation that applies to every route
- Confirm the model and cleaning mode. Use the label location shown by the maker, often at the door frame or drawer area, and download the current manual. Do not pull a connected range out, remove a panel, or strain a gas hose to read a rear label. A receipt or registered-appliance record may identify the model when a label is inaccessible.
- Switch off and wait for safe access. Let the cavity, glass, elements, racks, and any standing water cool fully before hand-cleaning. Do not force a cycle-locked door. Control Lock only prevents certain button actions; it does not prove cooling or disconnect electricity. Follow the exact manual’s power-isolation directions for hand-cleaning. Never reach through water to a plug or electrical control; get qualified help if access is wet, damaged, or unclear.
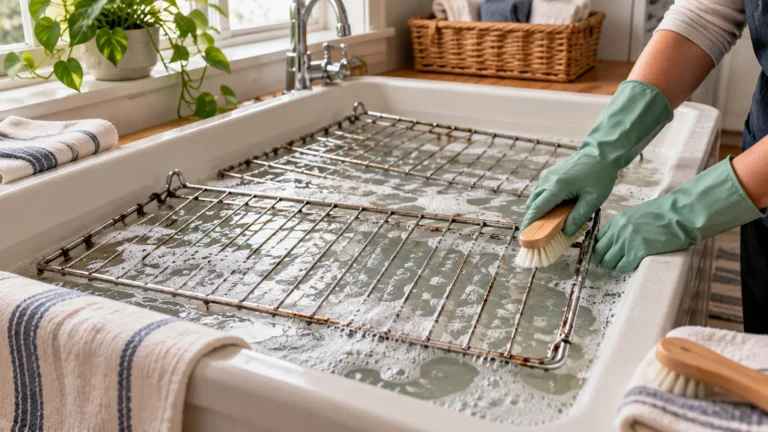
- Remove what the manual names. Take out cookware, foil, temperature probes, divider panels, and racks unless your instructions explicitly allow a specific item to stay. For rack-specific cleaning, use our oven-rack material guide.
- Lift out accessible loose debris. With the oven off and cool and any required isolation complete, use a soft cloth or manual-approved tool for crumbs and ash. Blot cooled pooled grease instead of spreading it. Do not push residue into an element connection, burner port, fan, or vent, or lift a cavity floor or burner cover unless the owner manual explicitly permits it.
- Reduce heavy deposits first. Samsung’s current guidance says excess spills should be cleaned before Self Clean so the cycle handles the residue that remains. Large grease deposits can create excessive smoke.
- Ventilate and clear the area. Follow the manual’s ventilation directions and keep children away from the range. Samsung specifically warns that birds can be very sensitive to fumes from self-cleaning ovens; move them to a well-ventilated room far from the range before using that cycle.
Route 1: manual cleaning
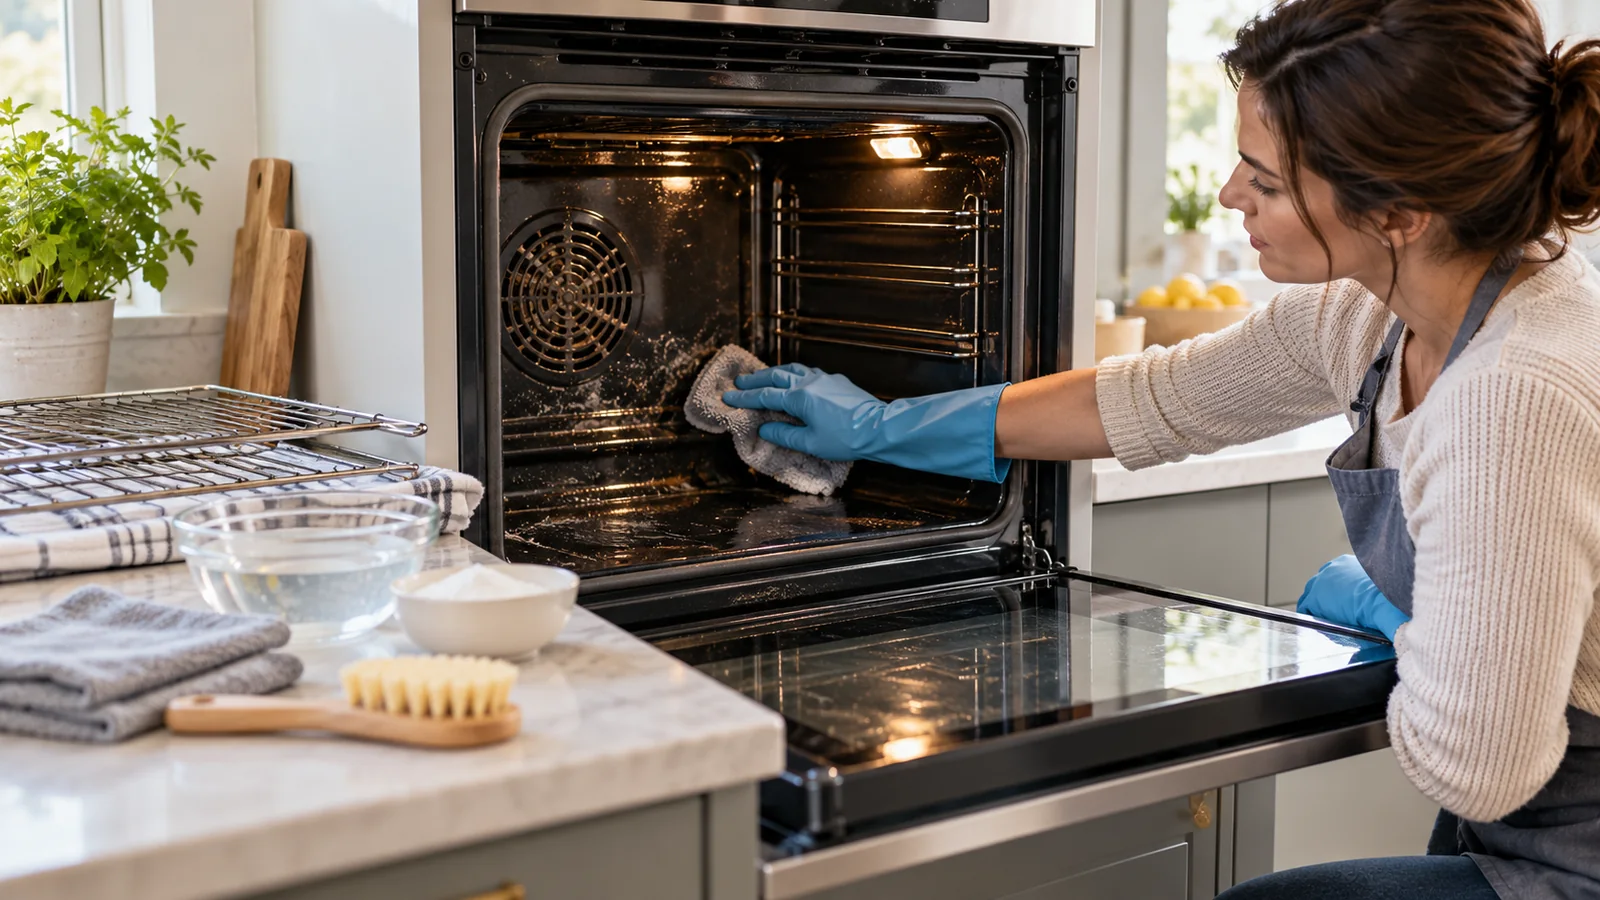
Use this route when the oven is labeled manual clean or the exact manual permits hand-cleaning that specific surface. A non-catalytic floor or door can need different care from an adjacent catalytic panel; being outside the panel does not automatically make every cleaner suitable. Product approval matters: a cleaner that is acceptable on conventional porcelain enamel may damage a catalytic panel or leave harmful residue during a later high-heat cycle.
- Keep the oven off and fully cool, use the manual’s isolation instructions, protect adjacent finishes, and ventilate as the cleaner label requires. Household electrical-safety guidance warns against touching faulty or wet electrical equipment. Do not move a connected range just to reach its plug.
- Apply cleaner to the cloth or approved area—not across the gasket, vents, fan opening, element, igniter, sensor, bulb socket, or control openings.
- Use a cleaner only when both its label and the appliance’s exact surface instructions permit it. Follow the specified application, protective equipment, and dwell time. Do not mix cleaners, borrow a recipe from a different liner, or heat a chemical to speed the job. GE’s Self-Clean liner guidance, for example, prohibits commercial oven cleaners even when their labels mention self-clean ovens.
- Lift softened residue with a soft cloth, non-scratch pad, or approved scraper. Work a small zone at a time so liquid cannot run into openings.
- Complete that product’s residue-removal and rinsing instructions using fresh cloths as needed, then dry the accessible cavity. Do not flood seams or protected parts. If you do not know which cleaner was used previously or how to remove it safely, ask the product and oven makers before adding another chemical or starting a heat cycle.
If a dark mark does not change after one safe pass, it may be carbonized staining or permanent enamel discoloration. Do not escalate to steel wool, a razor blade, or a stronger chemical unless the manufacturer names it for that exact surface.
Route 2: Steam Clean for light soil
Steam Clean uses lower heat and water to loosen light residue; it is not a substitute for Self Clean on heavy, burned-on grease. Water quantity and placement vary. For example, Samsung directs some models to use one cup of tap water in a Steam Clean tray or on the cavity bottom, while reservoir-equipped Hybrid Clean models use a different amount in the reservoir. That variation is why the manual must control the complete procedure—not just the name of the cycle. Whirlpool’s range Steam Clean page describes another model-dependent water amount and forbids additives; do not mix instructions from different appliances.
- Remove racks and accessories as directed, and wipe out loose debris.
- Add only the specified amount and type of water to the specified place in a cool oven. Do not improvise with a full pan, pour water onto a hot surface, or add oven cleaner or a homemade mixture. Use an additive only if the exact cycle instructions explicitly name it.
- Before the powered phase, remove cloths and tools, complete any required cleaner-residue removal, and restore power only as directed with safe, dry access. Start the named Steam Clean or Hybrid Clean program; do not open the door during it.
- Switch off as directed at the end and let the cavity and standing water cool fully. A finished display does not mean water or glass is safe to touch. If the door remains locked, let the automatic lock release; do not force it.
- Return to the manual’s safe hand-cleaning state before reaching in. Remove cooled water and loosened soil with a soft cloth, then dry the cavity. If dirt remains, check the approved follow-up route rather than repeatedly adding water or running longer cycles; do not escalate the water amount.
Route 3: Self Clean or pyrolytic cleaning
Self Clean raises the cavity far above normal cooking temperature to reduce residue to ash. The oven door locks and stays locked until the appliance cools. Use this route only when the oven has the function and the model instructions permit it.
- Remove the manual-specified racks, accessories, foil, probes, and divider. Ordinary chrome racks can discolor and lose smooth sliding action during high heat.
- Wipe away large spills and pooled grease. Do not put commercial oven cleaner or an oven liner in the cavity before a Self Clean cycle; Samsung warns that cleaner residue can damage the interior during the cycle.
- Check that tools and cloths are out, vents are unobstructed, and no unapproved cleaner remains. Restore power only as the manual directs with safe, dry access, close the door, choose the provided soil-level cycle, and start. Do not invent a longer setting or disable a lock or safety warning.
- Keep children and pets away from hot surfaces and ventilate as directed. Some residue odor or smoke can occur, but worsening smoke, flames, or a threatening condition is not a cue to open the door or keep cleaning. Use the smoke and emergency branches below; never override the suspected-gas-leak warning.
- Wait for the cycle to finish and the door to unlock by itself. Never pull on or defeat the lock.
- After the door releases normally and everything is fully cool, follow the manual’s safe hand-cleaning instructions to wipe out loose ash and dry the cavity. A fault code, damaged seal, or lock problem after cooling needs the maker’s service route, not a forced door or another cleaning cycle.
Door glass, gasket, racks, and exterior need separate care
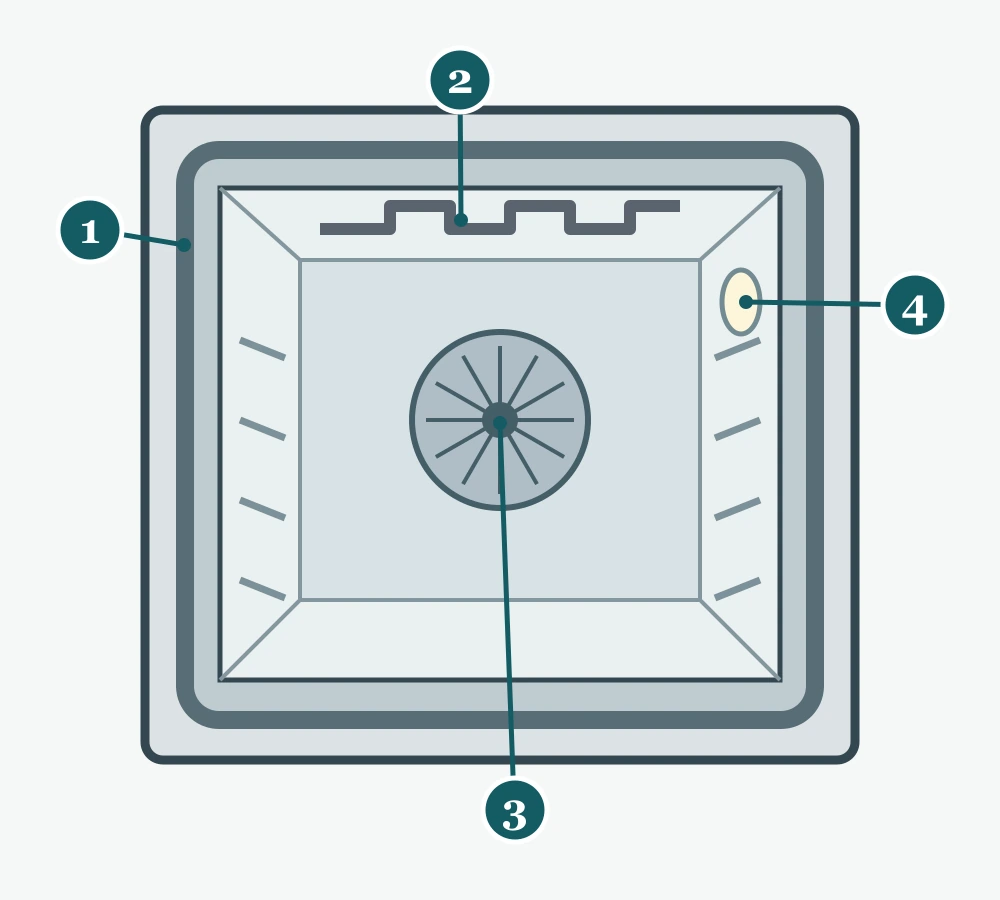
- Door gasket: do not pull, scrub, or soak the seal. Follow the model-specific care instructions.
- Heating element: keep water and cleaner off the element and its connections.
- Fan cover and openings: do not flood or remove the cover for routine cleaning.
- Light cover and socket area: keep liquid out. Gas ovens may instead have different burners, igniters, and vents; use their manual.
| Part | Safe starting point | Common mistake |
|---|---|---|
| Door glass | Use the model-approved glass or soapy-water method | Scraping hot glass or flooding vents between panes |
| Door gasket | Leave it in place and clean only as directed | Scrubbing, soaking, or pulling the woven seal |
| Racks | Identify chrome, porcelain-coated, or telescopic construction | Leaving every rack in Self Clean |
| Controls and handle | Cleaner on a soft cloth, followed by drying | Spraying directly into seams or display openings |
| Stainless exterior | Wipe with the grain using an approved product | Using stainless cleaner on exterior glass |
Do not remove the door merely because residue is visible between panes. Some manufacturers provide a model-specific removal or access procedure; without it, the hinges can snap closed or the heavy door can fall. Arrange service when contamination is sealed inside and no user procedure exists.
If the oven smokes after cleaning: emergency or residue?
- Suspected gas leak: leave immediately without operating switches, plugs, fans, or the oven, and without using a phone inside. Call 911 and your gas utility from safety. Do not interpret a new gas-like smell as harmless merely because a general guide mentions first-use odors.
- Flames or suspected fire: keep the oven door closed and switch off only if safely accessible. Do not open to inspect, pour water inside, or defeat a self-clean lock. If it is not immediately controlled, you are unsure, or smoke threatens escape, leave and call 911 from safety. Have the oven checked before reuse after a fire.
- Smoke during Self Clean without an immediate emergency: follow the exact manual’s cancel and cooling directions if smoke is excessive. Keep the door closed while hot or locked. Do not assume every plume is normal residue or use a second cycle to diagnose it.
- Mild smoke or odor after cleaning, with no gas or fire concern: stop cooking, ventilate as directed, and let everything cool before inspecting accessible surfaces. Check for cleaner film, missed grease, foil, cloth, or a misplaced accessory. Remove the identified residue by its approved method, not by burning it off.
- Electrical or plastic odor, recurring smoke from a clean cavity, or a fault code: stop use and arrange qualified service. Do not run an empty test to reproduce it. Isolate power only with safe, dry access as directed; do not reach a wet or damaged connection.
The clean-and-ready test: cook, reclean, or get service
With the oven off and fully cool, check accessible surfaces for leftover cleaner, loose ash, debris, and standing water. Complete the chosen product’s residue-removal steps and drying instructions. Leave protected openings and seals alone; do not insert a cloth or tool into a vent, fan, burner, or socket to prove it is clean. Refit only the owner-removable parts, with dry racks in their approved positions and their stops engaged. A clean-looking cavity does not prove a damaged oven is safe.
- Clean, dry, complete, and operating normally: confirm the door closes normally, the gasket is not damaged, no loose item remains, and required parts are correctly seated. Restore power as directed with safe access and return to normal cooking according to the manual. An empty burn-off is not a generic cleaning test; use one only if the exact maker instructions require it and there is no fault or residue concern.
- Soil, soap film, ash, or water remains: keep the oven out of cooking use while completing the compatible wipe, residue-removal, and drying steps. Check the permitted follow-up for persistent soil; do not simply increase cleaner strength, heating time, or water volume.
- Damage, liquid intrusion, a lock fault, error code, or recurring smoke remains: stop and contact qualified service. Note the model, cleaning method and product used, when the problem occurred, and the displayed code. Do not reconnect or heat the oven merely to demonstrate the fault.
Frequently asked questions
Can I use baking soda in every oven?
No. Baking soda is mildly abrasive and can be incompatible with catalytic or other specialty liners. It can also spread into fan and element openings. Use it only when the exact manufacturer instructions allow it.
Is Steam Clean safer than Self Clean?
It uses lower heat, but it still leaves hot water and does not suit every spill. “Safer” depends on following the correct model procedure and matching the cycle to light soil. It cannot repair a damaged liner, gasket, sensor, or door.
Can I clean a hot oven to loosen grease?
Do not apply water or cleaner to a hot cavity. Thermal shock can damage glass or enamel, hot cleaner can create fumes, and steam can burn skin. Let the oven cool unless the manufacturer’s named cycle is controlling the heat.
Related kitchen cleanup
- Choose a safe method for chrome, porcelain-coated, or telescopic oven racks
- Remove baked-on residue from baking sheets without ruining the surface
- Identify a burnt pot’s material before choosing a cleaner
- Clean a microwave by component, including grease and charcoal filters
Sources
- Samsung — How to clean your oven
- Samsung — Smoke or odor from an oven
- Samsung UK — Cleaning-system distinctions; exact-model instructions still govern
- Whirlpool WOC75EC7HS care guide — model-specific Steam Clean example
- Whirlpool US — Steam Clean preparation and additive restrictions
- GE Appliances — Manually cleaning a Self-Clean liner
- National Park Service — Closed-door oven-fire response
- Hawaiian Electric — Dry-access electrical precautions
Gas-leak guidance and protected-parts illustration added October 20, 2026. Hand-cleaning and powered-cycle preparation, smoke/fire triage, and readiness decisions updated October 22, 2026. Cleaning systems, water amounts, removable parts, and approved products vary by model; the current manual for your exact oven takes priority.