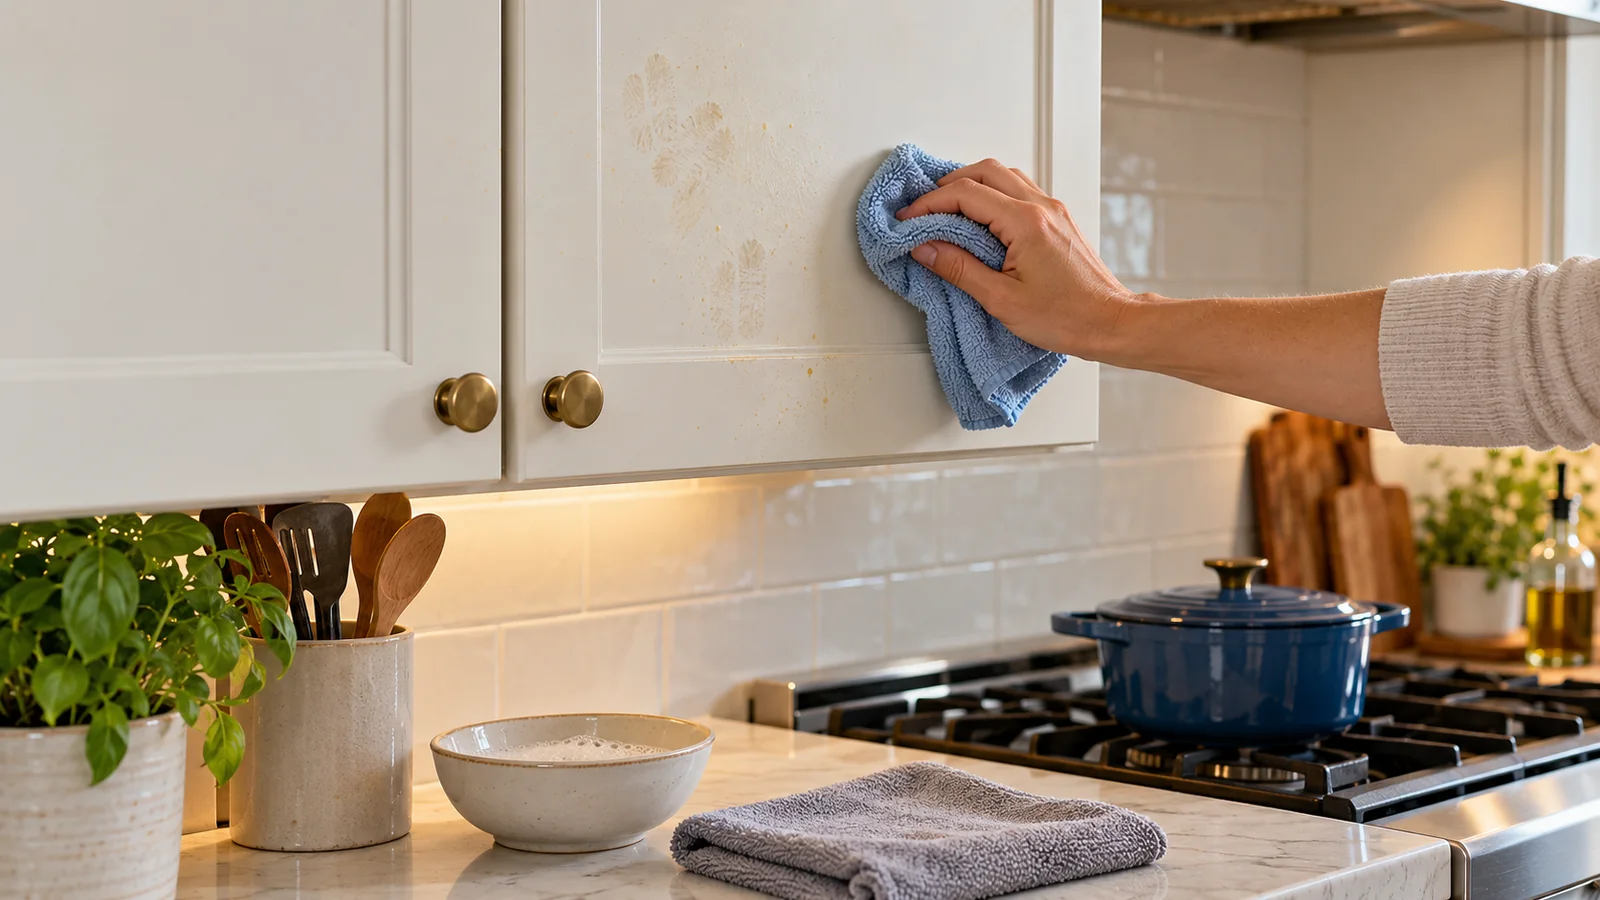
How to Clean Grease Off Kitchen Cabinets Without Dulling the Finish
Quick answer: Identify the cabinet finish and test inside a door. Remove dry grit with a soft cloth. For stained or painted cabinets, start with a clean cloth wrung almost dry in warm water; for grease, use the mild dish-soap dilution allowed by the cabinet maker. Work one small section, wipe again with a clean barely damp cloth, and dry immediately—especially seams, lower edges, veneer, hinge cups, and areas around handles. Stop if color transfers, the finish turns tacky, or an edge swells.
Grease removal is a finish-preservation problem. Stronger degreaser is not automatically more effective: it can soften paint, cloud clear coat, lift thermofoil adhesive, or push moisture into fiberboard. Start by identifying the surface and how the soil behaves during a hidden test.
Match the method to the cabinet surface
| Cabinet surface | Safe starting point | Main risk |
|---|---|---|
| Factory-painted or stained wood | Maker-approved mild soap solution on a well-wrung cloth | Dulling, softening, or wearing through the finish |
| Wood veneer | Minimal moisture, wipe with grain, dry edges immediately | Water can lift veneer or enter substrate |
| Laminate or melamine | Mild soap and soft cloth, then clean-water wipe | Water can swell exposed seams and particleboard |
| Thermofoil/vinyl wrap | Gentle soap solution; keep heat and liquid away from edges | Adhesive failure and peeling near ovens or kettles |
| Unfinished, waxed, hand-painted, or unknown | Dry soil removal and hidden test only | Ordinary cleaner may permanently alter color or sheen |
Time: 20–45 minutes for a small bank of cabinets. Difficulty: easy, with a moderate risk to delicate finishes. Supplies: several white microfiber cloths, mild dish soap if approved, two small containers of clean water, cotton swabs for hardware edges, and dry towels.
Stop-test boundary: Work inside one door first. Stop if the test cloth picks up cabinet color, the surface becomes sticky or cloudy, gloss changes, veneer lifts, thermofoil bubbles, or a seam swells. Do not mix cleaners or use bleach, ammonia, solvent, nail-polish remover, oven cleaner, steel wool, or scouring powder on a finish unless its manufacturer explicitly allows it.
The two-cloth method for everyday grease
- Protect the work area. Turn off and cool nearby appliances. Place a dry towel on the counter or floor where drips could reach stone, wood, or electrical outlets.
- Remove dry grit. Wipe with a clean dry microfiber cloth so dust does not become abrasive paste.
- Mix the mildest approved solution. MasterBrand says about 5% dishwashing liquid to 95% warm water can be used for extra grime on its stained or painted cabinets. Use your cabinet maker’s dilution when available.
- Wring the cleaning cloth thoroughly. It should feel damp, not release drops when squeezed.
- Work from the least dirty area toward the greasy zone. Wipe with the grain or finish direction. Fold the cloth often so grease is lifted rather than redistributed.
- Clean around handles carefully. Hold the door with a dry cloth, then wipe the pull, finger groove, and adjacent finish. Do not flood screw holes or hinge cups.
- Remove soap film. Use a second white cloth barely damp with clean water. Residual detergent can feel sticky and attract new soil.
- Dry immediately. Use a third soft cloth on panels, profiles, bottom edges, seams, and around hardware.
Grease severity test: repeat or stop?
| After the first pass | What it means | Next step |
|---|---|---|
| Yellow or brown grease transfers to the cloth; finish stays stable | The method is lifting removable soil | Repeat the same mild process with a clean cloth |
| Surface feels sticky but cloth shows little grease | Soap residue may remain—or the finish may be softening | Clean-water wipe once; stop if tackiness persists |
| Paint or stain color transfers | Finish is failing or cleaner is too strong | Stop and contact the cabinet maker or refinisher |
| Edge grows, bubbles, or lifts | Moisture or heat damage at substrate/adhesive | Dry immediately and stop wet cleaning |
| Flat dark shadow remains but surface is clean and dry | Permanent finish discoloration is possible | Do not scrub through the coating to erase it |
Older, polymerized grease near the range
Thin cooking-oil droplets can cure into a hard amber film. Begin with the same mild method and repeat short passes, allowing the damp cloth to rest on the spot only as long as the finish instructions permit. Do not jump directly to oven cleaner or concentrated degreaser; those products may dissolve the cabinet coating before they remove the grease.
- Use a fresh section of cloth for every small zone.
- Keep cleaner off the cabinet top edge and the seam where the face meets the box.
- Do not scrape with a razor, putty knife, melamine foam, or fingernail.
- If the maker offers a cabinet-specific cleaner, test it in the same hidden area before treating the greasy panel.
- Stop after the removable film is gone, even if the finish underneath has aged to a different color.
Special zones that need less liquid
Lower edges and sink-base doors: dry immediately because water can wick into particleboard. Above the oven or kettle: inspect for heat-softened thermofoil before wiping. Glass inserts: put glass cleaner on the cloth and keep it off surrounding wood or finish. Hinges and soft-close hardware: remove surface soil without flushing lubricant from the mechanism.
Should you remove handles?
Removing hardware can make a deep clean easier, but it is not always necessary. If you do, photograph the orientation, support the pull while loosening the screw, and keep cleaner out of the exposed hole. Do not overtighten during reassembly; a screw can crush fiberboard or spin the insert. If a pull is loose because the substrate is damaged, cleaning will not repair it.
Why cabinets feel sticky after cleaning
- Too much detergent: wipe once with a clean, barely damp cloth and dry.
- Dirty rinse water or cloth: replace both; otherwise grease is spread back over the door.
- Polish or wax buildup: check the manufacturer before attempting removal. MasterBrand advises against wax and polish on its finishes because buildup can haze or yellow.
- Softened or failing coating: stop. Repeated wiping can remove color and expose the substrate.
The clean-finish test
View the dry door from the front and at an angle. It should feel dry—not tacky—without streaks, soap film, color transfer, swollen seams, lifted veneer, or changed gloss. Open and close it to confirm the handle and hinge area stayed dry and secure. A permanent grease shadow or heat-yellowed finish is a refinishing issue, not a reason to keep scrubbing.
Frequently asked questions
Can I use vinegar on wood cabinets?
Only if the cabinet manufacturer approves it. MasterBrand’s general route uses warm water and mild dishwashing liquid; acid can dull or alter some coatings.
Is baking soda safe on cabinet grease?
Not as a universal method. It is abrasive and can change sheen, especially on paint and clear coat. Use the finish maker’s approved cleaner.
Can I spray degreaser directly on cabinet doors?
No. Direct spray can run into seams, hardware holes, and hinge cups. Apply an approved product to a cloth and work in small sections.
Related kitchen cleanup
- Clean the range-hood grease filter that captures airborne oil
- Remove grease from a microwave without flooding vents
- Choose a finish-safe oven-cleaning route
Sources
Updated and source-checked October 20, 2026. Cabinet coatings, adhesives, edge materials, and approved cleaners vary by manufacturer and product line.