Garbage Disposal Not Draining? Safe Steps to Clear It
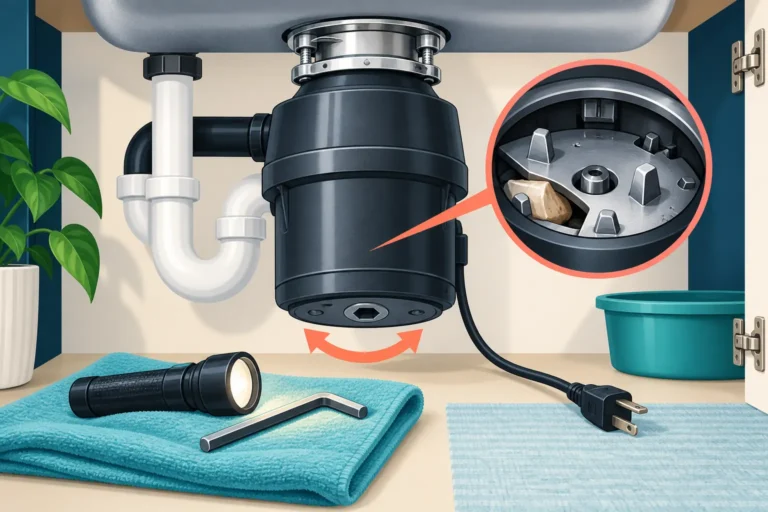
If your garbage disposal sounded normal but water stayed in the sink, suspect the disposal outlet, P-trap or downstream drain—not automatically a failed motor. Stop adding food and keep the dishwasher off. Never put your hand inside. Before any plunging, bailing or pipe work, use the safety checks below: power must be safely isolated, the area electrically safe, and the water free of drain treatment or unknown chemicals. If another fixture is also backing up, stop adding wastewater and get plumbing help instead of working on the disposal.
Check whether to stop · Follow the drain-only steps · Decide whether it is safe to return to use
What the symptom points to
| What you notice | Likely location | Safest next step |
|---|---|---|
| Water swirls while the motor sounds normal | Disposal outlet, P-trap, or branch drain | Use the safety gates before considering a plunger |
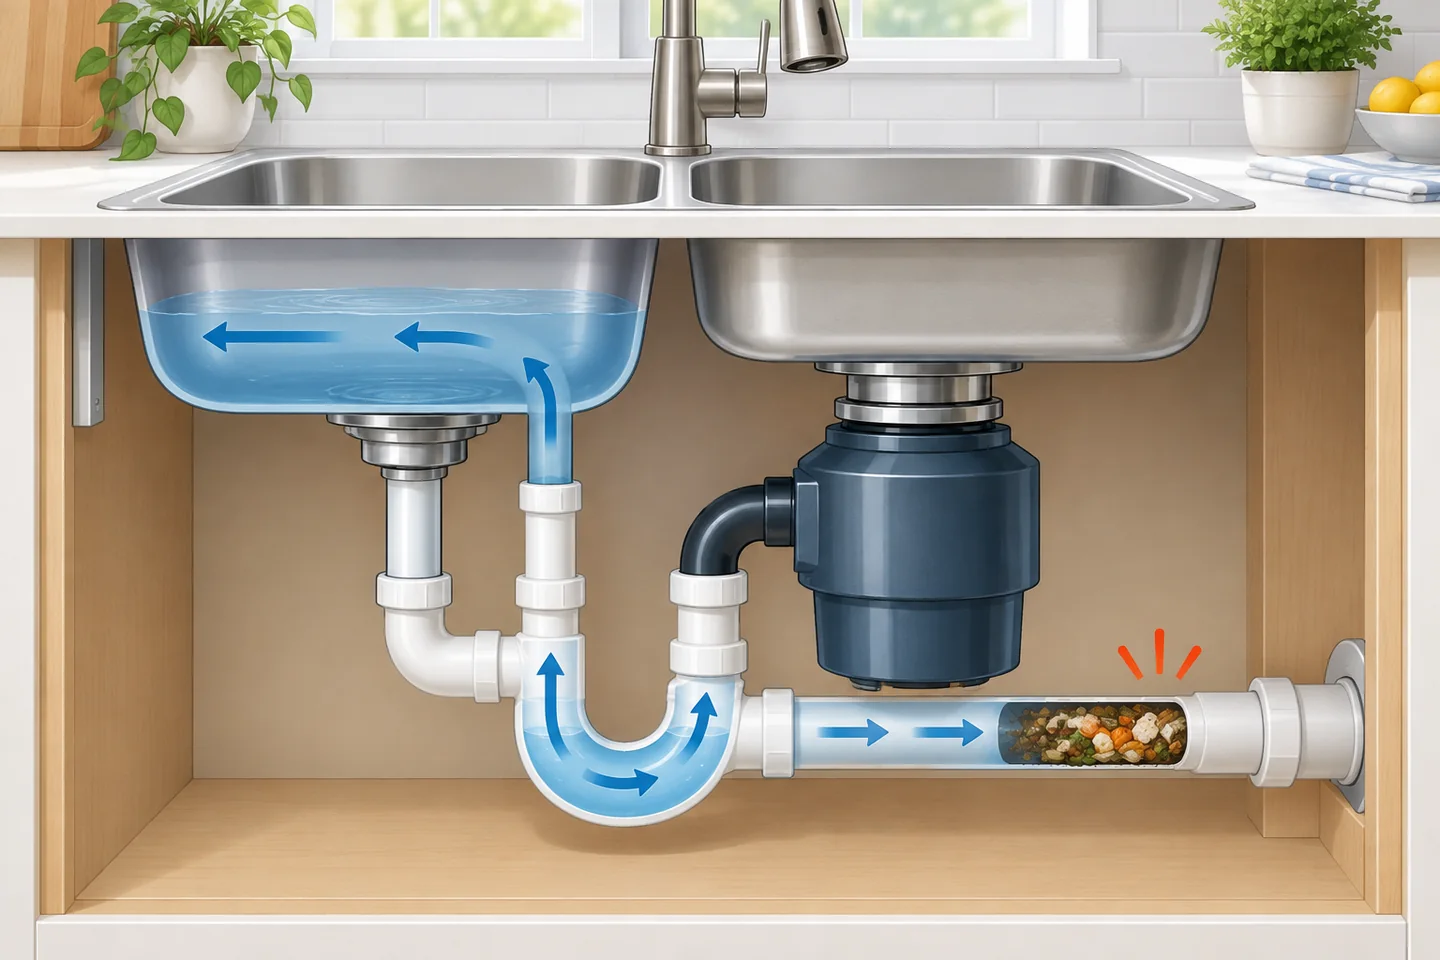
| Both bowls of a double sink fill | Shared trap or downstream drain | For an isolated sink problem only, use the safety-gated plunger route; stop if it persists |
| Only the other sink bowl backs up when the disposal runs | Restriction in the shared drain path | Keep the disposal and dishwasher off; do not run them again to locate the clog |
| Steady hum with no grinding | Jammed grinding mechanism | Switch off immediately and use the humming guide |
| Kitchen sink plus another fixture drains slowly | Deeper branch or main-drain problem | Stop adding wastewater and get plumbing help; no comparison tests |
| Problem began after a new installation | Misaligned connection, trapped debris, or an existing clog | Have the installation and drain layout checked |
Before working near the drain: three stop checks
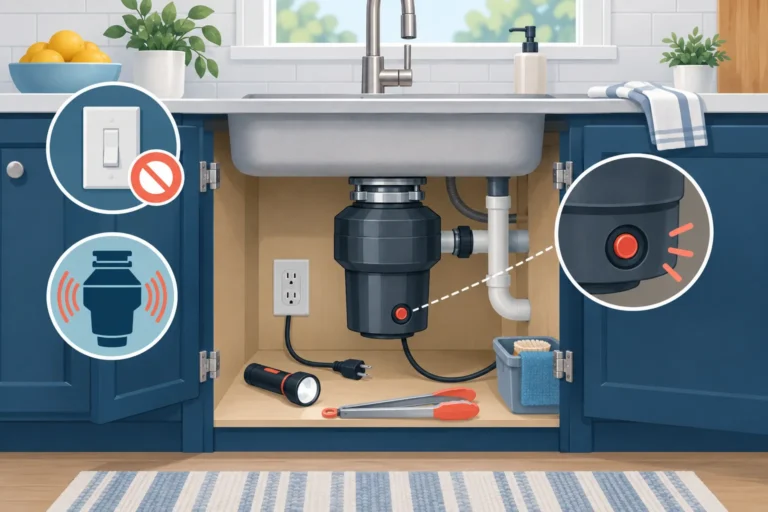
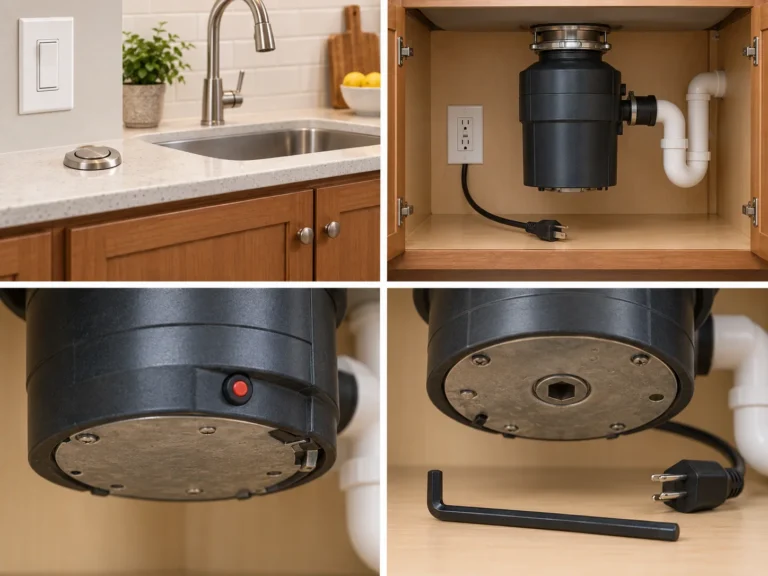
1. Electrical safety: switch off using a dry control only if safely reachable. Isolate disposal power before tools or plumbing work: unplug only with dry hands, a dry floor and dry accessible plug/outlet; for hardwired units use the identified circuit breaker from a safe dry position. Do not open an electrical panel or touch wet cords, outlets, switches or appliances. If you cannot safely identify and isolate the circuit, stop and get qualified help. Never reach inside, even with power disconnected.
2. Chemical uncertainty: if drain cleaner, bleach, acid or another treatment is present—or you cannot establish what was added—do not scoop, plunge, insert tools or disconnect pipes. Keep others away and tell the plumber what may be present. Do not add another product. Poison Control explains the corrosive splash risk.
3. Wider backup or wet electrics: if several fixtures newly drain slowly or wastewater comes up elsewhere, stop adding wastewater from toilets, taps and water-using appliances; do not reproduce the symptom. Get plumbing or local utility help as appropriate. If water has reached electrical equipment, avoid the affected area and get qualified electrical assessment before reuse—not merely a wipe-dry and restart. See utility backup guidance and ESFI guidance on water-damaged electrical equipment; use your own utility’s local response rules.
What you may need
- Sink plunger with a flat cup
- Stopper or wet cloth for the second bowl of a double sink
- Bucket, towels, waterproof gloves and eye protection
- The tools specified for your exact removable trap fittings, only if that optional job is appropriate; no force on stuck or damaged parts
- Flashlight
How to clear a garbage disposal that is not draining
1. Confirm that this is a drain problem
Use the sound and water movement you already observed; do not restart the disposal simply to recreate a backup. A normal motor sound with water spinning in the sink points toward a clogged drain line. If the unit hums without grinding, switch it off immediately and follow the safe jam-clearing guide. If it makes no sound, use the checks in Garbage Disposal Not Working.
2. Remove enough standing water to work safely
Only after all three safety checks pass and disposal power is isolated, carefully transfer excess plain wastewater from the basin to a bucket if needed to prevent overflow. Leave enough water to cover the plunger cup. Do not bail chemical-treated or uncertain water. Keep the floor, cabinet and electrical components dry; stop for a leak or splash hazard. Keep the dishwasher off because its discharge can enter the blocked sink plumbing.
3. Plunge the disposal opening
For an isolated sink blockage with intact plumbing, no electrical hazard, no chemical uncertainty and power isolated, InSinkErator’s clogged-disposal instructions support plunging. Check your own model’s instructions first. Seal the other bowl with a stopper or wet cloth. Cover the plunger cup with water without approaching overflow; InSinkErator describes about 4 inches (10 cm), not a universal fill requirement for every sink. Center the cup, press down gently and pull up firmly. Stop if a connection leaks, the fitting moves or the water will not clear; do not increase force to compensate.
Remove the plunger and watch the existing water. Keep disposal power isolated. Use tongs for accessible loose debris only, never your hand; do not force a tool into the mechanism. GE’s drain guidance also puts power-off and no-hands precautions first. If the water clears, use the limited plain-water check and return-to-use conditions below—not an immediate powered test.
4. Consider the removable P-trap only if the job is within your limits
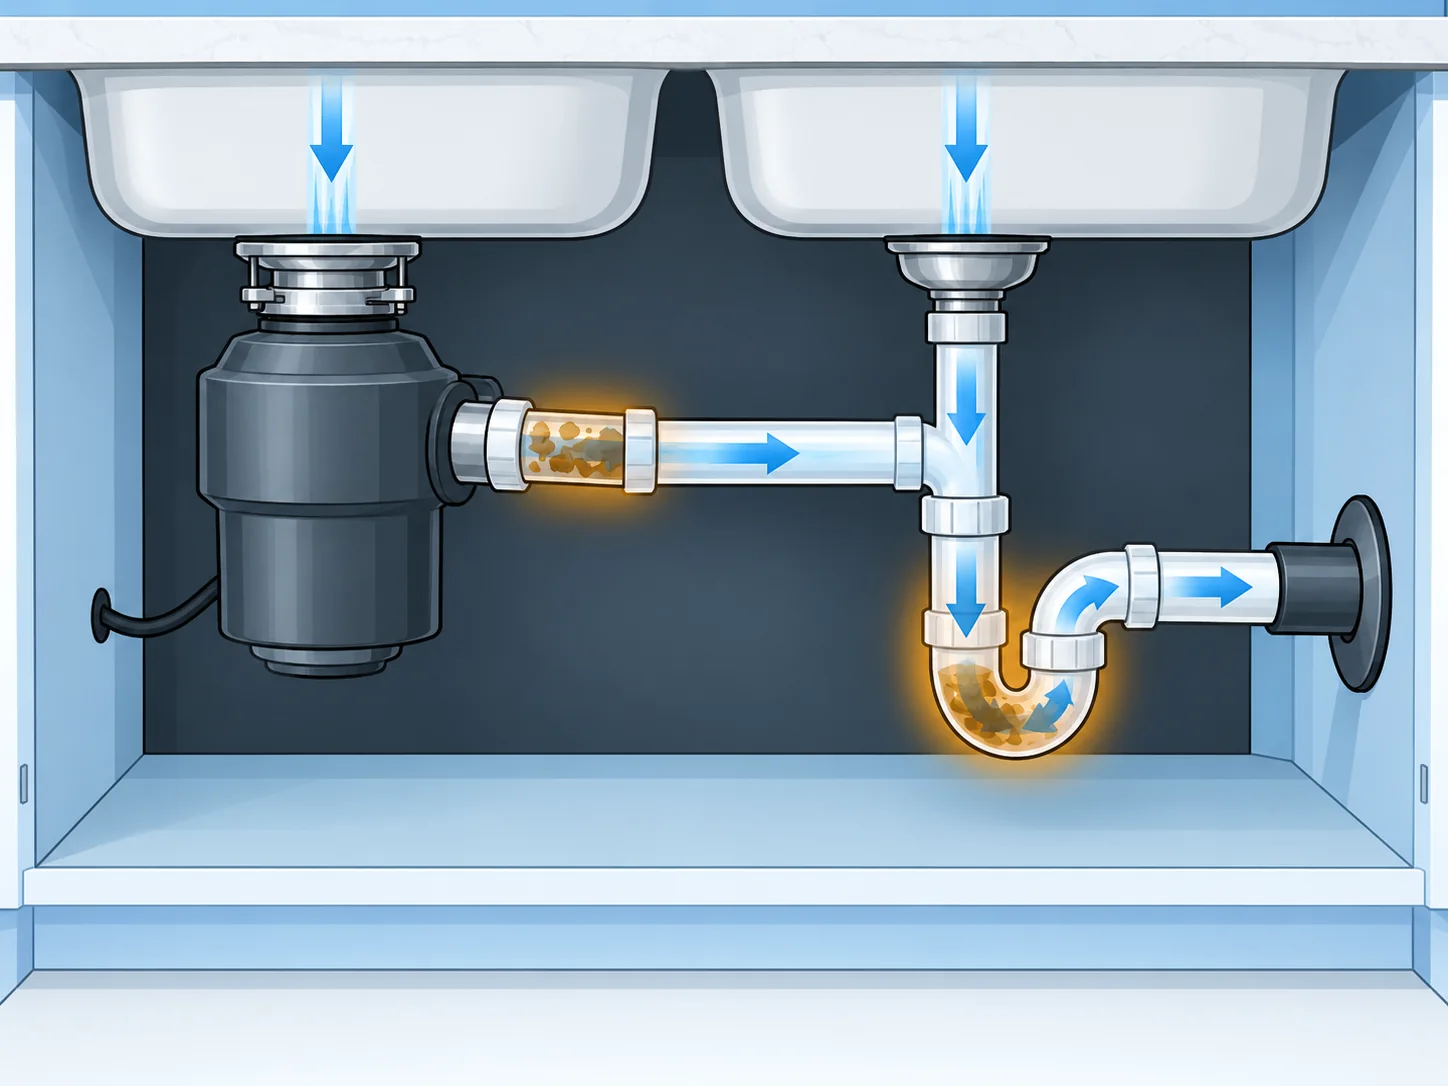
The disposal itself does not have a removable water trap; the P-trap is the U-shaped pipe below the discharge connection. Removal is optional, not the next step for every reader. Proceed only with power isolated, cool plumbing, known chemical-free water, no shared-backup warning and a dry electrically safe area. The trap must be accessible, sound and designed for removal, with its exact assembly instructions available. A glued, corroded, cracked, unfamiliar or stuck fitting is a plumber’s job. Do not dismantle the disposal body or electrical connections.
Reduce basin water only under the safe bailing conditions above; expect additional retained water in the trap and connected piping. Place a wide bucket underneath, photograph the arrangement and support the trap while loosening its removable nuts according to its instructions. Stop if parts resist or the bucket cannot contain the water. Remove accessible soft debris with a nonmetallic brush; do not force a tool into the wall drain. Refit the specified seals, washers and nuts in the manufacturer’s order without pulling pipes into alignment or overtightening. This Oatey trap instruction sheet illustrates why the exact assembly matters; its parts and tightening advice are not universal. A drip can mean a damaged part or poor fit, not just a washer turned the wrong way. If you cannot restore a sound assembly, leave it out of use and get help.
5. Stop if the trap is clear but the sink still backs up
A clear trap with continued standing water suggests a blockage farther into the branch drain, a venting problem, or an installation issue. Keep disposal power isolated and the dishwasher off; do not repeat motor runs, resets or stronger plunging, and do not improvise with corrosive chemicals. A plumber can clear the line without exposing someone later to trapped cleaner or damaging the disposal and pipe connections.
Check drainage with power isolated, then decide
Only with all connections and guards correctly refitted, tools removed, known chemical-free water, no leak or shared-backup warning and a dry electrically safe area, keep disposal power isolated and admit a small amount of plain water. Watch the basin and accessible joints. Stop the water immediately if it rises, escapes a joint or returns in the other bowl. Do not fill both bowls, run the dishwasher or operate the motor as a stress test.
| Result | What it means | Next decision |
|---|---|---|
| Plain water drains normally and accessible joints stay dry | The local drainage check passed; this does not certify hidden pipes or water-damaged electrics | Return to the model manual’s normal startup only if all tools are removed, the assembly is complete, the area is dry and there was no electrical exposure or warning. Otherwise get qualified assessment first |
| Water stays, returns to the other bowl or the restriction soon recurs | The drain problem is not resolved or its cause is uncertain | Leave the disposal isolated and dishwasher off. Get a plumber; no repeated motor runs, force or chemicals |
| A joint leaks, electrical parts are wet, or another fixture backs up | A stop condition overrides apparent improvement | Stop adding water to the leaking sink. For shared backup, stop household wastewater use. Avoid wet electrical areas; get appropriate plumbing and electrical help |
After a genuinely safe return to normal operation, stop for a new hum, trip, burning smell, leak or slowing drain. Do not keep resetting the unit. A previously wet appliance or outlet needs qualified assessment before reuse even if its outside now looks dry.
Why the sink may back up into the other bowl
In many double sinks, both bowls join the same trap or branch pipe. If the shared path is clogged, the running disposal pushes water toward the open bowl instead of down the drain. Both bowls belong to one sink; that alone is not proof of a main-sewer blockage. Use the sealed-second-bowl plunger method only under the safety conditions above. If it persists or returns, stop and arrange drain inspection rather than running the disposal to locate the obstruction. A backup in a separate fixture is a wider stop-use warning.
Do not pour drain cleaner into the disposal
Standing water can hold a concentrated chemical where it may splash during plunging or spill when someone opens the trap. Some disposal manuals prohibit chemical drain openers, so follow the care instructions for your exact model. A baking soda and vinegar mix is not a dependable substitute for a compacted food or grease clog: Poison Control explains why the reaction is unlikely to clear a tough clog in an ordinary drain. If a chemical has already been added, keep people away from the sink, do not scoop, plunge, insert tools or disconnect pipes, and tell the plumber what product and amount were used, if known. Treat uncertainty as a stop condition, not permission to try.
If the problem started after a new installation
If drainage stopped immediately after a disposal or dishwasher connection changed, check the model’s installation instructions instead of repeatedly plunging. Distinguish the sink path from the dishwasher inlet: a dishwasher-port knockout left in place can prevent dishwasher discharge, but is not normally the explanation for water failing to leave the sink itself. Incorrect discharge-pipe alignment or an existing downstream clog needs a different check. Ask the installer to use the exact model instructions; do not knock out a plug, remove a hose or run either appliance just to investigate. Do not guess at an unfamiliar fitting; keep the disposal off and ask the installer or a plumber to verify it. If the appliance itself is not draining, use the dishwasher-not-draining guide separately.
When to call a plumber
- The P-trap is clear but the sink remains blocked.
- Several fixtures drain slowly or back up at the same time.
- Wastewater enters the dishwasher or another fixture.
- The clog returns soon after being cleared.
- A pipe is corroded, cracked, glued in place, or cannot be reassembled without leaking.
- Drain cleaner or an unknown chemical is in the standing water.
Do not reach for a wet plug or touch a wet disposal to disconnect it. Isolate power only from a safely reachable dry control/correct breaker, otherwise get qualified help. Leave affected equipment out of use pending assessment. Use the disposal leak-location guide to identify the source without energizing a wet appliance.
How to prevent another disposal clog
- After the blockage is resolved and the unit is safe to use, follow your model’s cold-water flow and after-run instructions during normal operation; do not use these as a test of a blocked drain.
- Feed small amounts gradually instead of packing the chamber.
- Keep grease and fat out of the disposal and drain.
- Follow the restrictions in the manual for fibrous scraps, starches, bones, pits, and shells.
- Stop when drainage slows; continued grinding can compact more waste into the pipe.
Sources
This guide was checked against current manufacturer instructions and established repair guidance. Your disposal manual and local plumbing requirements take priority when they differ from general advice.