How to Clean a Shower Head Without Damaging the Finish
Quick answer: Start with the gentlest method: wipe the shower head with warm water and a soft cloth, then rub flexible spray nozzles with your fingers while the water runs. If mineral deposits remain, check the manufacturer’s care instructions before using vinegar or a descaler, because acidic cleaners can damage some special finishes. Rinse thoroughly, run the shower, and buff it dry.
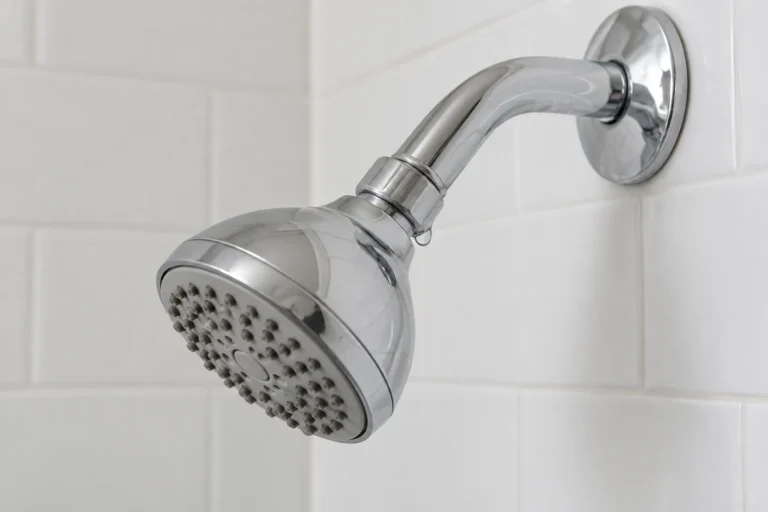
A shower head with uneven spray, white crust, or reduced flow usually has mineral buildup around its nozzles or screen. Cleaning often restores the spray pattern, but the right method depends on the finish and design. Chrome, brushed nickel, brass, matte black, handheld, and rainfall fixtures do not all tolerate the same products.
This guide starts with a low-risk cleaning method, then explains when a deeper soak makes sense and when low flow points to a plumbing or fixture problem instead.
Choose the safest method for your shower head
| What you have | Best first step | What to avoid |
|---|---|---|
| Flexible rubber spray nozzles | Rub each nozzle gently while warm water runs | Needles, pins, and hard scraping tools |
| Chrome or stainless-look finish | Warm water, mild dish soap, and a soft cloth | Abrasive pads and gritty powders |
| Brushed nickel, brass, gold, matte, or oil-rubbed finish | Water and a soft cloth; use only cleaners approved by the maker | Vinegar or acidic descaler unless the care guide permits it |
| Handheld shower head | Clean the face and nozzles first; inspect the hose for a kink | Twisting or pulling the hose fittings |
| Large rainfall or ceiling-mounted head | Wipe and rub the nozzles in place if safely reachable | Standing on an unstable surface or forcing off a heavy fixture |
Safety first: Never mix vinegar, descaler, bleach, ammonia, or bathroom cleaners. Protect nearby natural stone from acidic drips, follow the product label, and use gloves and eye protection when directed. Work from the floor or a stable platform—do not overreach in a wet shower.
How to clean a shower head step by step
1. Identify the finish and check the care instructions
Look for the brand or model on the shower head, trim plate, installation paperwork, or purchase record. The manufacturer’s instructions take priority over a general cleaning recipe. This matters most for living finishes, plated brass, matte colors, and fixtures with coatings that may react to acid or prolonged soaking.
If you cannot identify the model, begin with warm water and a soft microfiber cloth. Test any approved cleaner on a small, inconspicuous area and do not leave it on longer than the label allows.
2. Wipe away soap film and loose deposits
Dampen a soft cloth with warm water and wipe the face, rim, and body. If the care instructions allow mild soap, place a drop on the cloth instead of spraying cleaner directly onto the fixture. This limits cleaner entering seams and openings. Wipe again with clean water.
For regular care, Delta recommends a damp, nonabrasive sponge with water or mild soap, followed by drying with a soft cloth. Hansgrohe similarly advises putting cleaner on a soft cloth rather than spraying the fixture directly.
3. Rub flexible nozzles while the shower runs
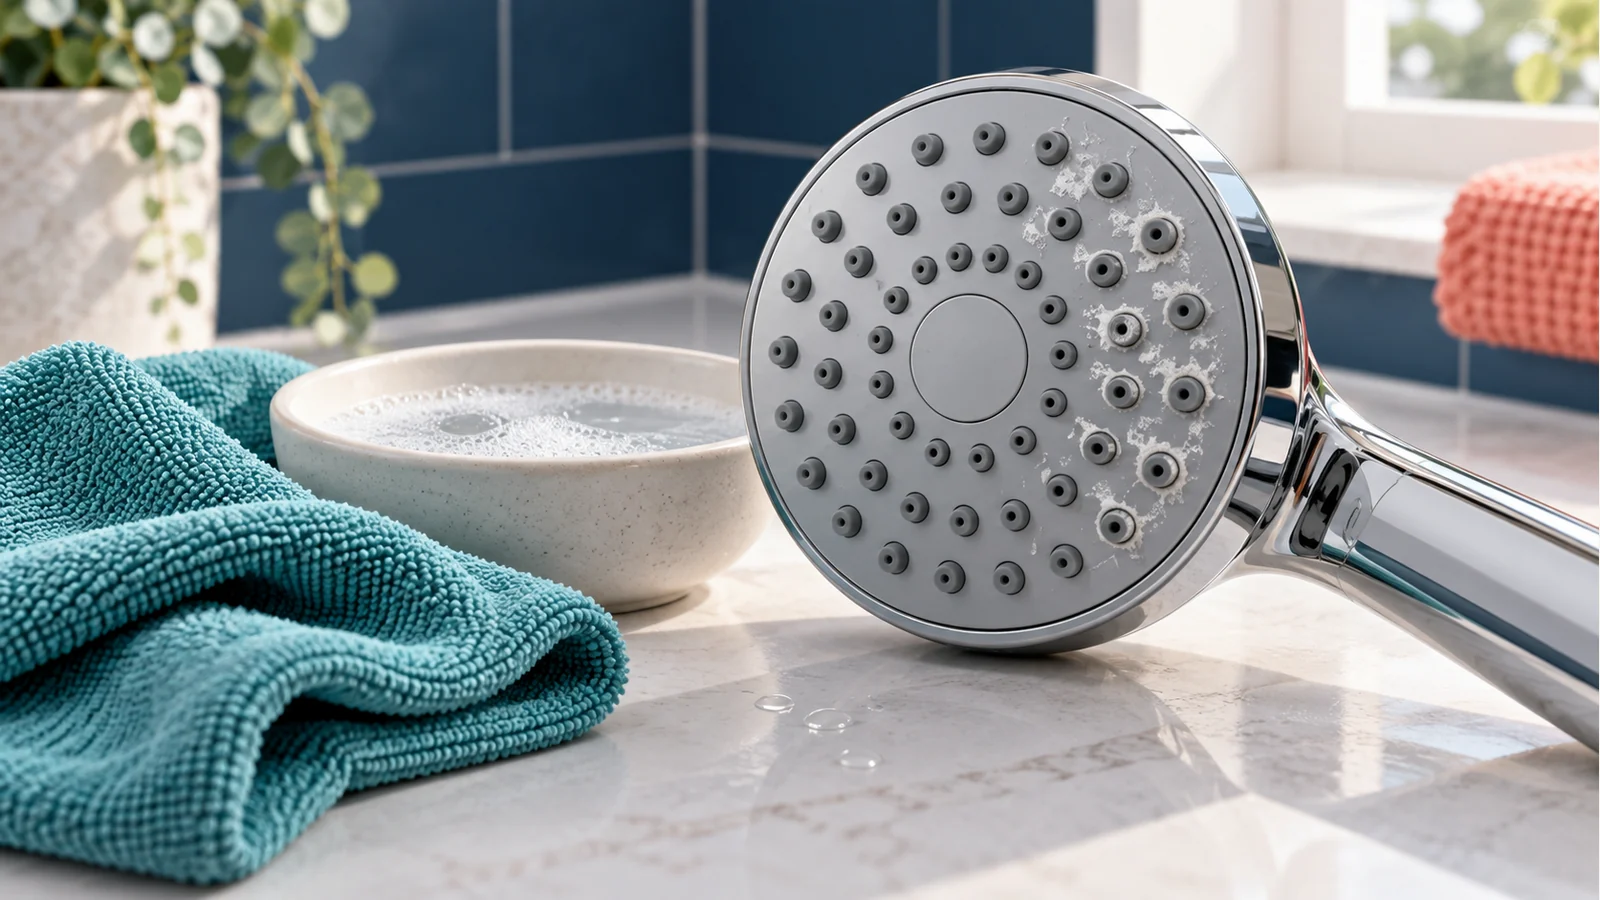
Turn on warm water at a comfortable flow. Use a fingertip or soft cloth to massage each flexible rubber nozzle. Work across the spray face in rows so you do not miss clogged openings. The movement breaks loose scale at the outlet, and running water carries the particles away. Kohler specifically recommends rubbing the spray holes while water is flowing on compatible models.
Avoid poking the holes with a needle, paper clip, or knife. A sharp object can enlarge or deform a nozzle, push debris farther inside, or damage an internal spray plate.
4. Treat stubborn mineral buildup only if the finish allows it
If white or chalky deposits remain, consult the manufacturer before using vinegar or a limescale remover. For a fixture that explicitly allows vinegar, wet a cloth with the permitted dilution and hold it against the affected area, or use the maker’s approved soaking method. Start with the shortest recommended contact time; if the instructions permit a soak but give no inspection interval, check the surface after about 15 minutes.
A plastic bag tied around an installed shower head is commonly suggested, but it is not universal. Use it only when the manufacturer permits soaking. Add just enough solution to contact the spray face, secure the bag without pulling on the shower arm, and keep the solution off surrounding stone and metal. Never leave an unknown finish soaking overnight.
5. Rinse, flush, and dry
Remove all cleaner with fresh water. Run the shower for one to two minutes, directing the first flow away from your face. Check whether every nozzle has a steady stream and whether the spray pattern is even. Wipe the fixture dry with a clean microfiber cloth to reduce fresh water spots.
Should you remove the shower head?
Cleaning in place is usually enough when buildup is limited to the face and nozzles. Removal may help when the inlet screen is clogged or the manufacturer specifies a full soak. Before loosening anything, turn off the shower, protect the finish with a cloth, and read the model’s instructions. Support the shower arm so torque does not damage the pipe behind the wall.
For a handheld model, check the hose for a kink and look for a displaced washer at the connection. Do not use pliers directly on decorative finishes. For a ceiling-mounted rainfall head, leave removal to a qualified plumber when the fixture is heavy, hard to reach, or lacks clear service instructions.
Why the water flow may still be weak
If cleaning the nozzles does not restore the spray, the restriction may be elsewhere. Compare hot and cold flow, test another faucet, and note whether the problem affects one shower or the whole home.
- Only some jets are weak: deposits may remain in the spray plate.
- The handheld head is weak: the hose may be kinked or its screen washer may be blocked.
- One shower is weak: a valve, cartridge, inlet screen, or fixture-specific part may need service.
- Several fixtures are weak: the home’s supply pressure, shutoff valve, or plumbing may be involved.
- Flow drops suddenly or the fixture leaks: stop using it if there is a crack, loose connection, or water escaping behind the wall.
Do not remove or alter a flow regulator unless the manufacturer and local rules allow it. If the screen or filter is serviceable, follow the exact diagram for your model so the washers and seals return in the correct order.
How often to clean a shower head
Wipe the fixture during routine bathroom cleaning and rub the nozzles whenever the spray starts to fan sideways. Homes with hard water may need this more often. A light, regular wipe is easier on the finish than waiting for thick deposits and using aggressive chemicals.
Use our bathroom cleaning checklist to add the task to a practical routine. For other low-effort maintenance ideas, see these bathroom cleaning tips or browse the Bathroom guides.
Frequently asked questions
Can vinegar damage a shower head?
Yes. Vinegar can dull, discolor, or damage some plated, brass, brushed, matte, and specialty finishes, especially after a long soak. Use it only when the manufacturer approves it for your exact fixture and finish.
Can I clean a shower head without removing it?
Usually. Wiping the face and rubbing flexible nozzles under running water handles many mild clogs. Remove the head only if its care guide calls for soaking or access to a serviceable screen.
How long should a shower head soak?
There is no safe universal soaking time. Follow the manufacturer or cleaner label and use the shortest stated period. Check early rather than leaving a decorative finish unattended or soaking it overnight.
Should I use bleach?
Bleach is not the first choice for mineral scale and may damage some components or finishes. Never combine it with vinegar, descaler, ammonia, or another cleaner. Use only a product and method allowed by the fixture manufacturer.