Toilet Leaking From the Tank? Find the Exact Leak Point Before You Repair It
Quick answer: If water is appearing outside the tank, first dry the connections and tank-to-bowl seam, then watch for the first wet point as the tank refills and after one flush. A leak at the supply connection, fill-valve shank, tank bolts, or tank-to-bowl gasket needs a different repair. Do not assume a puddle near the toilet means the floor seal has failed.
Stop and get help first: Close the nearby shutoff valve and stop using the toilet if water is spreading toward an outlet, the porcelain tank is cracked, the toilet uses a pressure-assist vessel, or you cannot identify the source without disconnecting parts. Use the model manual or a qualified plumber for a pressure-assist or unfamiliar toilet.
Start with the first wet point
Many toilet leaks end up on the floor beneath the tank. That location alone does not tell you which part leaked. Water can travel down the outside of the tank or bowl before it drips.
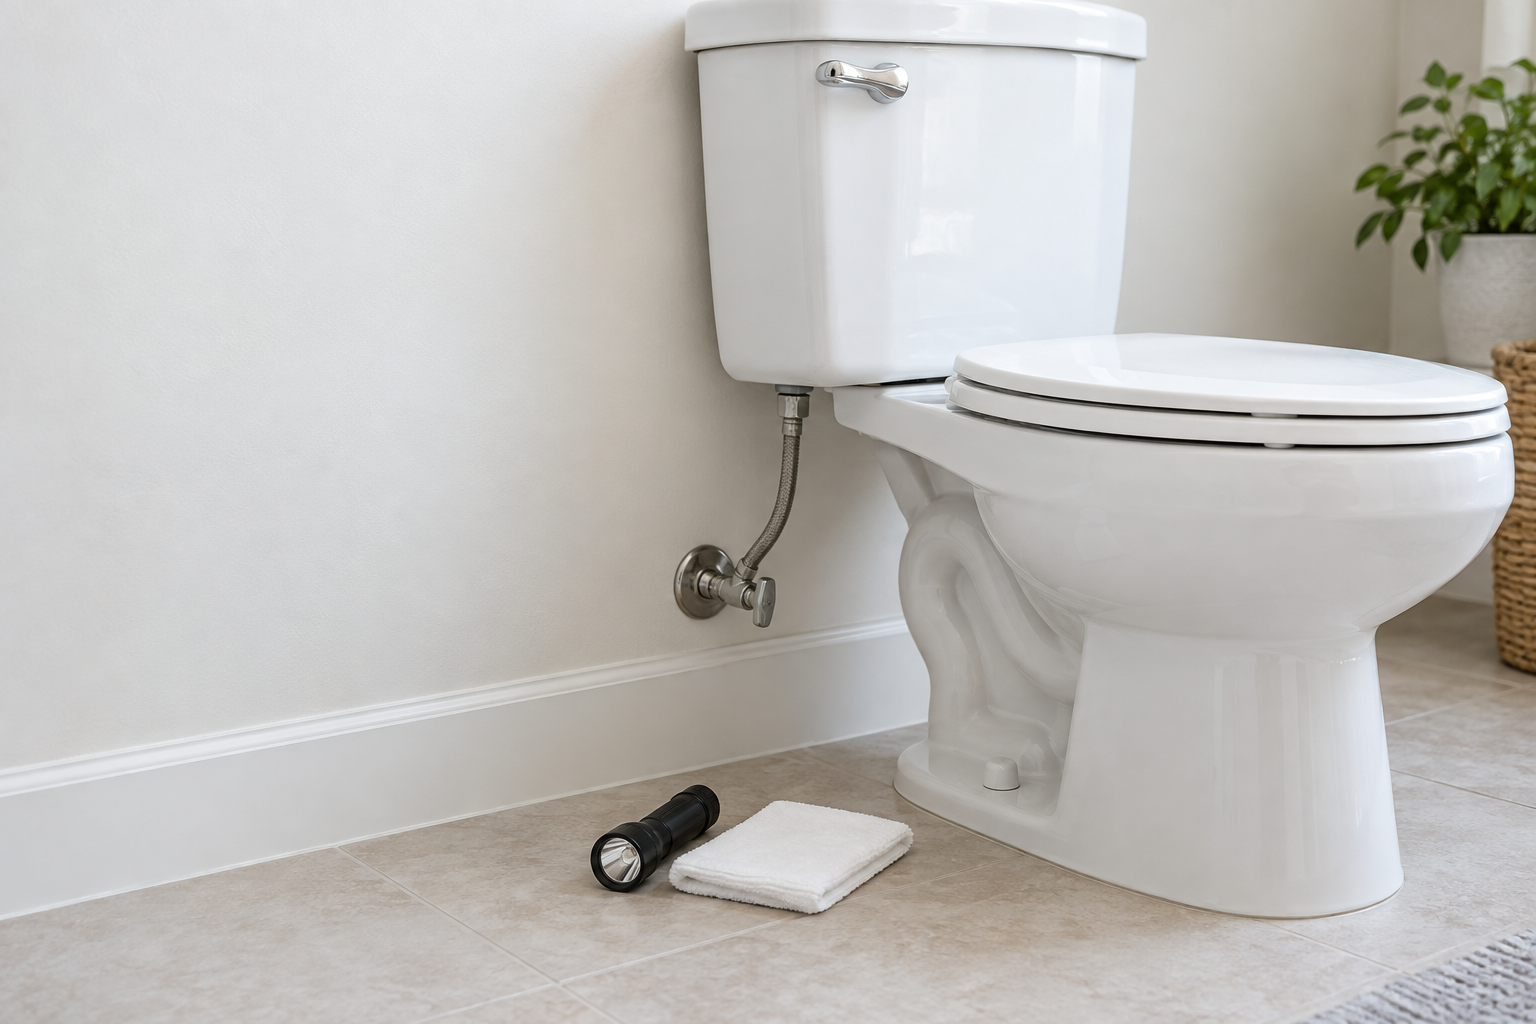
Place a dry paper towel under each suspected area: the supply nut, the threaded fill-valve shank beneath the tank, the bolts that join tank and bowl, and the seam between tank and bowl. Then let the tank fill and flush once. A flashlight helps you see whether a drop begins at a connection or only appears farther down.
| First place that becomes wet | What it can indicate | Sensible next action |
|---|---|---|
| Supply-line nut or hose | Loose connection, damaged washer, or a worn supply line | Close the shutoff valve; check the model-specific connection and replace a damaged line rather than forcing the nut tighter. |
| Around the threaded shank below the tank | Fill-valve seal or locknut issue | Shut off water and use the toilet’s manual or a compatible fill-valve instruction before any replacement. |
| At one or more tank bolts | A worn bolt washer or corroded hardware | Do not overtighten porcelain. If a gentle, even check does not stop the leak, plan a compatible bolt-and-gasket repair. |
| At the tank-to-bowl seam after a flush | A misaligned, damaged, or aged tank-to-bowl gasket | This usually requires draining and lifting the tank; use model-matched parts or arrange service. |
| No external wet point, but water runs into the bowl | Internal seal, flapper/canister, overflow, or fill issue | Use the running-toilet guide rather than replacing external tank hardware. |
Check the supply connection without forcing it
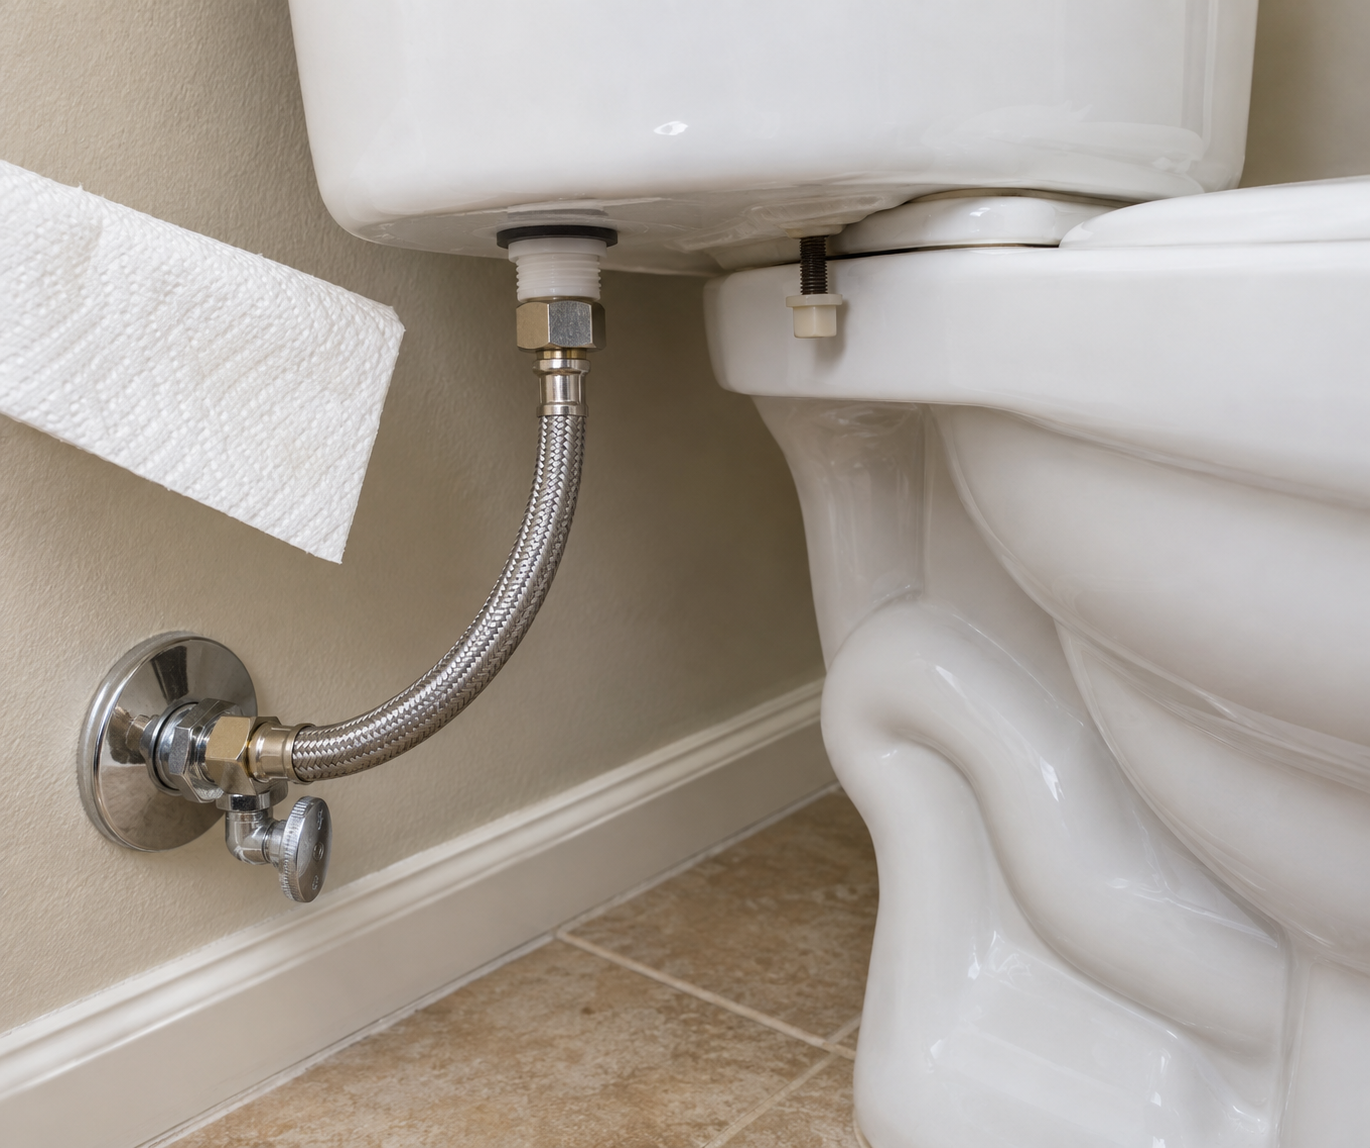
Follow the hose from the wall shutoff valve to the bottom of the tank. If the paper towel becomes wet where the hose joins the tank, close the shutoff valve before doing anything else. Look for a visibly damaged hose, a split washer, or water appearing from the connection itself.
Avoid trying to solve a persistent leak by repeatedly tightening a fitting. Threads, plastic components, and porcelain can be damaged. If the connection is not clearly secure and the toilet manual does not cover the exact part, replace the compatible supply line or ask a plumber to inspect it.
Look beneath the tank before blaming the gasket
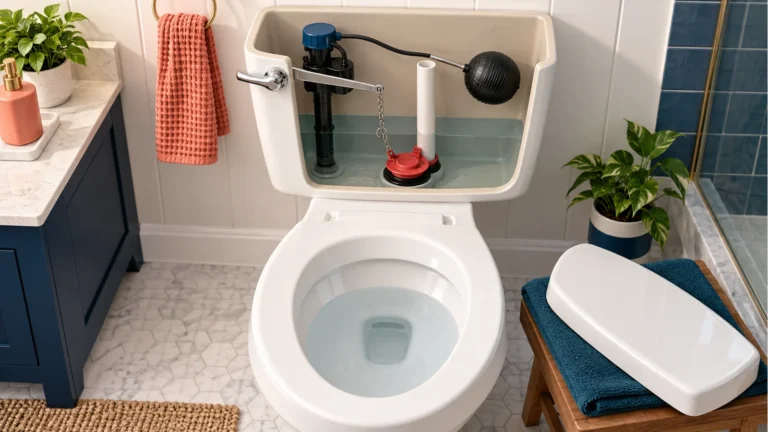
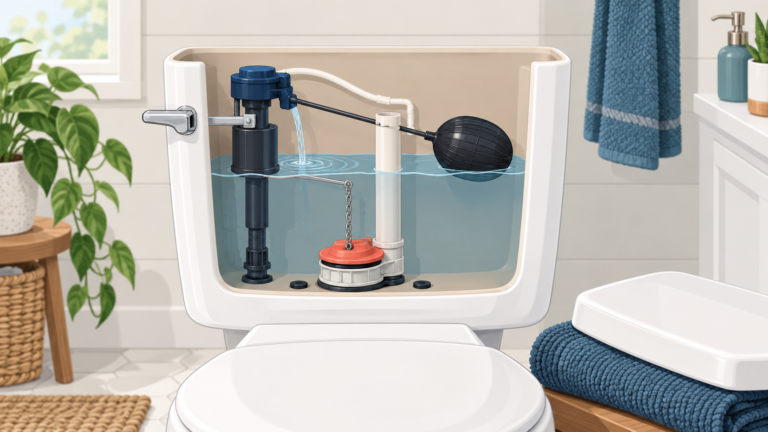
On a typical gravity-flush toilet, the fill valve passes through the bottom of the tank and is sealed there. Tank bolts also pass through the tank to join it to the bowl. Either location can send water downward, making it look as if the gasket between tank and bowl is the source.
Use the paper-towel check before you remove the tank. If the towel stays dry at the fill-valve shank and bolts but the first water appears at the central tank-to-bowl seam after flushing, the gasket becomes the more likely branch. Identify your toilet model before purchasing a kit: shapes, bolt patterns, and internal flush systems differ.
When the tank-to-bowl gasket is the likely source
The tank-to-bowl gasket sits where a two-piece toilet tank rests on the bowl. If water begins at that seam during or just after a flush, the gasket may be damaged, misplaced, or no longer sealing. Water from a bolt washer can look similar, so keep checking the bolt locations instead of treating every seam leak as the same repair.
Tank removal is a reasonable point to pause if the toilet is heavy, the bolts are corroded, the tank is cracked, or you cannot identify the correct parts. Manufacturer guidance for some models specifically warns not to overtighten tank-to-bowl nuts because porcelain can be damaged. Use the installation documentation for your exact toilet or arrange service rather than guessing at force or part fit.
Do not confuse a tank leak with water at the floor seal
Water that begins at the bottom of the toilet after a flush belongs to a different diagnosis. It may relate to the seal between the toilet and the drain opening, especially if the tank, bolts, and supply connection stay dry. Read Toilet Leaking at the Base: Find Where the Water Starts Before You Repair It for that location-first check.
If you find no water outside the tank but hear the toilet refill by itself or see water moving into the bowl, use Toilet Keeps Running? Identify Where the Water Is Going Before You Replace a Part. Drain noise or bubbling points to a different drain/vent problem; see Toilet Gurgling? Diagnose the Drain, Vent, or Sewer Problem Safely.
Prevent a small tank leak from becoming floor damage
Check behind and beneath the tank occasionally, particularly after a repair or when you notice unexplained moisture. A brief paper-towel inspection is more reliable than looking only for a puddle because water can run along porcelain before it drops. If your bathroom is humid but the connections are dry, compare the symptom with What Should Indoor Humidity Be? Targets, Warning Signs, and What to Change before treating condensation as a plumbing failure.