Washing Machine Leaking From the Bottom? Find the Source by Cycle Stage
Quick answer
If your washing machine is leaking from the bottom, stop the cycle and do not run another load until you know where the water started. A puddle under the cabinet does not prove that a pump or tub seal failed: water can travel down from a supply hose, dispenser, front-load door gasket, drain hose, or overflowing home standpipe before it reaches the floor. The fastest clues are when the water first appeared and which outside area became wet first.
Make the area safe before checking the washer
If water is near the plug, outlet, power cord, controls, or damaged wiring, do not stand in the water or touch the washer. Use the correctly identified circuit breaker only if it can be reached safely from a dry location; do not approach a wet plug or controls. Close the washer's supply valves only if safely accessible, and get qualified help.
Match the leak timing to the first safe check
Use what happened during the last cycle; do not start another cycle just to fill in this table. Leave the washer off while the source is unknown. After a large leak, electrical exposure, water entering the cabinet, or an unresolved household-drain backup, arrange qualified assessment rather than a test run. Timing and location suggest a route, not a confirmed failed part.
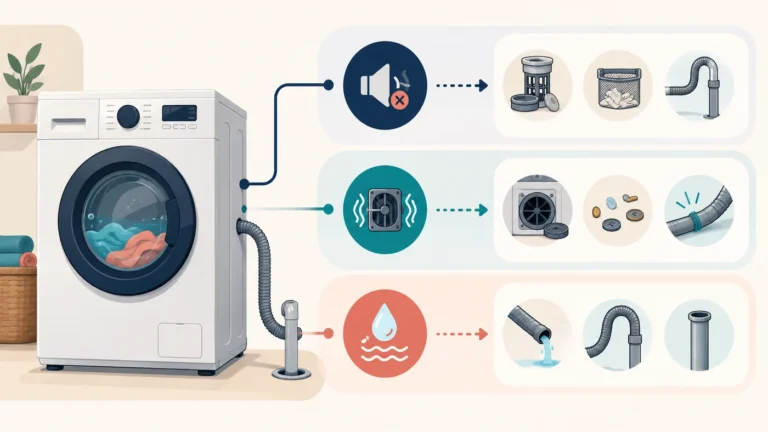
| When water first appears | What may be happening | Safe external check | Who may need to handle it |
|---|---|---|---|
| While the washer is off | A pressurized supply hose, wall valve, connection, or inlet-side component may be leaking | From a dry area, close the hot and cold supply valves if safe; look for visible moisture at the valves and hose ends | Plumber for a wall valve or building supply; appliance service if the external supply stays dry |
| As the washer fills | Water may be escaping from a supply connection, dispenser, front-load door gasket, or an overfill path | Inspect visible hoses, valves, dispenser residue, and the closed door area after the washer is safely off | Service if water comes from inside the cabinet, the gasket is torn, or filling does not stop normally |
| During wash or agitation | Suds, a door/gasket route, top-load splash, or an internal hose or tub route may be involved | Note whether water began at the front, rear, or top edge; check detergent type and amount against the manual | Service for a recurring empty-load leak, damaged gasket, unusual noise, or internal source |
| During drain or spin | The drain hose may be loose or damaged, the standpipe may be backing up, or an internal pump/hose may be leaking | Check the visible drain hose and the floor around the standpipe after the washer stops | Plumber for standpipe backflow; appliance service for an internal pump or hose |
| After a front-load door opens | A small amount left on the door glass may drip; persistent leaking with the door closed is different | Dry the exterior and note whether dripping continues with the door shut | Service if the gasket is damaged or water escapes while the door is closed |
| The timing is unknown | Water may have traveled along the cabinet or floor | Clean up only after power and water are safely controlled; record existing wet trails and recent work without restarting to recreate the leak | Arrange help if the source remains unknown; drying the floor alone is not permission to restart |
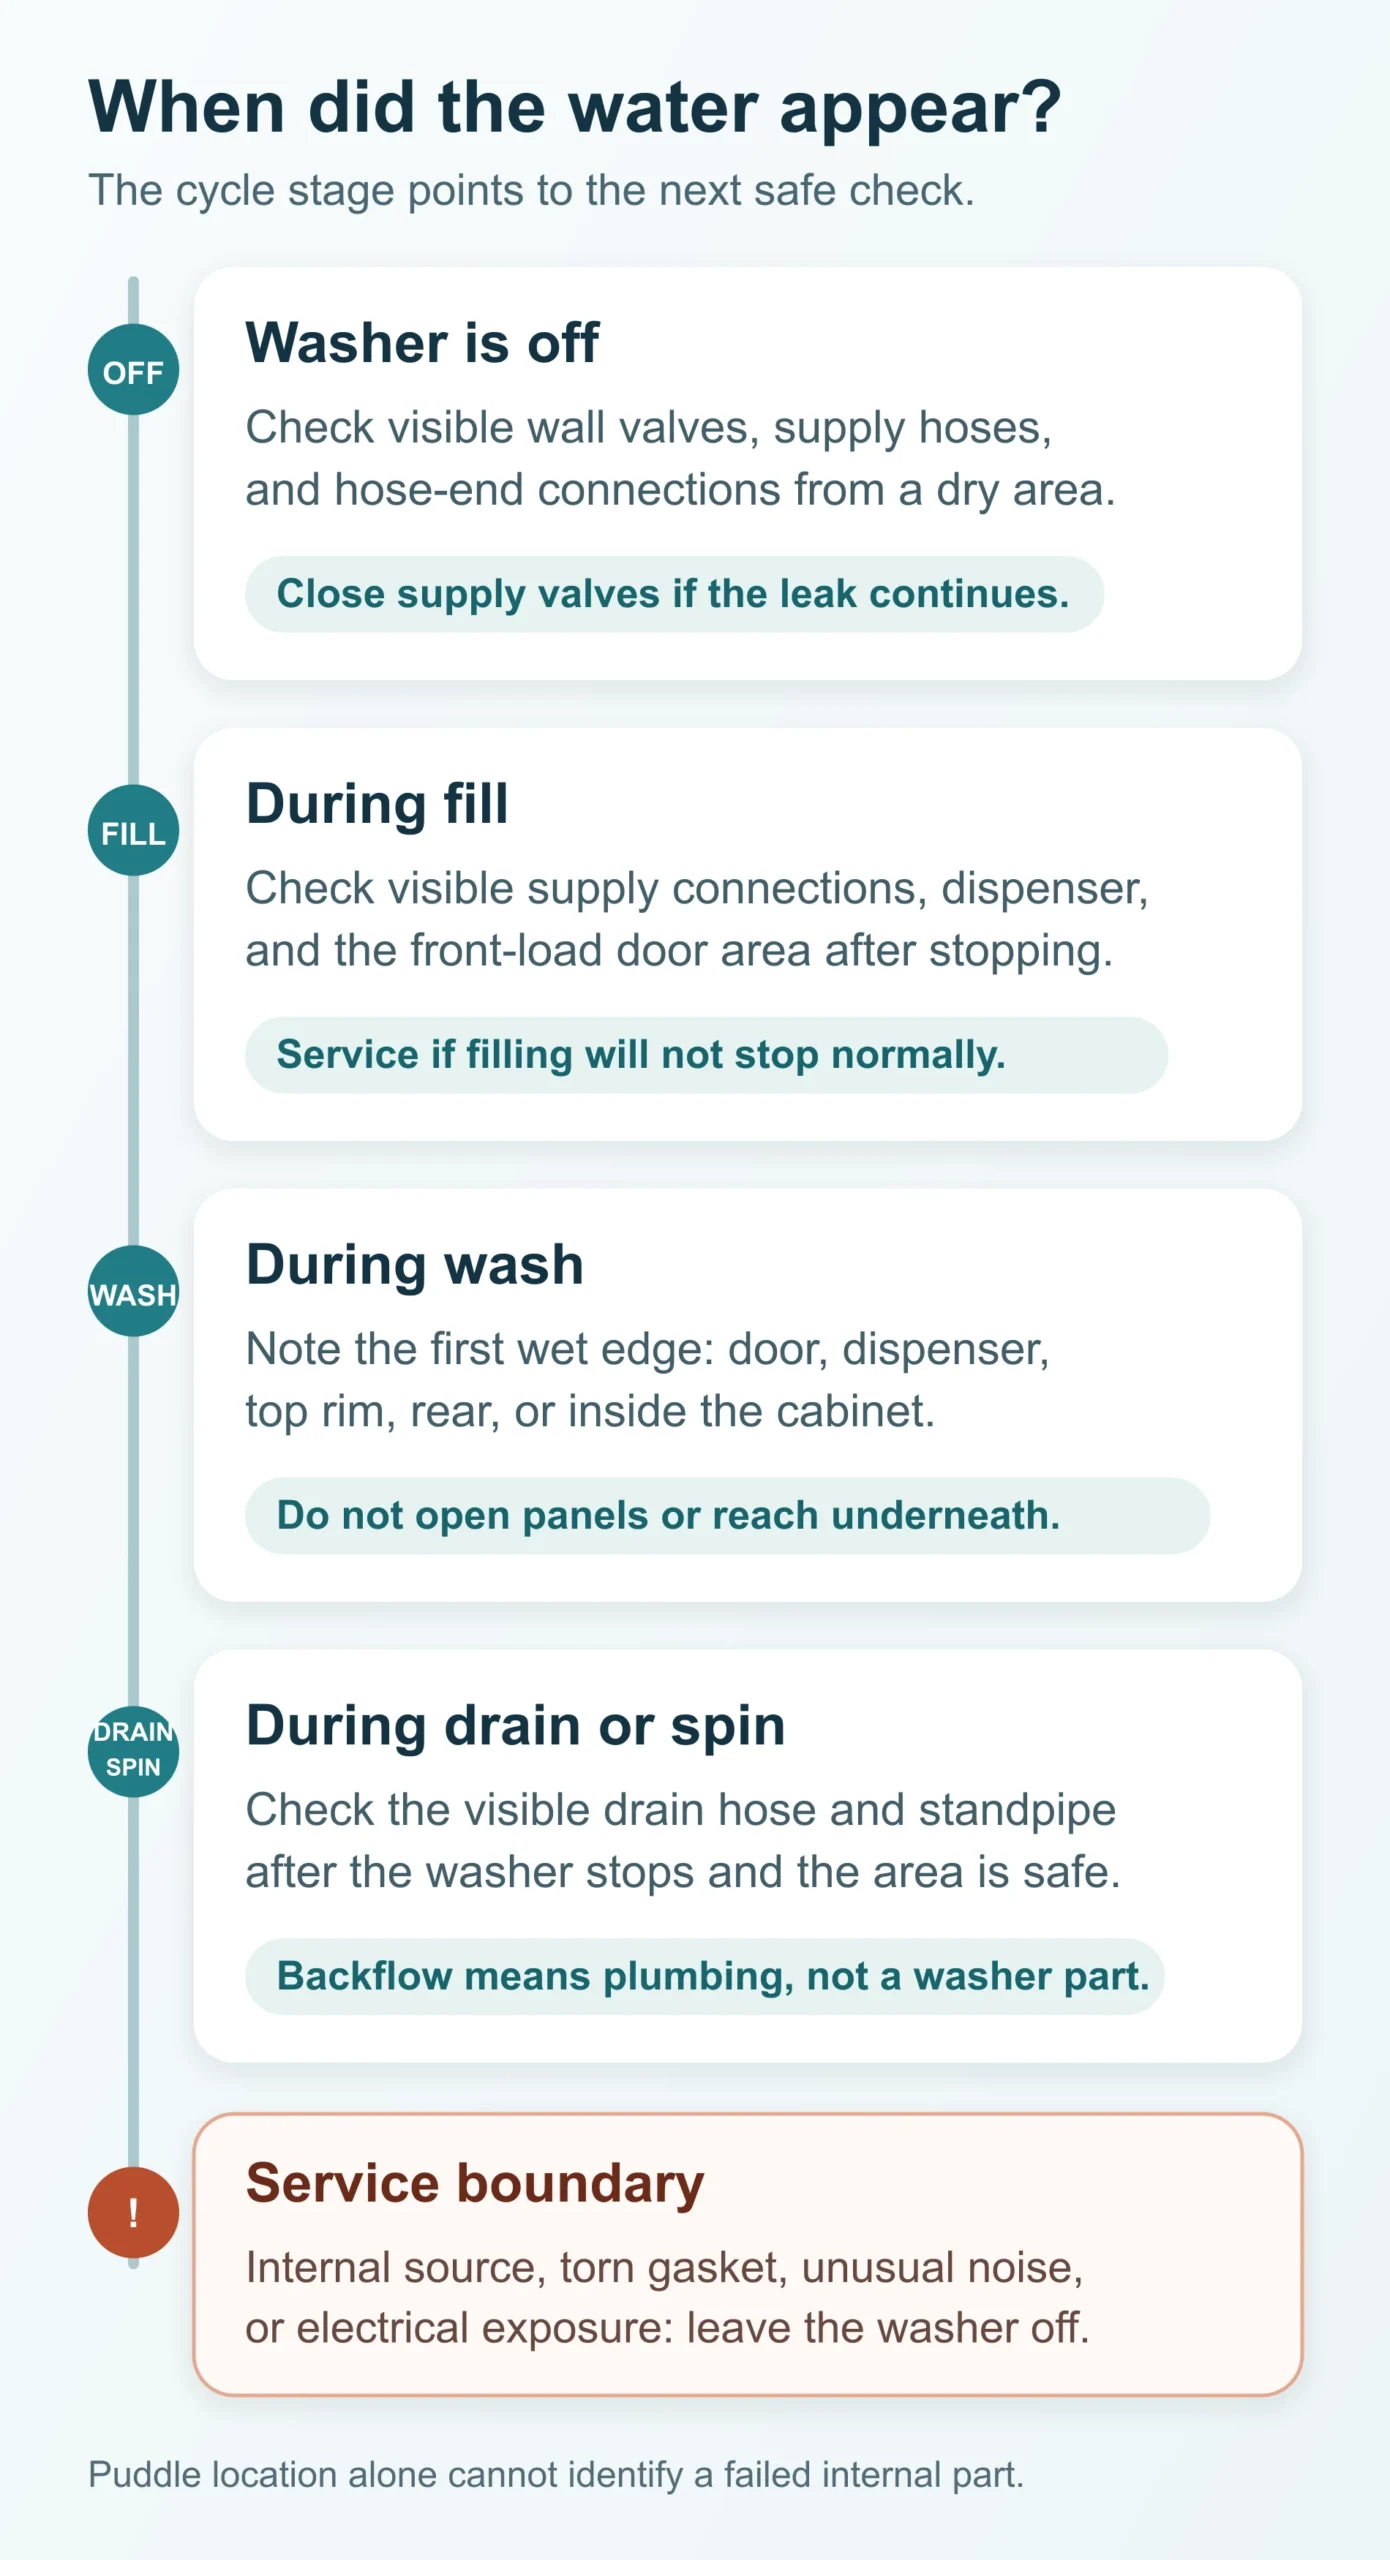
Why a bottom puddle may start higher up
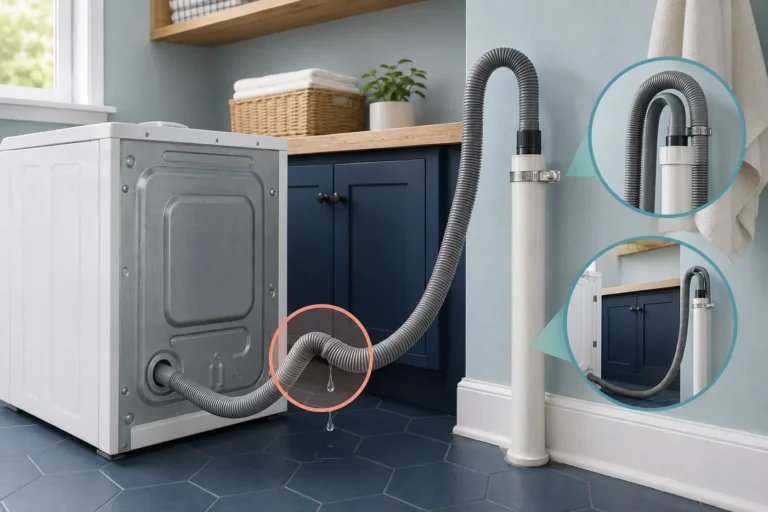
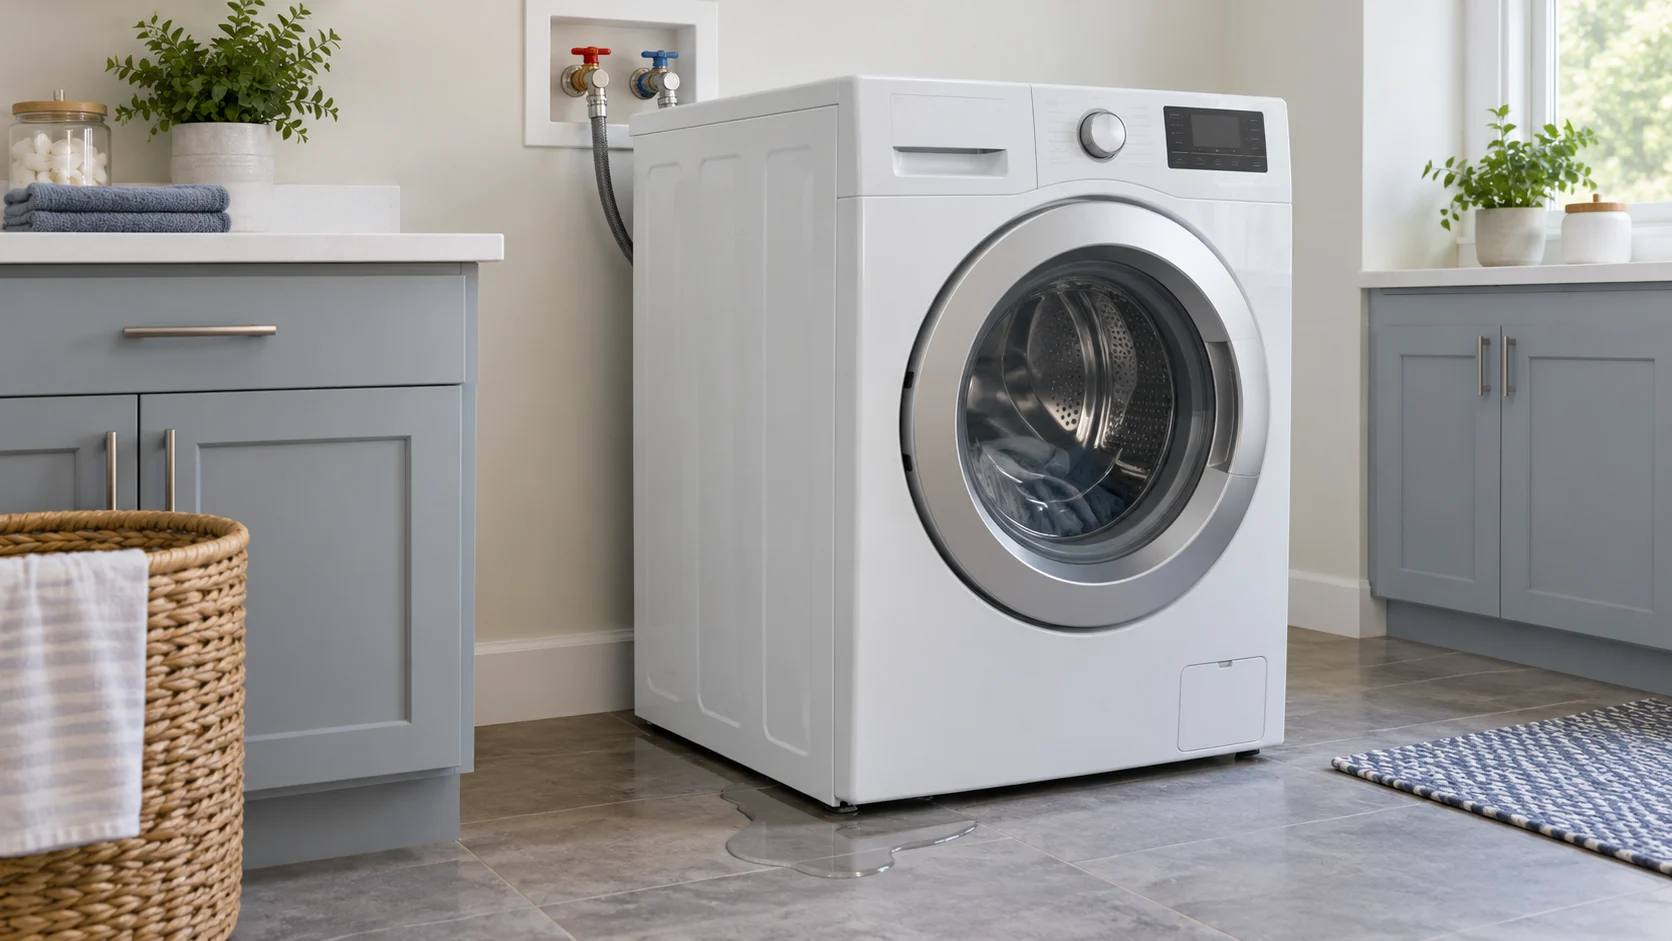
Water follows the cabinet, hoses, and floor toward the lowest point. A drip at the wall valve can run down a supply hose. Water escaping at a front-load door can follow the front panel. A loose drain hose or slow standpipe can release water behind the washer, where it spreads underneath before becoming visible.
Manufacturer troubleshooting reflects this distinction. LG's front-load guidance separates the washer from the tap, supply hose, home drain, door gasket, and pump-filter area. Samsung advises checking hoses, connections, the front-load gasket, door area, drain-hose installation, and pump filter before requesting service. These are diagnostic routes, not proof that one named part has failed.
Do not tilt the washer, remove an access panel, or reach underneath to find the first drip. A heavy appliance can shift or crush a hose, and water inside the cabinet may be near energized components.
If water appears while the washer is off
A puddle noticed after the washer stops is not necessarily a new off-cycle leak: water from the last cycle may have spread into view later. Continuing fresh drips while the washer is idle make the pressurized supply path worth checking: wall valves, supply hoses, hose-end seals, or the inlet side. A nearby sink, pipe, appliance or floor drain can also be the source. Use visible existing evidence from a dry area; do not turn the water back on to prove a theory.
From a dry position, look for beads of water at each wall valve and at both ends of the visible supply hoses. Do not tighten, disconnect, or replace a hose while the valve is open. If the hose is cracked, swollen, corroded at the fitting, or actively leaking, close the supply valve and leave the washer off.
If the wall valve itself leaks, contact a plumber or property manager. If both external hoses and valves remain dry but water still emerges from the washer while it is off, close the supply valves if safely accessible and arrange appliance service. Maytag identifies water dripping into an idle washer as a possible inlet-valve symptom, but that is not the same as finding a puddle outside. Neither observation alone confirms which part to order.
If the leak begins during fill
Check the visible supply path first. A hose connection can leak only when water is flowing, then send the water down the back of the cabinet. Inspect from outside after stopping the machine; do not squeeze behind a running washer or pull it forward by its hoses.
Next, check the dispenser and door area:
- Dispenser: Dried detergent or the wrong detergent amount can contribute to overflow on some models. Clean only the removable parts and channels described in the manual. Do not push tools into internal openings.
- Front-load door: Hair, thread, or a small item caught at the gasket can interrupt the seal. Keep the door closed if water remains behind it. Inspect the visible gasket and glass only after the machine is safely isolated, the drum has stopped, water has been removed by the approved procedure, and the door unlocks normally. Do not force it open. Samsung documents this check for its front-load models. A torn or displaced gasket needs service.
- Top-load rim and dispenser: Water can splash over the top with certain bulky or floating loads, an unsuitable cycle, excessive suds, or a washer that is not level. LG documents these possibilities for some top-load models. Follow the exact model's load, cycle, detergent, and leveling instructions rather than assuming the same remedy applies to every top-loader.
If the washer continues filling beyond the expected level, water enters while the controls are off, or the leak is more than a small controllable seep, close the supply valves only from a dry, safe position and request service. Switching the washer off does not shut off the pressurized water supply; if the valves are inaccessible or do not stop the flow, keep clear and get urgent plumbing help. Do not try to defeat the lid or door lock to watch the fill path.
If the leak begins during wash or agitation
A wash-stage leak can still start above the bottom. On a front-loader, look for a wet trail at the lower door edge, residue on the glass, or debris on the visible gasket. On a top-loader, note whether water reached the top rim or dispenser before running down the cabinet. Excess suds can escape through model-specific vents or overflow paths, so compare the detergent type and dose with the washer and detergent instructions.
Do not assume that reducing detergent fixes every wash-stage leak. If the same leak occurred with the correct detergent and a normal load, or if water appears from inside the cabinet, leave the washer off. A damaged internal hose, tub, seal, or other component requires model-specific diagnosis.
Unusual grinding, rumbling, scraping, or a drum that seems loose changes the service urgency. Stop using the washer and describe both the sound and the leak timing to the technician. Avoid spinning the drum by force or opening the cabinet to inspect a bearing or tub seal.
If the leak begins during drain or spin
A large release of water near the end of a cycle often points toward the drain route, but that route includes both the appliance and the home plumbing.
After the washer has stopped and the area is safe, inspect the visible drain hose for a split, crushed section, kink, or loose position at the standpipe or laundry sink. Water around the standpipe, gurgling, slow draining, or overflow when the washer pumps out suggests a household drain restriction rather than an internal washer leak. LG warns that a clogged or restricted standpipe can overflow and be mistaken for a washer leak.
If the visible drain hose is the problem, use our washing machine drain-hose guide for the next model-aware checks. Do not copy another brand's hose height or insertion-depth measurement; compare the installation with your own manual.
Some front-load washers have an owner-accessible pump-filter cap or emergency-drain hose. If the leak began just after filter cleaning, note that timing: an improperly seated filter or hose cap is a possible source, not proof that the pump failed. Do not loosen either cap simply to look while water remains in the tub. Isolate power safely, let hot water cool, and follow the exact manual’s residual-water collection and reassembly sequence before any permitted filter work. Leave an internal leak or any access not documented for the owner to appliance service.
Front-load and top-load clues are not interchangeable
| Washer type | External clues worth noting | Do not infer from the clue alone |
|---|---|---|
| Front-load | Water at the lower door edge, debris or damage on the visible gasket, dispenser residue, pump-filter access area, rear hoses or standpipe | A puddle at the front does not prove the gasket failed; water can travel from the dispenser or an internal route |
| Top-load | Water at the top rim or dispenser, evidence of splash from a bulky load, rear supply/drain connections, standpipe overflow | A puddle beneath the tub does not prove a tub seal or pump failed |
| Either type | Leak timing, visible hose damage, wall-valve moisture, standpipe backflow, excessive suds, unusual sound | The final puddle position cannot identify an internal part |
Use the model number to find the manufacturer's manual or support page before cleaning a filter, adjusting a drain hose, moving the washer, or ordering a part. Brand pages are useful examples, but their measurements, cap designs, cycles, and access points are not universal.
After a minor external correction: is a recheck appropriate?
A dry floor, fewer suds or a cleared error does not establish that the leak is fixed. If the source is unknown, the drain still backs up, a hose or gasket is damaged, or water may have reached electrical parts or the cabinet interior, leave the washer off for qualified assessment. Do not use an empty cycle to rule out those risks.
Only consider the manufacturer’s prescribed leak check after an identified, minor owner-serviceable cause has been corrected exactly as directed. The water/electrical situation must be safe, the area dry, the drain able to accept discharge, and hoses, caps and covers secured. Stay nearby without moving, reaching behind or touching a running washer. Stop if leaking or backup returns; isolate power and water only when safe, then arrange help rather than another test.
Samsung’s leak-test guidance distinguishes a corrected external issue from an unresolved leak needing service. Follow your exact model’s procedure; a single dry check does not prove that an intermittent leak cannot return.
Decide whether to call appliance service or a plumber
Call a plumber or property manager when the water comes from a wall valve, building supply connection, slow or overflowing standpipe, laundry sink drain, floor drain, or another household pipe. A restricted building drain needs plumbing assessment; replacing a washer part will not clear it.
Call appliance service when:
- both external supply and drain routes are dry but water comes from the cabinet;
- the gasket is torn or displaced;
- the washer leaks while off with the supply valves open but the external connections stay dry;
- filling does not stop normally;
- a pump, internal hose, tub, seal, bearing, valve, wiring, or filter housing is suspected;
- the leak returns after a model-approved external correction;
- inspection would require tilting the washer, removing a panel, reaching underneath, or testing electrical parts.
If the washer also leaves water in the tub, follow our washing machine not draining guide after the leak is controlled. If it cannot spin and the load was severely unbalanced, the washing machine not spinning guide explains that separate symptom. If the leak appears alongside another failed stage, use our washing machine troubleshooting guide to route the symptoms after the water and power situation is safe.
Record these details before arranging service
Write down the model number, exact error code, selected cycle, load type, detergent used, cycle stage when water first appeared, first external area that became wet, whether the washer was on or off, and whether the standpipe overflowed. Take a photo of the visible wet trail only after the power and water situation is safe. This evidence is more useful than saying only that the washer “leaks from the bottom,” and it avoids repeating a risky test.