Washing Machine Troubleshooting: Match the First Failed Stage
Quick answer
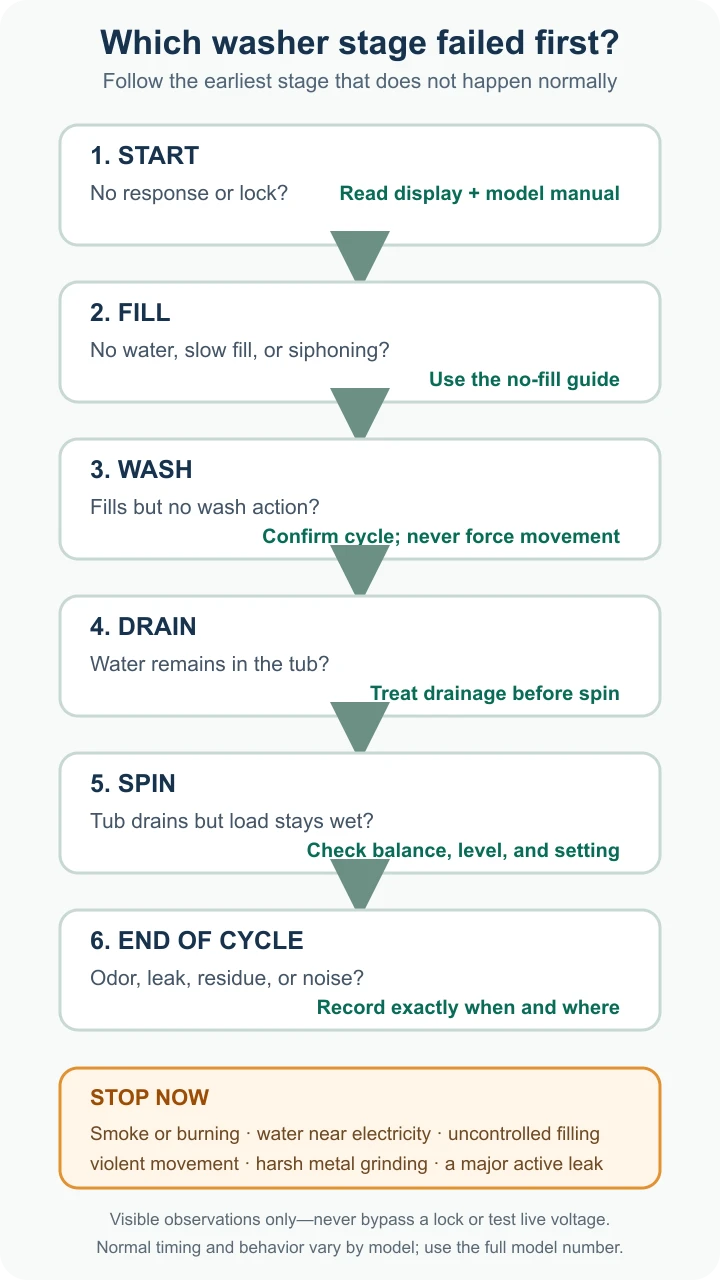
When a washing machine “is not working,” the fastest useful question is not which part failed. It is which stage failed first: start, fill, wash, drain, spin, or the end of the cycle. Use what happened on the last attempt to choose the right guide. Do not restart to recreate a leak, overflow, burning smell, uncontrolled filling, or violent movement. If none of those warning signs is present and the area and connections are dry and intact, observe a normal start only as the model manual permits. Do not remove a panel, bypass a door lock, or test live voltage to answer that question.
Stop and get help first
Stop using the washer for smoke or sparks, a burning electrical smell, water near the plug or outlet, harsh metal grinding, violent movement, or water entering after switch-off. Do not cross standing water or touch a wet washer, cord, plug, or outlet. The CPSC warns not to touch wet appliances that remain plugged into an electrical source. Close supply valves only if safely reachable from a dry area without moving the washer; isolate power only at a dry, safely accessible, correctly identified breaker. If that cannot be done safely, keep clear and get help. For continuing water entry, follow the continuous-fill shutdown route; switching the washer off does not shut off the water supply.
Already know the symptom? For water on the floor, a drain-area odor, or a hose/setup concern, jump to leak, odor, and noise routes rather than waiting for the cycle to finish. If the tub still holds water and the clothes are wet, use the not-draining guide before the spin checklist. If you cannot identify a safe route, record the service details instead of testing unrelated fixes.
Find the first stage that does not happen
Use the first abnormal stage from the last attempt, not a suspected part. Standing water takes priority over a wet-load spin complaint. A leak, backup, burning smell, or uncontrolled fill overrides the stage sequence: stop and use the safety and symptom routes above. Normal sensing pauses and wash movement vary by model.
| First stage that fails | What you can observe | Safe next move | Best route |
|---|---|---|---|
| Start | No response, no lock, or a control message before water should enter | Confirm power at the room level, close the door or lid normally, remove trapped fabric, and read the display | Use the start checks and exact model manual |
| Fill | No water, slow water, only one temperature, or water that enters and immediately disappears | Record the code and use only a dry, safely visible view of supply valves and hoses; no reaching behind a running machine | Use the washer not filling guide |
| Wash or tumble | The washer fills, but the basket, drum, or agitator does not begin its documented wash action | Confirm the selected cycle and load are appropriate; note whether the door stays locked and whether an error appears | Wash-action checks If unresolved: Service handoff Never force movement. |
| Drain | Water remains in the tub when the machine should pump it out | Stop the cycle and note whether you hear a pump sound or see a drain error | Use the washer not draining guide |
| Spin | The water leaves, but the load does not reach final spin or finishes unusually wet | Wait for the machine to stop and unlock normally before adjusting the load; do not move or steady a running washer | Use the washer not spinning guide |
| Any stage or after the cycle | A leak, odor, unusual noise, or residue is the main concern | Use the last observed timing and location; stop for a leak or hazardous symptom | Use the leak, odor, and noise routes; do not wait for the cycle to finish |
If the washer will not start
Check the room first. Is the display lit? Did the breaker trip? Is the washer plugged directly into the outlet specified by its installation instructions? Do not use an extension cord as a workaround and do not touch a plug, outlet, or cord if the area is wet.
Close the door or lid normally and make sure a sock, drawstring, or other fabric is not caught in the opening. Look for a control-lock symbol, delayed-start setting, or exact error code. Some machines pause before locking or adding water, so compare what you see with the cycle description in the owner’s manual rather than imposing a universal waiting time.
If the room has power but the display stays dark, the breaker has tripped repeatedly, the lock will not engage, or a code returns after a manufacturer-permitted reset, stop. Do not keep resetting a breaker or use a reset to test a washer with a leak, burning smell, or other safety warning. A lock, wiring, control, or internal power problem cannot be identified safely from the outside.
If the washer does not fill
First make sure the machine has reached the fill stage. Some models move or sense the load before water enters. A true fill problem is more likely when the load remains dry, the cycle never advances, or the display shows an inlet or fill code.
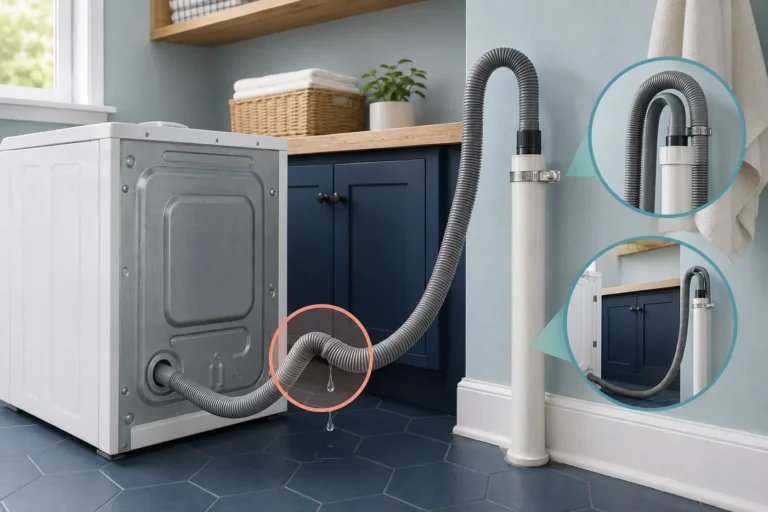
Compare the visible hot and cold supply valves and hoses with the installation diagram for your model. Look for a closed valve, a kink or pinch behind the washer, or a connection that began leaking after the appliance was moved. If water enters but immediately drains away, the drain hose may be creating a siphon rather than the washer “using no water.” Exact drain-hose height and insertion limits are model-specific.
The dedicated washing machine not filling with water guide separates sensing delay, no water, one-temperature failure, slow fill, siphoning, and continuous filling. Use that route before ordering an inlet valve or opening the cabinet.
If it fills but does not wash or tumble
Confirm that the selected cycle is intended to produce visible wash movement at that moment. Load-sensing pauses, soaking periods, and intermittent motion differ among front-load, top-load, agitator, and impeller machines. A short pause is not enough to diagnose a motor or control problem.
Check whether the load is packed tightly or dominated by one bulky item. Remove items only after the machine has stopped and unlocked normally. Do not reach into a moving basket, force a locked door, or rotate an agitator or drum against resistance.
If water is present but the documented wash action never begins, record the exact code and sound. Internal drive, lock, motor, wiring, and control faults require model-specific diagnosis. This hub deliberately stops before panel removal, continuity checks, or live electrical tests.
Separate a drain problem from a spin problem
This distinction prevents a lot of wasted troubleshooting:
- Water is still in the tub: treat it as a drain-stage problem first. A washer may refuse a full-speed spin while it still detects water.
- Water left the tub, but the laundry is very wet: the final-spin stage, load balance, selected spin speed, or cycle choice may be involved.
- The washer fills and drains at the same time: compare drain-hose installation with the model manual before suspecting a pump; this pattern alone does not identify a failed part.
- Water backs up or spills from the household standpipe: stop the cycle. The home drain may be restricted even if the washer pump is working.
For water left in the machine, follow How to Fix a Washing Machine That Is Not Draining. If the machine drains but does not complete the final spin, use Why Is My Washing Machine Not Spinning?. For a kink, leak, installation concern, or fill-and-drain pattern, use the washing machine drain-hose guide.
Maytag’s general washer guidance also separates draining from spinning and notes that load balance, level, hose routing, and selected spin speed can affect what the owner observes. These are diagnostic categories, not proof that a specific part has failed.
Use timing to sort noise, vibration, leaks, and odors
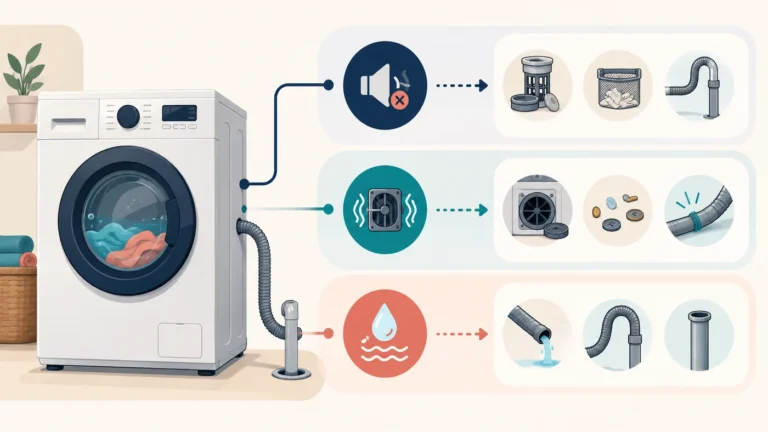
Use timing and location from the last attempt; do not run a cycle just to collect missing clues. Each row below leads to a focused check. A leak or odor does not have to wait until the end of the cycle.
| Symptom timing | Useful distinction | Safe observation | Best route |
|---|---|---|---|
| Noise begins as water enters | Supply-valve or pipe noise may be involved | Use the last observed timing; compare with the manual’s normal-sound section | Use the exact model manual and service route if the sound is new or unresolved |
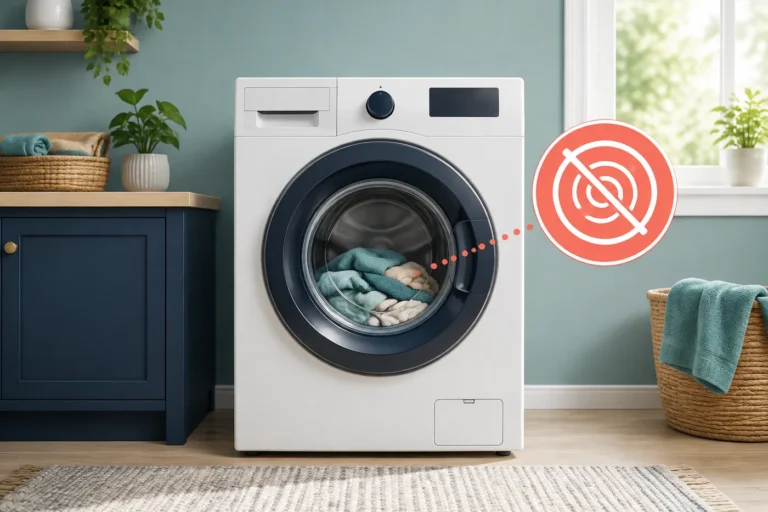
| Banging begins only at high spin | Load balance, level, floor stability, or a transport/setup issue may be involved | Stop and wait for normal unlock; do not steady a moving washer or restart violent movement | Use the spin/load checks for load and stability clues, not as permission to retry a hazard |
| Water appears during fill | Supply hose, connection, dispenser, or door-area leakage may be involved | Stop; close supply valves only if safely reachable from a dry area | Use the leak timing and source guide |
| Water appears during drain or spin | Drain hose, pump-area, standpipe, or household drain behavior may be involved | Use where water first appeared on the last attempt; do not rerun a leaking or backing-up washer | Use the leak guide; for a standpipe spill or hose setup, use the drain-path guide |
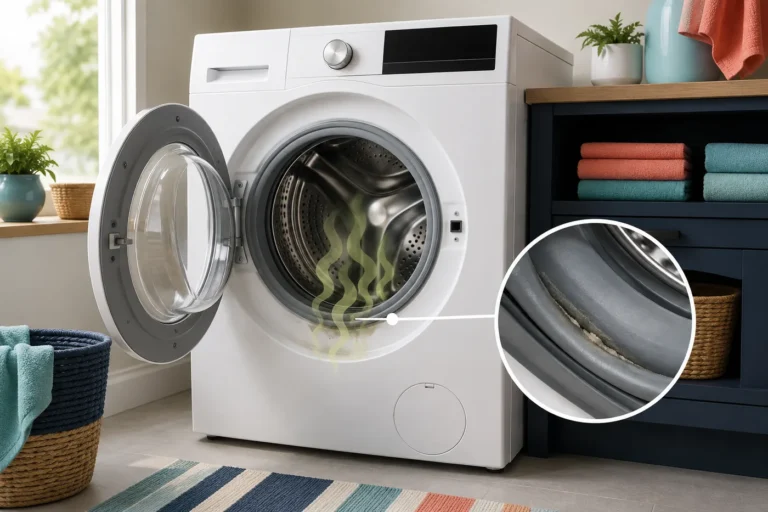
| Odor is strongest inside the empty drum | Residue, a wet item, gasket moisture, or cleaning history may be relevant | Keep the washer stopped; inspect only after normal unlock and locate the odor before choosing a cleaner | Use the drum/water odor checks; begin with that guide’s safety warning |
| Odor is strongest behind the washer or during draining | The drain connection, standpipe, trap, or sewer-gas path deserves attention | Stop for sewage backup or escaping water; do not mix cleaners | Use the sewage/drain odor guide to choose appliance or plumbing help |
If water appears under the washer during filling, draining, or spinning, stop the cycle and use the washing machine leaking from the bottom guide to route the problem by timing and the first place the water appears. Do not run repeated cycles to identify a growing leak.
A repeated rotten-egg odor needs the source separated from the washer itself. Use Washing Machine Smells Like Rotten Eggs when the odor seems tied to the water, drum, or residue; start with its safety check before cleaning or operating the washer. Use Washing Machine Smells Like Sewage when it is strongest near the drain path, standpipe, or during pumping.
For loud vibration, verify the washer is not walking across the floor and that a single heavy item has not collected on one side. A new machine may also have model-specific shipping hardware or installation requirements. Do not guess: consult the installation guide. Stop using the washer if it moves violently, strikes nearby objects, or produces metal-on-metal grinding.
Front-load and top-load washers do not behave identically
The same description can mean different things on different designs. A front-load washer normally uses a locking door and tumbles laundry through a relatively low water level. A top-load model may use an agitator or impeller, perform different sensing movements, and lock its lid at different points. Access to drain filters, manual-release procedures, and cleaning cycles also varies.
That is why this hub uses visible stages rather than universal part instructions. GE’s front-load troubleshooting, for example, routes owners through model-family observations and support rather than treating every washer alike. The correct manual is the one matching the full model number on your machine, not merely the brand name.
Record five details before you call for service
Good observations are more useful than a guessed part. Write down:
- the complete model number;
- the exact error code or display message;
- the first stage that failed;
- whether water remained in the tub; and
- the timing and location of any sound, odor, vibration, or leak.
Also note what changed just before the problem: the washer was moved, plumbing work was done, a power outage occurred, a bulky load was added, a different detergent was used, or a cycle setting changed. Do not recreate a dangerous symptom to capture it on video.
This record gives the manufacturer or technician a clearer starting point. It also helps you avoid buying a pump, valve, lock, sensor, or control board solely because a generic symptom list mentioned it.