Dishwasher Troubleshooting: Match the Symptom Before You Try a Fix
Quick answer
Start dishwasher troubleshooting with the first stage that failed: start, fill, wash, drain, or dry. A later symptom can come from an earlier stage that never finished. Record what the machine still does, choose the closest symptom below, and use your exact model’s manual before interpreting a code, resetting controls, or opening a component.
Stop and get help first
Stop the cycle if you see smoke or sparks, smell burning insulation, find water reaching an outlet or electrical connection, or cannot safely control an active leak. Turn off power at the breaker only if it is safe to reach without crossing wet flooring. Keep clear of standing water near electricity and arrange qualified local help.
Find the first stage that failed
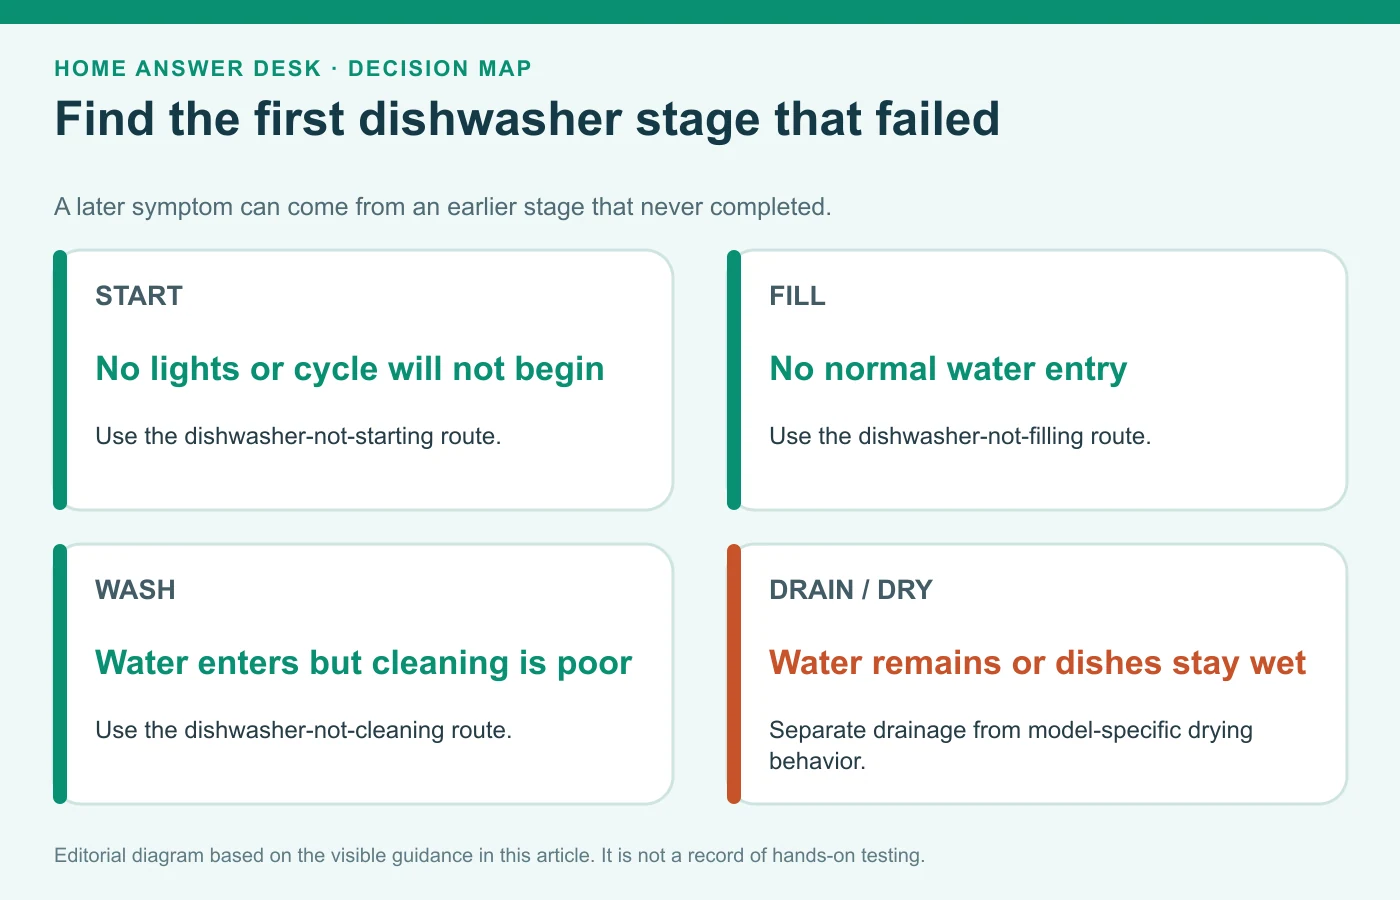
A typical dishwasher fills, releases detergent and circulates wash water, drains and rinses, then dries according to the selected cycle and model. Use the earliest row that no longer matches what you observe. That is usually more useful than guessing which part failed.
| Earliest failed stage | What you may notice | Best next route |
|---|---|---|
| Start | No lights, no response, or the controls respond but the cycle will not begin | Dishwasher not starting |
| Fill | The cycle begins but you do not hear water enter or see the normal water level | Dishwasher not filling with water |
| Wash or circulation | Water enters, but the dishes remain dirty, one rack cleans poorly, or detergent remains | Dishwasher not cleaning dishes |
| Drain | Dirty water remains after the wash or returns later | Dishwasher not draining |
| Dry | The dishes are clean but remain wetter than expected | Confirm the selected dry option and loading pattern, then follow the exact model manual. Drying systems differ by model. |
Whirlpool’s cycle overview describes the typical fill, detergent, circulation, drain, rinse, and dry sequence. Your model may combine or repeat stages, so use the sequence as an observation guide—not as a universal service procedure.
Match the symptom you can see, hear, or smell
Use the first description that matches the end of the cycle or the moment the problem begins. Each route keeps unrelated repairs out of the way and explains where homeowner-safe checks end.
| What you notice | Start here | Why this is the right route |
|---|---|---|
| The controls will not begin a cycle | Dishwasher not starting | Separate a completely dead machine from one with power, lights, or sounds. |
| Water is left in the tub after the cycle | Dishwasher not draining | Check the accessible filter and drain path, then compare the kitchen sink and air gap. |
| Dishes are still dirty, cloudy, or gritty | Dishwasher not cleaning dishes | Loading, spray-arm movement, detergent, water supply, and maintenance belong here. |
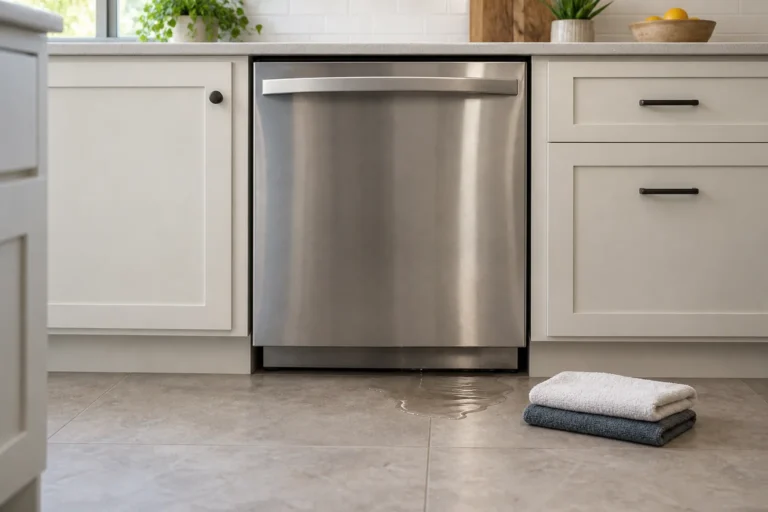
| Water appears under or in front of the dishwasher | Dishwasher leaking from the bottom | Identify whether water first appears at the door, tub, supply, drain, or underneath—without running repeated test cycles. |
| The tub does not seem to fill with water | Dishwasher not filling with water | A no-fill problem can look like poor washing, but its safe observations are different. |
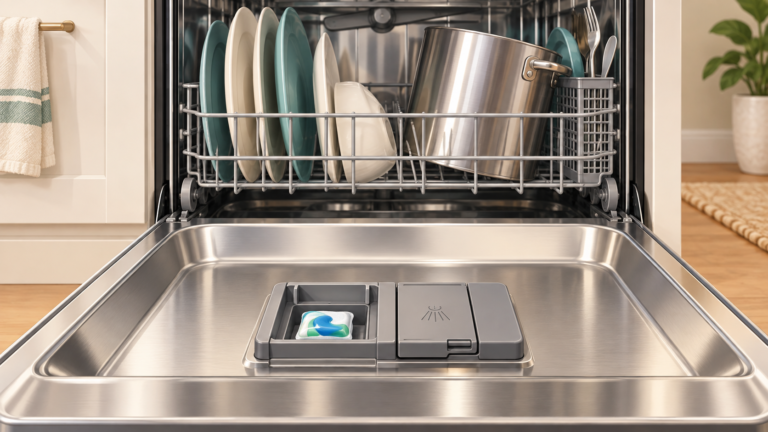
| The detergent door is still closed or the pod remains | Dishwasher soap dispenser not opening | Check for a blocked door, poor fill, or weak circulation before treating the dispenser as a failed part. |
| A new grinding, buzzing, rattling, or squealing sound appears | Dishwasher making a loud noise | The sound and the point in the cycle narrow the next safe action. |
| The tub smells sour, musty, fishy, or like sewage | Dishwasher smells bad | Odor location, standing water, filter residue, and sink-drain behavior help separate cleaning from drainage or backflow. |
What changed just before the problem?
A recent change does not prove the cause, but it tells you what to verify before buying a part.
| Recent change | Check first |
|---|---|
| New installation or the dishwasher was moved | Water valve, pinched supply or drain hose, cabinet alignment, and model-specific installation instructions. |
| New garbage disposal or sink plumbing | Whether the sink also drains slowly, the disposal connection, and the drain-hose routing required by the installation manual. |
| Filter or pump cover was removed for cleaning | Whether every owner-removable piece was reseated exactly as the manual shows. |
| New detergent, tablet, or dose | Automatic-dishwasher labeling, dispenser clearance, water hardness, residue, and excess suds. |
| Power interruption or a new code | Photograph the code and note the failed cycle stage before using the model-specific reset procedure. |
Before you start a focused guide, record five details
- The first failed stage: start, fill, wash, drain, rinse, or dry.
- What still works: lights, door latch, water entry, spray sounds, draining, or heat.
- What changed: installation, plumbing work, detergent, loading, filter cleaning, outage, or a new code.
- Whether the kitchen sink also drains slowly: that can point toward a shared drain-path problem.
- The model number and exact code: record them before resetting the machine.
Use the model manual for codes, controls, and access
Do not assign a universal meaning to a flashing light or error code. Manufacturers use different displays, reset routines, filters, pump covers, and drying systems. GE Appliances publishes code-specific guidance, while Bosch directs owners through model support and manuals. Check the manufacturer’s instructions before resetting controls, removing a panel, or ordering a part.
- GE Appliances: dishwasher error, fault, and function codes
- Bosch dishwasher owner support
- GE Appliances: poor drying checks
Two observations that prevent common wrong turns
Standing water does not automatically mean a failed dishwasher pump. An accessible filter or pump area may contain debris, but a slow sink, water at the air gap, or water that returns later can point toward the shared drain path or backflow. Follow the model manual before removing an owner-accessible cover.
A leak is a location and timing problem before it is a part diagnosis. Stop the cycle and note where the first water appears. Excess suds from the wrong soap or too much detergent can force water from the tub, while water underneath may involve a connection or component that requires service.
Bosch: dishwasher not draining · GE Appliances: leaking or flooding underneath
When to stop troubleshooting
- The same code returns after you followed the exact model manual.
- There is a recurring leak, a cracked hose, or water near electrical parts.
- The dishwasher trips a breaker, smells hot, produces smoke or sparks, or makes a harsh new mechanical noise.
- The machine keeps filling or draining when it should have stopped.
- The next step requires live electrical testing, disconnecting hard-wired wiring, moving the dishwasher, opening a sealed water connection, or major disassembly.
The useful evidence you recorded—first failed stage, symptom, code, model number, recent change, and sink behavior—will help a qualified appliance technician or plumber begin in the right place.
The short troubleshooting order
- Identify the earliest stage that no longer completes.
- Choose the closest observable symptom.
- Make only the safe, visible checks in that focused guide.
- Use the exact model manual for codes, controls, and component access.
- Stop when the next step crosses into electricity, water connections, or major disassembly.
If a GE dishwasher gives exactly three beeps, use the GE three-beep decision path to separate door-latch clues from model-specific control behavior before resetting anything.
Sources
- Whirlpool — How a Dishwasher Works
- GE Appliances — Dishwasher Error Codes
- Bosch — Dishwasher Troubleshooting
- GE Appliances — Dishwasher Not Draining
- Bosch — Dishwasher Not Draining
- GE Appliances — Dishwasher Leaking or Flooding Underneath
Reviewed against the linked guidance on October 18, 2026.