Washing Machine Not Filling With Water? Check the Fill Pattern First
Quick answer
If your washing machine is not filling with water, first check whether it has actually reached the fill stage. Some models pause to sense the load before adding water. If the washer shows a fill error or never takes in water, record the exact code, confirm the household supply valves are open, and look for kinks in the visible inlet hoses. Water that enters but immediately leaves points toward a drain-hose setup problem. If water keeps entering when the machine is off or should have stopped, close the supply valves only if you can reach them safely from a dry area, leave the washer off, and arrange help. Do not approach wet controls or a wet plug.
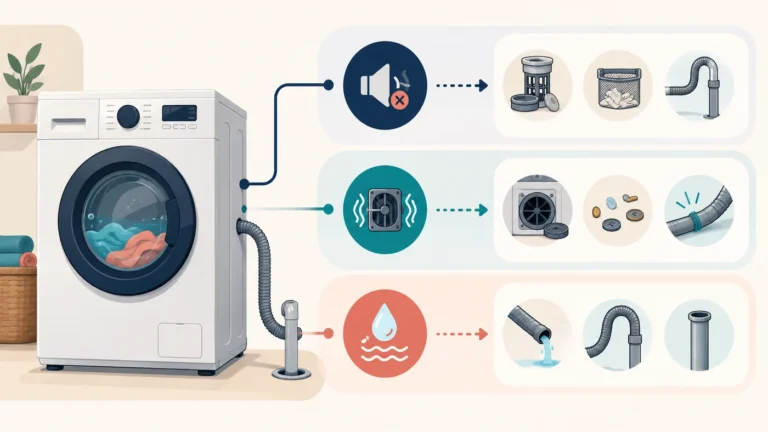
Match what you see to the right check
Start with what happened during the last attempt; do not restart just to reproduce a leak, overflow, continuous filling, burning smell, or electrical fault. If no warning sign is present and the area and appliance connections are dry and intact, observe one normal start only as the model manual permits, without removing a panel or reaching behind a running machine. Stop if water escapes or filling fails to stop. Note the model number, selected cycle, display message, and what happens to the water. The same “not filling” complaint can describe several different problems.
| What you observe | What it may mean | Safe next check | Stop or continue |
|---|---|---|---|
| The display has not advanced, or the door or lid has not locked | The cycle may not have reached the fill stage | Reclose the door or lid, remove fabric caught in the opening, and check the display and model manual | Seek service if the lock will not engage; never bypass it |
| The drum moves or the display says “sensing,” then water enters | The model may be measuring the load before filling | Let the documented sensing stage finish; compare the behavior with your manual | Continue if the cycle fills and progresses normally |
| No water enters and an inlet or fill error appears | The supply, hoses, inlet screen, or an internal fill component may be involved | Write down the exact code; check the valves and visible inlet hoses | Arrange service if the error returns after the external checks |
| Only the hot or cold supply seems affected | One supply path or its connection may be restricted or switched | Compare the valves, hose routing, and the model’s temperature instructions | Stop if a hose or connection is damaged or leaking |
| Water enters, but only very slowly | Flow may be limited before it reaches the drum | Look for a partially closed valve or pinched hose; check whether a nearby fixture also has weak flow | Use the model manual before touching an inlet screen |
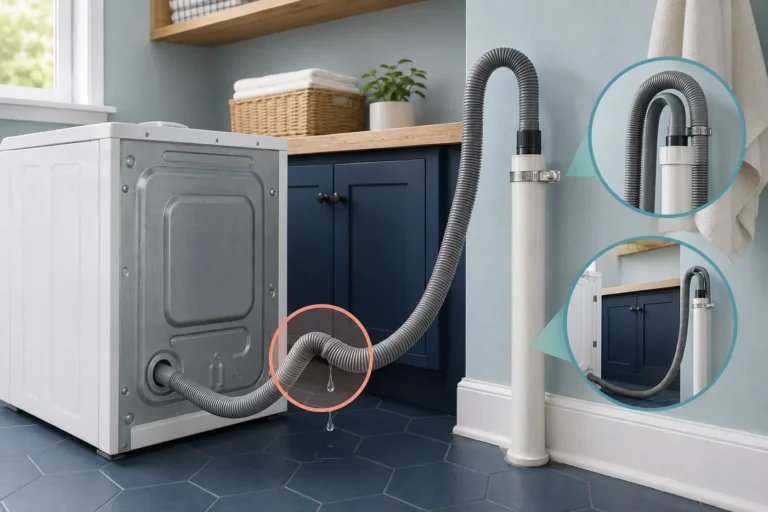
| Water enters and immediately disappears | The drain hose may be positioned so the machine siphons while filling | Compare the drain-hose route with the exact model’s installation instructions | Stop if water spills or the hose is damaged |
| There is little visible water, but the clothes become wet and the cycle continues | This may be normal high-efficiency behavior | Check the manual and watch for an actual fill error or a load that stays dry | Continue if the cycle is functioning as the model describes |
| Water keeps entering after the cycle stops or while the washer is off | An abnormal fill needs prompt attention | Close the hot and cold supply valves only if safely reachable from a dry area | Leave the washer off and request service |
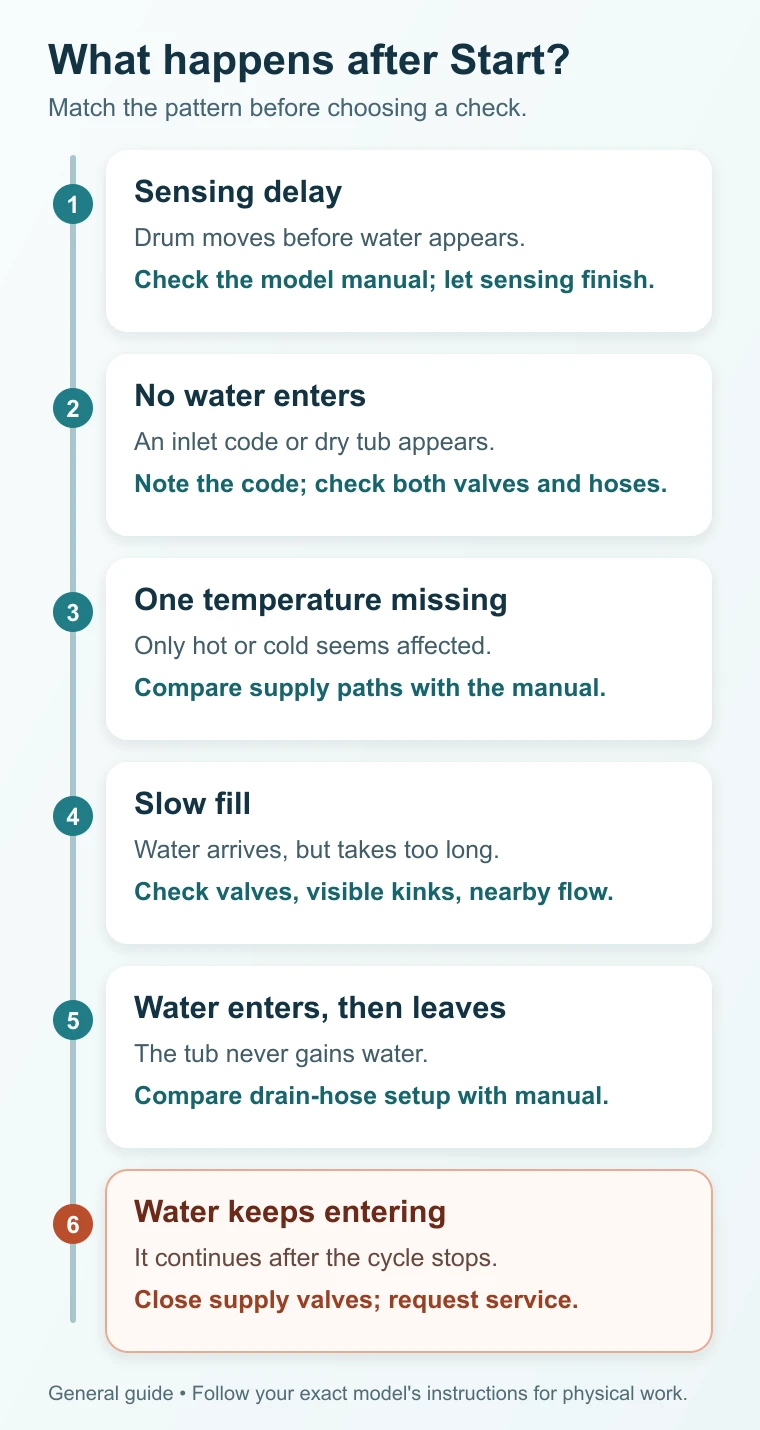
First, confirm the washer is ready to fill
A quiet washer is not always a water-supply failure. Check that you pressed Start, the door or lid closes fully, and no garment is caught where it needs to latch. Look for a control-lock, delay, or error message. If the door will not lock, do not hold it shut or defeat the interlock to make the cycle run.
Some washers rotate the drum and weigh or sense the load before they add water. Samsung describes this sensing stage for its washers; other brands and models can behave differently. Use your model’s manual to decide whether the delay is expected. A repeated fill error, dry laundry after the wash should have begun, or a cycle that never advances deserves further checking.
Check the water supply you can see
If there is a genuine no-fill or slow-fill problem, start outside the cabinet:
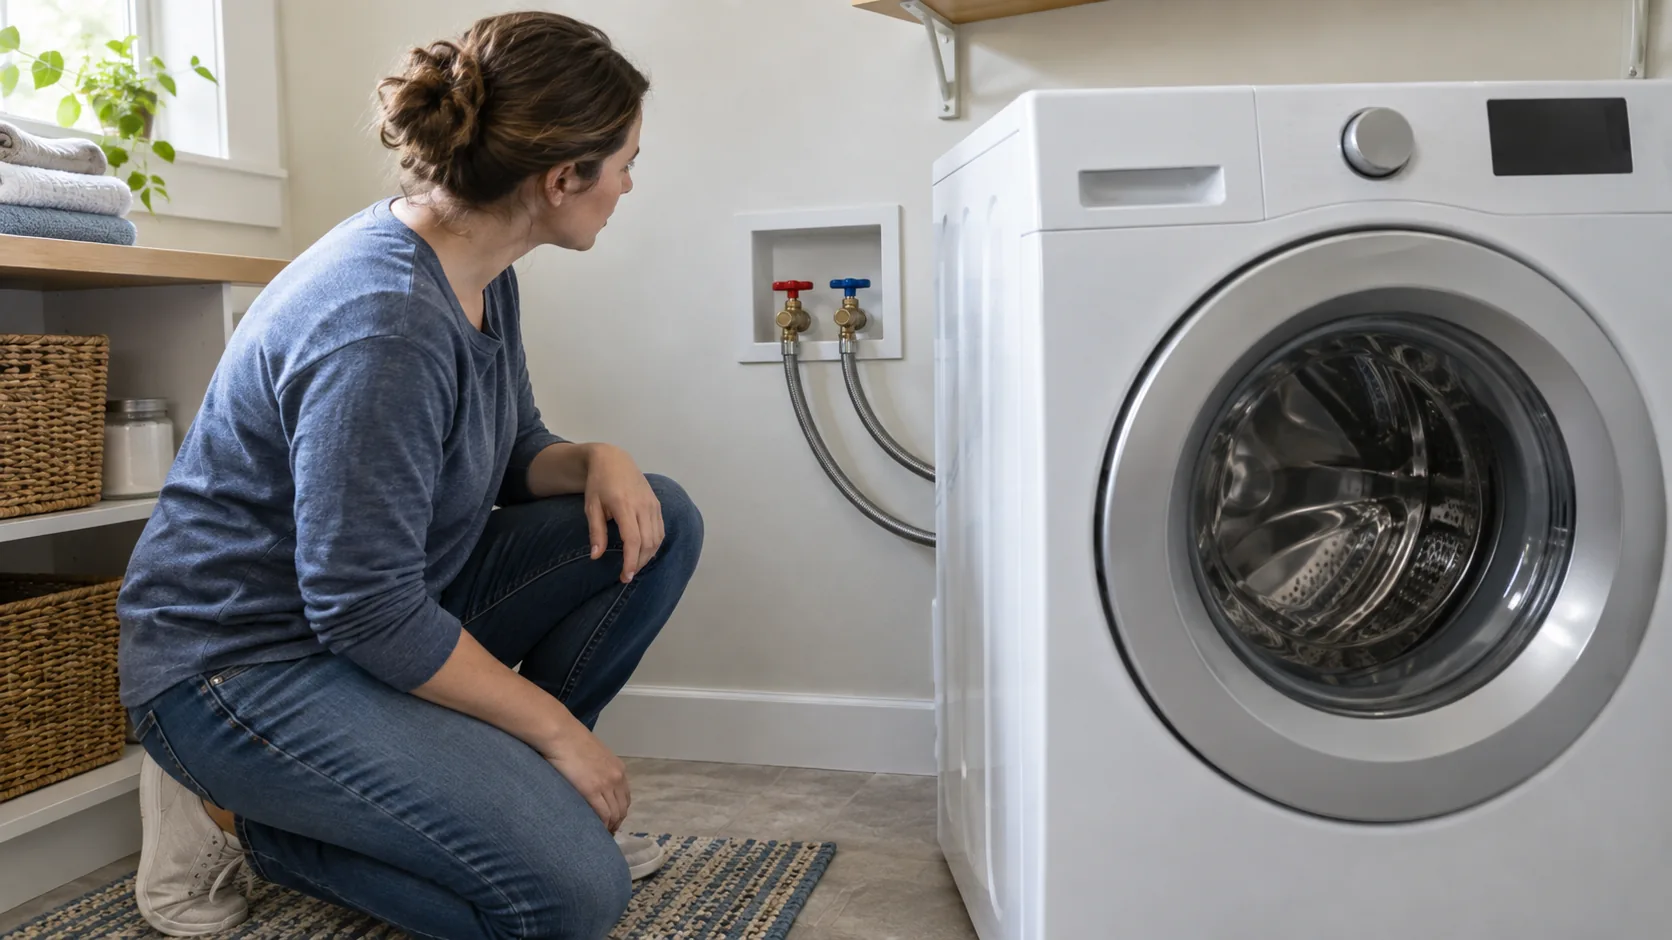
- Look at both wall supply valves. With the washer stopped and the area dry, confirm the intended valve position for that handle design. Do not force a stuck, corroded or leaking valve or disconnect a hose to test it; a plumber or property manager should handle that supply problem. Some washers need both hot and cold connections even on a cold selection, so check the installation instructions for your exact model rather than assuming one line is optional. Whirlpool’s fill guidance and Samsung’s support page give examples of models that use both supplies.
- Inspect the visible inlet hoses. Look for a kink, pinch point behind the machine, visible damage, or water at a connection. Recent installation, cleaning, or moving can change the hose position. Do not pull a heavy washer forward alone or strain a connected hose to see behind it. Isolate power safely before touching or repositioning a hose; never reach behind a running washer.
- Check for a wider water-supply problem. A nearby faucet with unusually weak or absent flow is a clue that the household supply may need attention. Normal flow there does not prove that both washer hoses and inlet paths are clear.
If filling stopped after new inlet hoses were fitted, check that the hose type is approved for your exact washer. Samsung’s fill guide warns against Flood Safe hoses on its covered washers. Do not disable an automatic shutoff or copy a generic reset; give the hose details to the installer or manufacturer.
If a hose is leaking, swollen, cracked or damaged, leave the washer off and close the supply valves only if safely accessible. Do not cross standing water or touch a wet washer, plug, outlet or cord. Use the correctly identified breaker only when the panel can be reached safely from a dry area; otherwise keep clear and get qualified help.
If only hot or cold water seems to be missing
Compare the two wall valves and the hose connections with the labels on the washer and the model’s installation guide. A valve may be closed, a hose may be pinched, or the hot and cold connections may have been reversed. An error code may narrow the issue, but its meaning depends on the brand and model.
Do not touch flowing water, hose fittings or the load during operation to judge the temperature. A short portion of a warm cycle is not a reliable test of the hot supply. Some washers mix water or use different temperatures at different stages. Samsung, for example, documents models that draw from both lines under conditions a reader might call a “cold” wash. The exact cycle behavior belongs to your washer’s manual.
If the external connections look correct and only one path still fails, record what you observed for service. The symptom alone cannot tell you whether an internal inlet valve or control has failed.
If filling is slow, check the manual before touching the inlet screen
A restricted inlet screen can slow filling, but checking it often requires disconnecting a pressurized hose. Finish the visible valve and hose checks first. LG’s inlet-error guidance lists a clogged filter among possible causes; it also begins the filter procedure by turning off the water supply. Whirlpool tells owners to leave its inlet screens in place while cleaning them. Those instructions are specific to the manufacturer and model.
If your exact manual provides a homeowner procedure and you can work safely, turn off the water and disconnect power before handling an inlet hose. If you cannot reliably shut off the supply or safely isolate power, do not loosen a fitting. Have a towel or shallow container ready for residual water and follow the manual’s screen instructions precisely. Do not pry out, puncture, or leave out a screen. If access requires moving the machine unsafely, removing panels, or guessing how a part is retained, stop and arrange service.
After any permitted hose or screen work, follow the model’s reconnection and leak-check instructions before operating the washer. A fitting that leaks when water is restored needs correction before a fill test; shut the supply only when safe and arrange help. Do not use tape, a missing screen or extra tightening as an improvised fix.
If a nearby fixture also has poor flow, the restriction may be in the home’s supply rather than the washer. A plumber or the water provider may be the better first call when multiple fixtures are affected.
If water enters but the level never rises
Look at the drain-hose installation before assuming the washer cannot take in water. When the drain hose is positioned incorrectly, water can leave through it as new water enters. LG describes this fill-and-drain pattern for its front-load washers.
The safe next check is a visual comparison with the installation drawing for your exact model. Drain-hose height, insertion depth, and how the hose is secured vary. Do not copy a measurement from another brand’s article. Our washing machine drain-hose guide explains how to distinguish siphoning from a kink, leak, or overflowing household standpipe.
If water is spilling at the standpipe or on the floor, stop the cycle. A household drain restriction or a loose hose may need separate attention. For a puddle or visible wet trail whose source is unclear, use the bottom-leak source guide with the observations you already have; do not run another cycle to locate it.
If the water level only looks low
An empty-looking window is not proof of a no-fill fault. Some high-efficiency and front-load washers use relatively little visible water while moving the laundry through it. LG explains why a front-load drum may show no high water line, and Samsung also notes that its high-efficiency models use less water than older machines.
Use visible cycle progress and the display to judge normal operation. Inspect laundry only after the drum stops and the door or lid unlocks normally, not by reaching into a moving washer. Check whether the clothes have become wet and whether a fill error appeared. If the load remains dry or the machine stops with an inlet code, return to the no-fill checks. Use only the water-level options described in your manual; a low-looking window alone is not a reason to add water to the drum.
If water will not stop entering
This is a stop-use condition, not a slow-fill check. Switching the washer off does not isolate the pressurized water supply. Close the hot and cold supply valves only if you can reach them without entering water, moving the washer or touching wet electrical parts. If the valves cannot be reached safely or do not stop the flow, keep clear and get urgent plumbing help or contact the property manager.
Keep the washer out of use and arrange appliance service after the water situation is controlled. Do not restore the supply merely to see whether the fault repeats, force a locked door, or open the cabinet to test a valve or sensor. Samsung’s fill guidance directs owners to shut the water valves and request service for continuous filling.
When the external checks do not solve it
After an identified minor supply or hose-position issue is corrected, use only the model’s prescribed start or fill check, with intact connections and no leak, backup, continuous filling or electrical concern. Let the documented sensing stage finish; do not repeatedly cancel and restart it. If the same code returns or no water enters, stop this checklist and contact support. Record whether filling never began, only trickled, or began and then drained away.
An inlet valve, door or lid lock, water-level system, wiring, or control may need model-specific diagnosis. Those are possibilities, not a parts list to order from a symptom alone. Avoid removing panels, probing live voltage, bypassing an interlock, or replacing a valve just because the washer is dry.
When you contact the manufacturer or a qualified appliance technician, provide the model number, exact error code, selected cycle, whether water enters at all, whether only one temperature is affected, and the external checks you completed. That record helps them choose the right diagnostic path without repeating guesses.
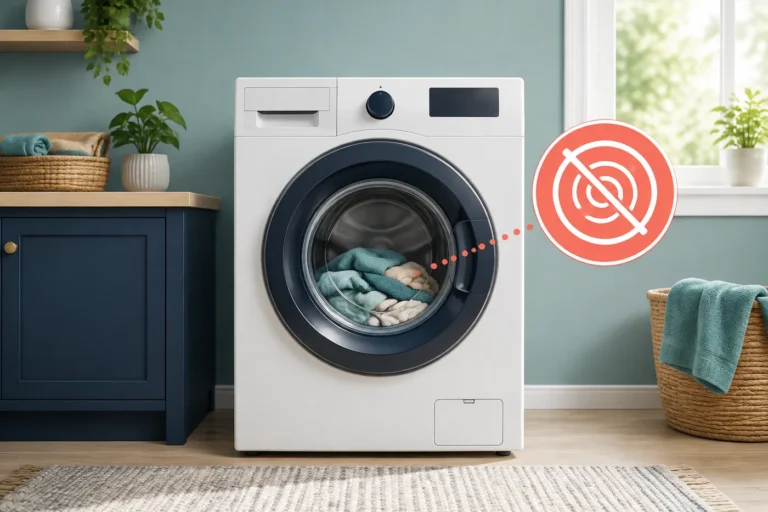
If the washer fills and then leaves water in the tub, use our washing machine not draining guide. If it fills and washes but will not spin, use the washer not spinning guide. Those later-cycle problems need different checks. If you are not sure which cycle stage failed first, use our washing machine troubleshooting guide to route the symptom before following a narrower path.