Bathroom Cleaning Checklist: A Safe, Practical Order
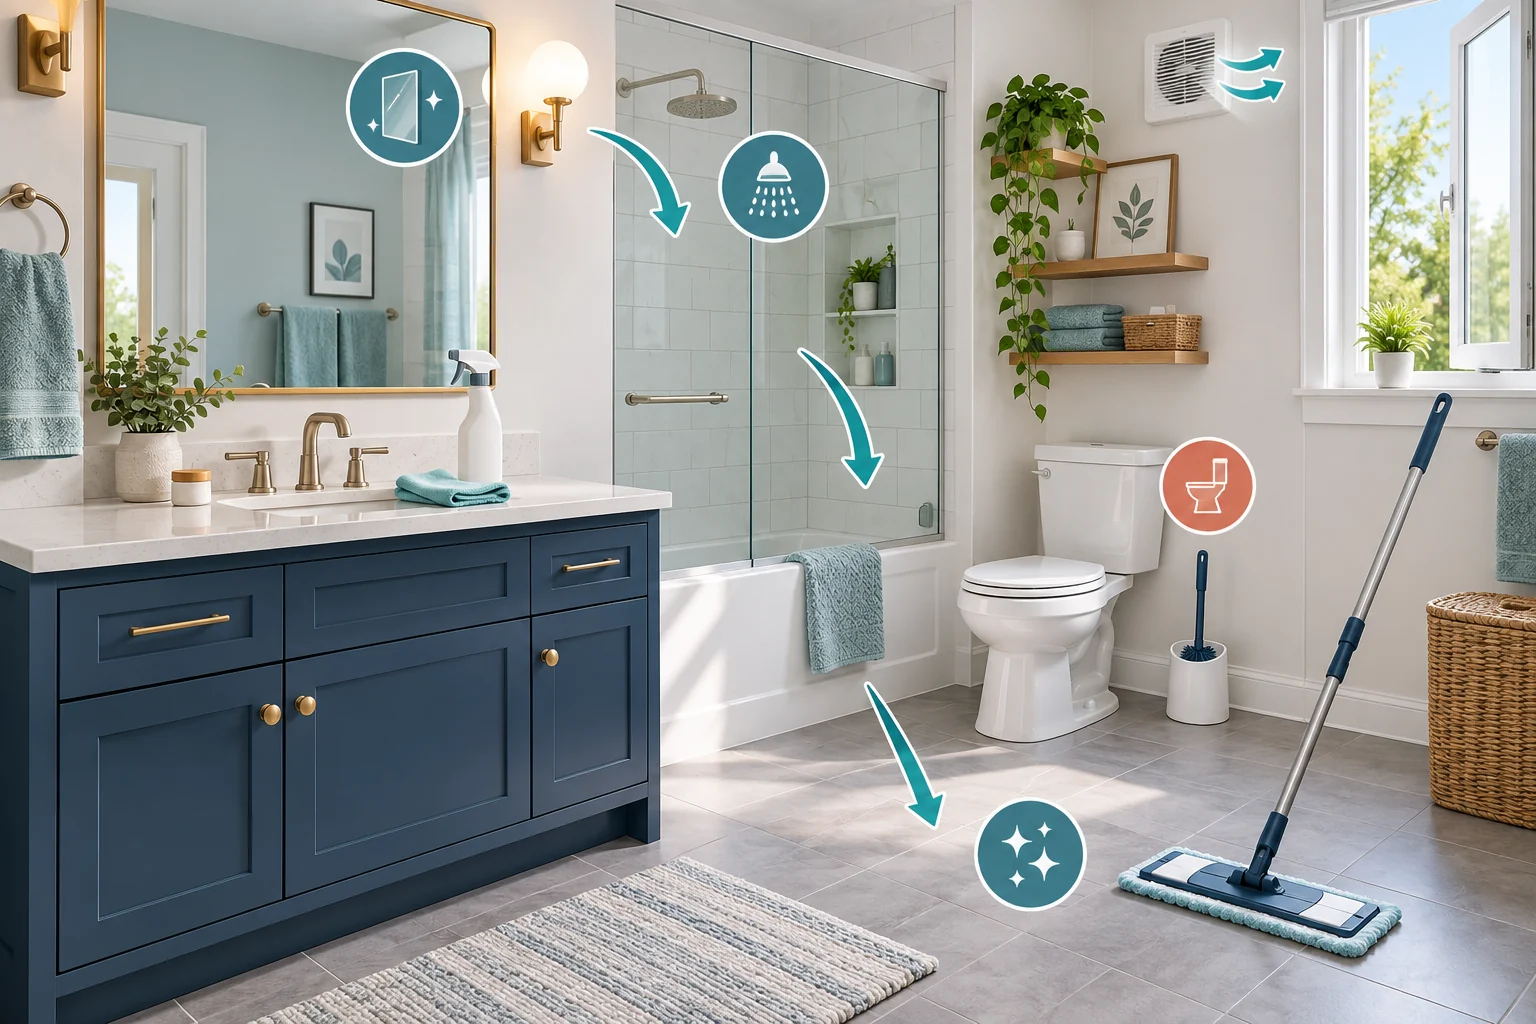
Use this bathroom cleaning checklist in a simple order: clear the room, remove dry dust and hair, clean visibly dirty surfaces, disinfect only when needed, and finish with the floor. Choose the quick reset, weekly clean, or deeper reset below instead of treating every bathroom as the same job. Always match the cleaner to the surface and never mix cleaning products.
For lower-effort habits between full cleaning sessions, use these bathroom cleaning hacks to reduce moisture, buildup, and repeated work.
Quick answer
Choose the checklist that matches today’s bathroom
- Quick reset: remove trash and hair, wipe fresh splashes, dry the sink and counter, hang towels, and run the fan.
- Weekly clean: clean the toilet, sink, counter, mirror, tub or shower, high-touch points, and floor.
- Deeper reset: add grout, shower tracks, exhaust-grille dust, cabinet fronts, baseboards, washable textiles, and a leak-and-mold check.
Which bathroom cleaning checklist do you need?
| What you see | Use this routine | Prioritize |
|---|---|---|
| Fresh splashes, a few hairs, or a damp counter | Quick reset | Dry surfaces, clear debris, and improve airflow |
| Soap residue, a used toilet, dusty fixtures, or a dull floor | Weekly clean | Work from dry debris to wet cleaning, then finish with the floor |
| Grimy edges, dusty vents, marked grout, or neglected storage | Deeper reset | Inspect materials and moisture before choosing products |
| Someone in the home is sick or at higher risk | Clean, then disinfect selected surfaces | Follow the disinfectant label and required wet contact time |
| Large mold area, sewage, a hidden leak, or strong chemical fumes | Stop the routine | Ventilate or leave the area and obtain appropriate professional help |
Before opening a cleaner
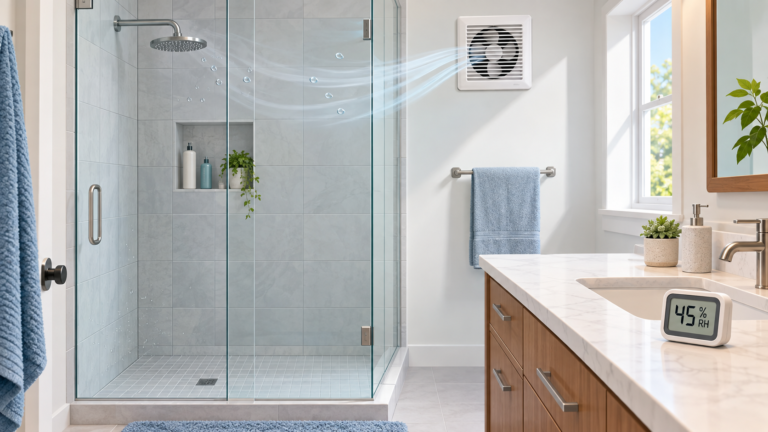
Open a window or run the exhaust fan when the product label calls for ventilation. Read every label, wear the stated protective equipment, and use one product at a time. Never mix bleach or a disinfectant with another cleaner. Bleach combined with acids such as vinegar or with ammonia can release dangerous gases. If an unknown product is already on a surface, rinse as its label directs and do not add a second chemical.
Gather supplies for the surfaces you actually have
- Microfiber cloths, including a cloth reserved for the toilet area
- A non-scratch sponge or soft brush approved for the surface
- A toilet brush and label-approved toilet cleaner
- A vacuum, broom, or dry microfiber tool for hair and dust
- A mop or washable floor cloth
- Soap or a household cleaner suitable for each finish
- Gloves or eye protection when a product label requires them
Natural stone, painted wood, acrylic, fiberglass, metal coatings, grout, and glass do not share one universal cleaner. Check the surface manufacturer’s instructions before using acids, bleach, abrasives, or a stiff brush. Test an unfamiliar product in a hidden area and stop if the finish dulls, changes color, softens, or scratches.
Bathroom cleaning checklist: the complete order
1. Ventilate and inspect before moving anything
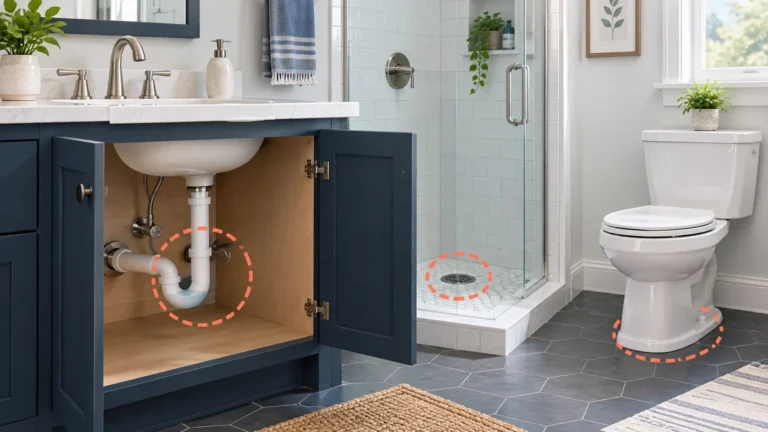
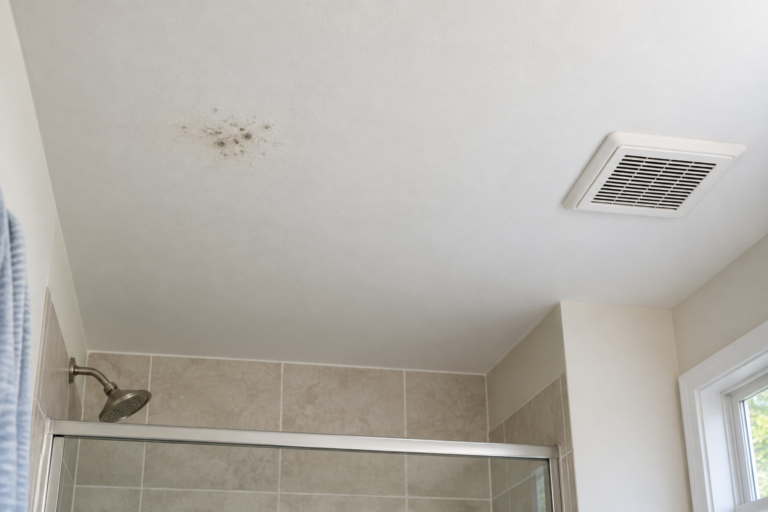
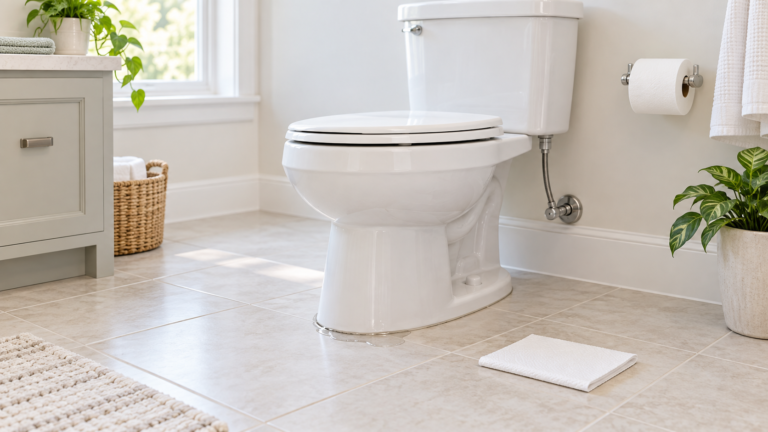
Turn on the exhaust fan or open a window when appropriate. Look for water around the toilet base, under the vanity, beside the tub, and below exposed plumbing. Check ceilings, caulk, and grout for recurring discoloration. A leak, soft wall, swollen cabinet, sewage backup, or extensive mold is a repair or remediation problem, not a routine cleaning task.
2. Clear counters, textiles, and trash
Remove bottles, cosmetics, toothbrush holders, bath mats, towels, and the trash can so you can reach the surfaces beneath them. Empty pockets and check care labels before laundering bathroom textiles. Keep cleaning products out of children’s and pets’ reach while you work.
3. Remove hair and dust while surfaces are dry
Dust the exhaust grille, light fittings, shelves, ledges, window trim, and baseboards with an appropriate dry tool. Vacuum or sweep hair from corners and the floor. Removing loose debris first keeps it from turning into wet streaks when cleaner is applied. Do not open or disassemble a powered fan; follow its manufacturer’s instructions for anything beyond cleaning the accessible cover.
4. Apply compatible cleaners and respect label time
Work on one product and one surface group at a time. Apply only as much as the label directs. If a cleaner needs time on soap residue or mineral buildup, use that label time instead of guessing. Keep the room ventilated, prevent products from drying where the label says they must be rinsed, and never layer another chemical on top.
5. Clean the shower or tub from upper surfaces downward
Clean the wall surround, doors or curtain area, fixtures, ledges, tub or shower floor, and drain cover with tools approved for those materials. Rinse when the product instructions require it, then remove standing water. Do not scrub flexible caulk aggressively or treat recurring dark growth as a cosmetic stain when water may be entering behind it.
6. Clean the mirror, sink, counter, and cabinet fronts
Use a suitable glass method on the mirror and a surface-compatible cleaner on the basin, faucet, drain area, counter, backsplash, handles, and cabinet fronts. Pay attention to toothpaste and residue around fixture bases without flooding seams or electrical items. Rinse and dry as directed to reveal any remaining soil.
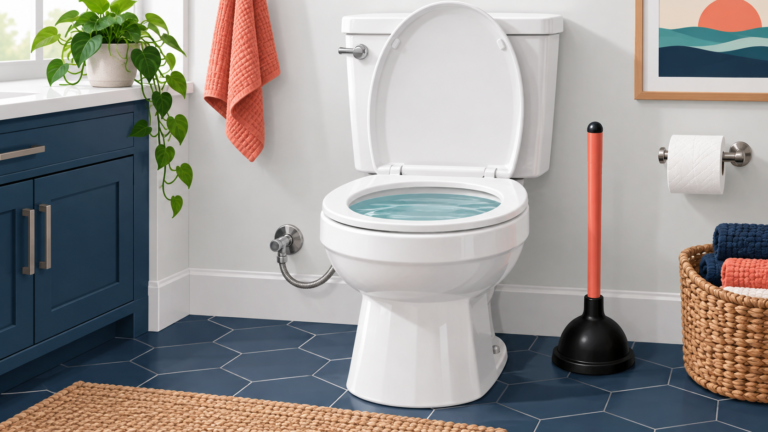
7. Clean the toilet with dedicated tools
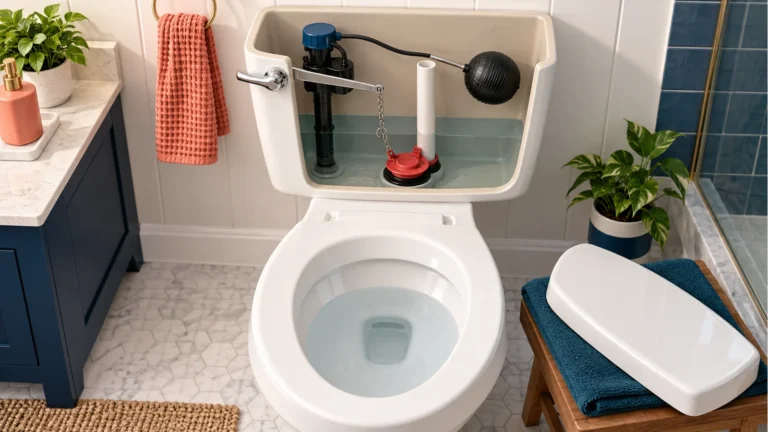
Use the toilet product exactly as labeled. Clean the flush handle or button, tank exterior, lid, seat, hinges, rim exterior, bowl, and base. Keep the toilet cloth and brush separate from tools used on the sink and counter. Do not combine a toilet-bowl cleaner with bleach or any other product, including residue from a previous step.
8. Decide whether cleaning is enough
For routine home care, the CDC says cleaning with soap or detergent and water is usually enough to remove most germs. If someone is sick or at higher risk, clean first and then use an appropriate disinfectant on selected high-touch surfaces such as the flush control, faucet handles, light switch, and door handle. Follow the product label, including where it may be used and how long the surface must remain visibly wet.
9. Finish with the floor
Vacuum or sweep any debris that fell during cleaning, then damp-clean the floor with a method approved for its material. Work toward the doorway so you do not cross the wet area. Keep water out of open seams and away from electrical cords, and allow the floor to dry before replacing mats.
10. Dry, reset, and record any repair
Dry wet ledges and fixture bases, return only clean and dry items, replace the trash liner, and hang towels with space to dry. Note a slow drain, loose seal, failed fan, cracked grout, or recurring damp spot rather than hiding it with another cleaning product. Wash reusable cloths according to their care instructions and wash your hands after removing gloves.
Printable weekly bathroom checklist
- ☐ Ventilate and check for leaks, mold, or damaged finishes.
- ☐ Remove trash, towels, mats, and counter items.
- ☐ Dust upper surfaces and remove dry hair from the floor.
- ☐ Clean the shower or tub with a compatible product.
- ☐ Clean the mirror, sink, faucet, counter, and cabinet fronts.
- ☐ Clean the toilet with dedicated tools.
- ☐ Clean high-touch points; disinfect only when needed.
- ☐ Clean and dry the floor.
- ☐ Replace clean, dry textiles and restock essentials.
A realistic frequency plan
| Frequency | Useful tasks | Adjust when |
|---|---|---|
| After use or as needed | Ventilate, hang towels, remove obvious hair, and dry fresh splashes | The room stays humid or several people share it |
| Weekly starting point | Clean fixtures, toilet, tub or shower, touch points, and floor | Soil appears sooner, the bathroom is heavily used, or someone is sick |
| Monthly or as needed | Clean accessible vent covers, edges, grout, tracks, baseboards, and storage fronts | Dust, residue, or moisture collects faster |
| Seasonally | Review expired products, inspect caulk and seals, and wash rarely handled storage | You find leaks, damage, or persistent odor |
There is no universal calendar for every home. Occupancy, ventilation, children, illness, pets, water hardness, and surface materials change how often individual tasks are needed. Use visible soil, moisture, odor, and the needs of your household to shorten or lengthen the schedule.
When cleaning should stop
- Strong fumes, coughing, burning eyes, or breathing trouble: leave the area for fresh air and contact emergency services or Poison Control as appropriate. Do not return to add another chemical.
- Sewage or contaminated backup: keep people and pets away and arrange qualified cleanup.
- Active leak, soft material, or electrical moisture: stop using the affected fixture or circuit and obtain the correct trade professional.
- Mold larger than about 10 square feet: the EPA advises consulting its remediation guidance rather than treating it as a small household cleanup.
- Damaged stone, coating, caulk, or grout: stop scrubbing and confirm whether the issue needs repair or a material-specific specialist.
If bathroom textiles develop a persistent damp odor, use our guide to remove mildew smell from towels and correct the moisture source before returning them to the room.
Frequently asked questions
What should I clean first in a bathroom?
Start by ventilating, checking for leaks or unsafe conditions, and clearing the room. Remove loose hair and dust before wet cleaning. Clean upper and frequently handled surfaces before finishing with the floor.
Should I disinfect the bathroom every time?
Usually not. The CDC says routine cleaning with soap or detergent and water removes most germs in ordinary household situations. Disinfection becomes more relevant when someone is sick or at higher risk. Clean first, then follow the disinfectant label exactly.
Can I use the same cleaner on every bathroom surface?
No. Stone, grout, glass, acrylic, fiberglass, wood finishes, and coated metals can have different chemical and abrasion limits. Use the surface manufacturer’s guidance and the cleaner label.
Can I mix bathroom cleaners to save time?
No. Never mix cleaning products. Bleach with vinegar or another acid can release chlorine gas, while bleach with ammonia can release chloramine gas. Use one product at a time and follow its label.
How often should a bathroom be deep cleaned?
Use a weekly routine as a practical starting point and schedule deeper tasks monthly or when buildup appears. A shared, poorly ventilated, or heavily used bathroom may need individual tasks more often. The condition of the room is more useful than a rigid calendar.
Sources
This checklist separates routine cleaning from disinfection and sets clear chemical and mold boundaries using current public-health guidance. Product labels and surface-manufacturer instructions take priority when they are more specific.