Stain Removal From Clothes: Match the Stain Before You Treat It
Quick answer
Updated October 18, 2026: Added an editorial decision map based on this guide’s existing source-checked instructions. It does not represent hands-on testing, and the underlying safety limits remain unchanged.
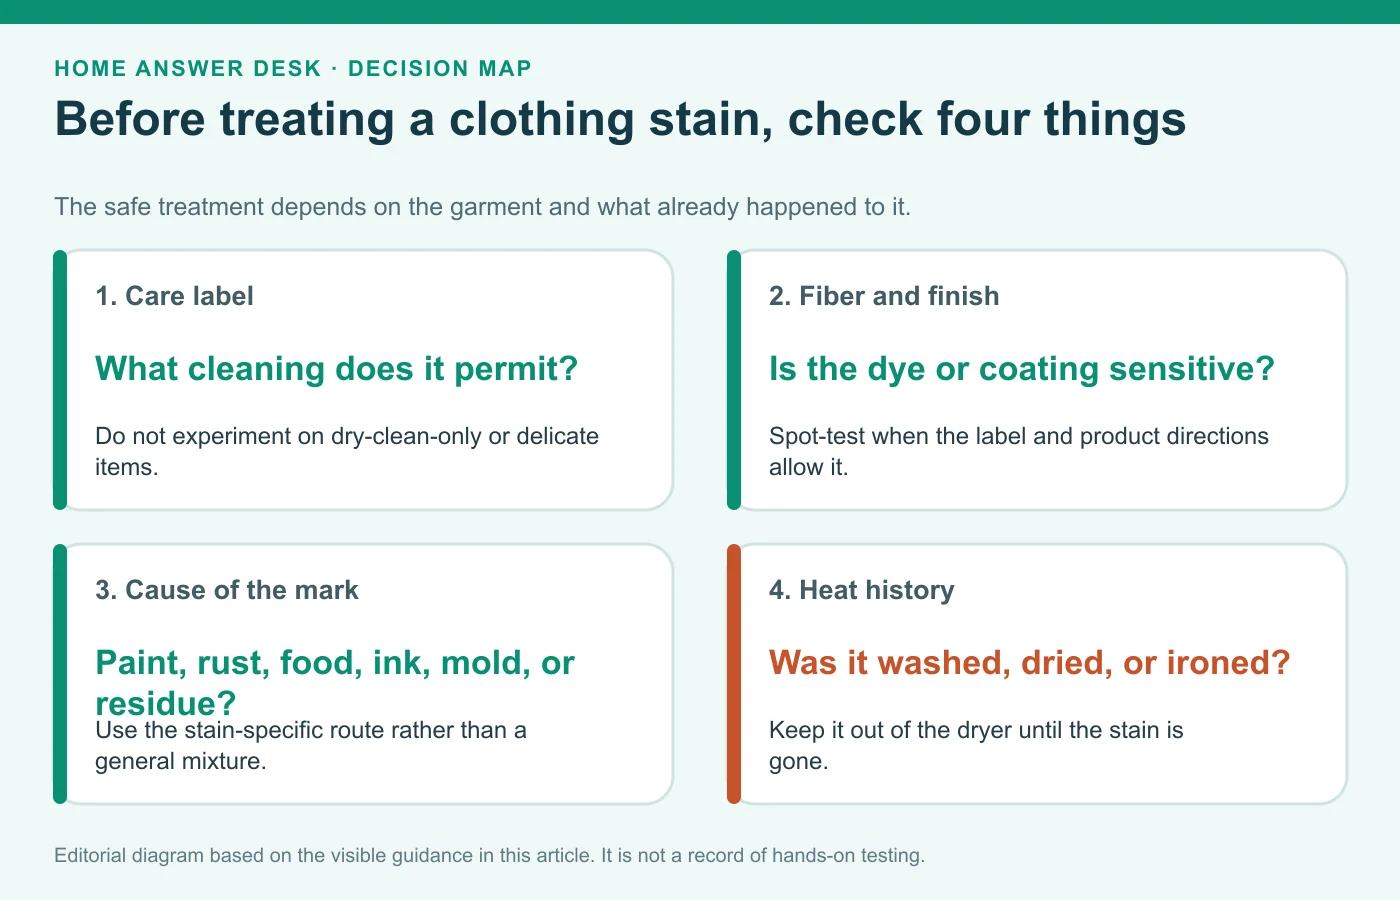
Before treating a clothing stain, check four things: the care label, the fabric and finish, what caused the mark, and whether the garment has already been washed or dried. Remove loose material, blot liquid instead of spreading it, and keep the item out of the dryer until the mark is gone. Then use the stain-specific route below rather than applying a general household mixture.
Stop and choose professional care: Do not experiment on a dry-clean-only garment, unstable dye, delicate or valuable fabric, or an item already exposed to an unknown cleaner. Never mix stain removers, bleach, ammonia, acids, vinegar, alcohol, or unknown residues. If two products are used at different stages, follow their labels and rinse the fabric thoroughly between them.
Start with four questions
A stain name is not enough to choose a safe treatment. The same tomato sauce, paint, or marker can need a different response on washable cotton, a stretch blend, wool, silk, or a garment with a special finish. Before reaching for a product, write down:
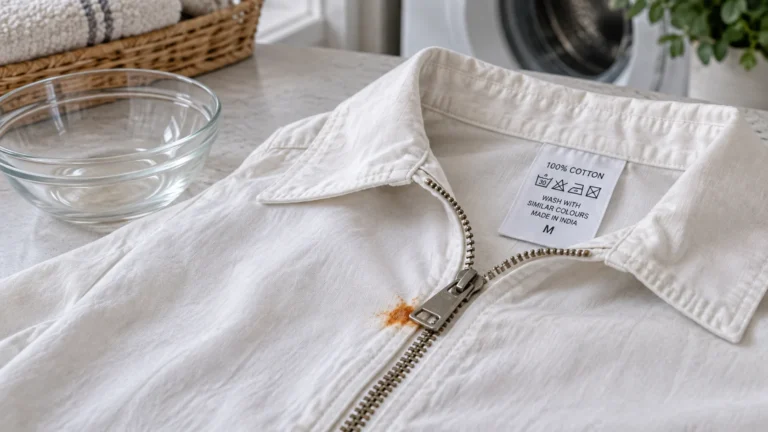
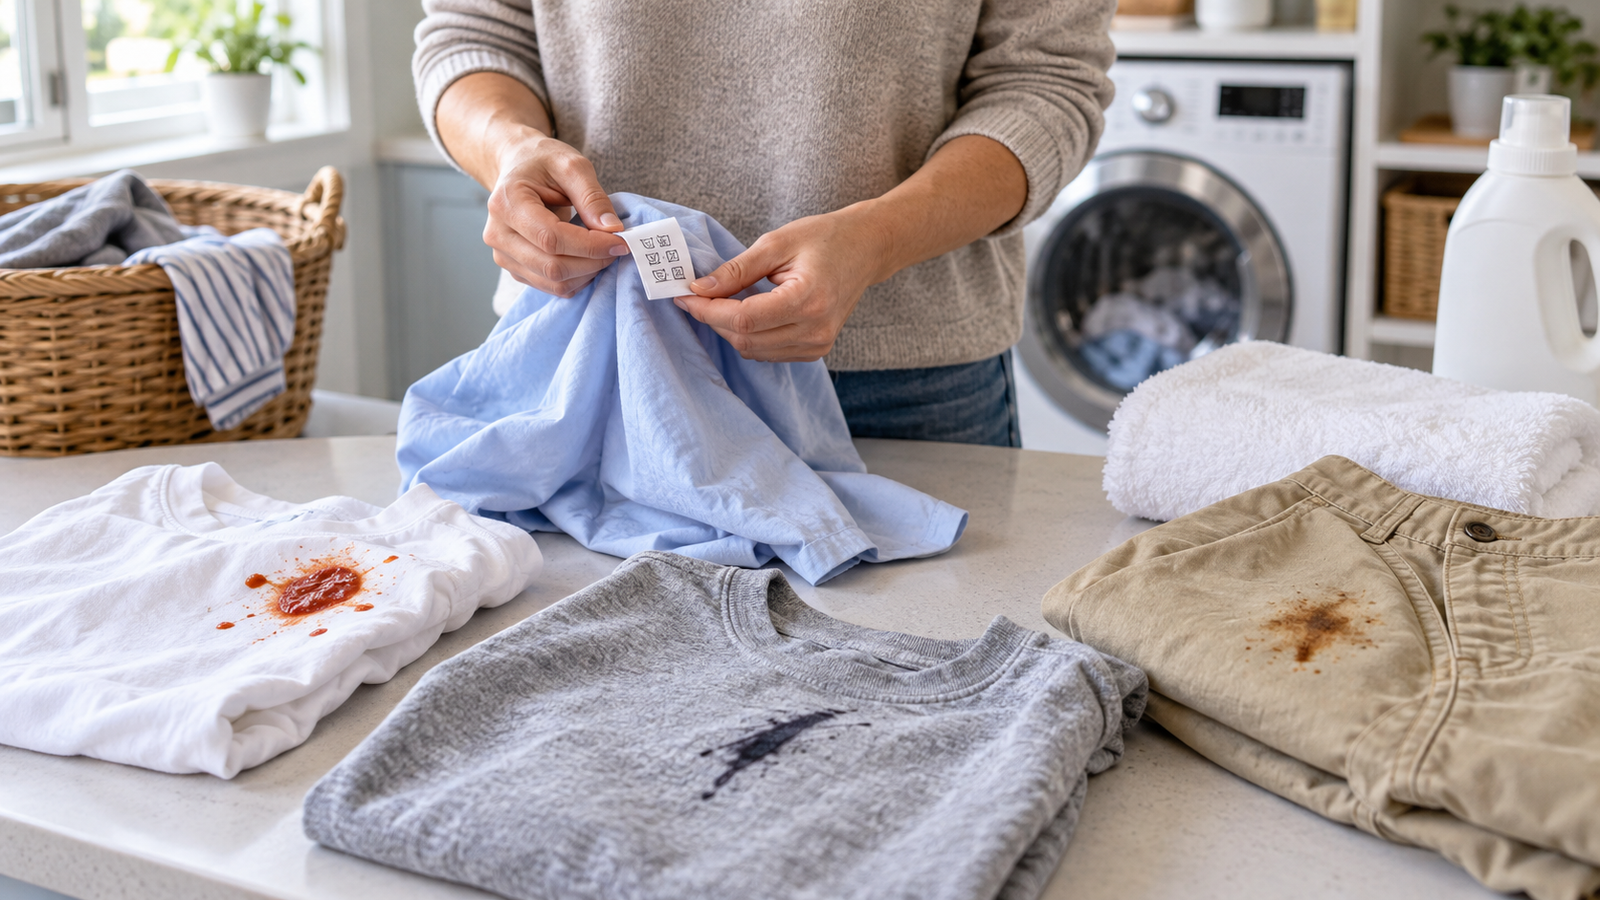
- What does the care label permit? Look for washing, bleaching, drying, ironing, and dry-cleaning instructions. A “dry clean only” label is a stop sign for home washing, not a suggestion.
- What is the fabric and color? Check the fiber label and notice trims, coatings, printed areas, and contrasting colors. Test a permitted product on a hidden area when the product label calls for it.
- What caused the stain? Food, paint, rust, ink, detergent residue, mold, and nail polish do not respond to one universal method.
- Has heat already been applied? If the item has been tumble-dried or ironed, record that before treating it. A set-in stain may need repeated treatment, and aggressive scrubbing can damage fibers without removing the mark.
The Federal Trade Commission explains that US garment care labels are intended to provide at least one safe cleaning method. Use that label as the boundary for every next step.
Choose the closest stain route
| What you see or know | First decision | Focused guide |
|---|---|---|
| Wet or dried wall, craft, or latex/oil-based paint | Identify the paint type before adding water or solvent | Remove paint from clothes |
| Orange-brown mineral mark or contact with rusty metal | Keep chlorine bleach away and use the rust-specific route | Remove rust stains from clothes |
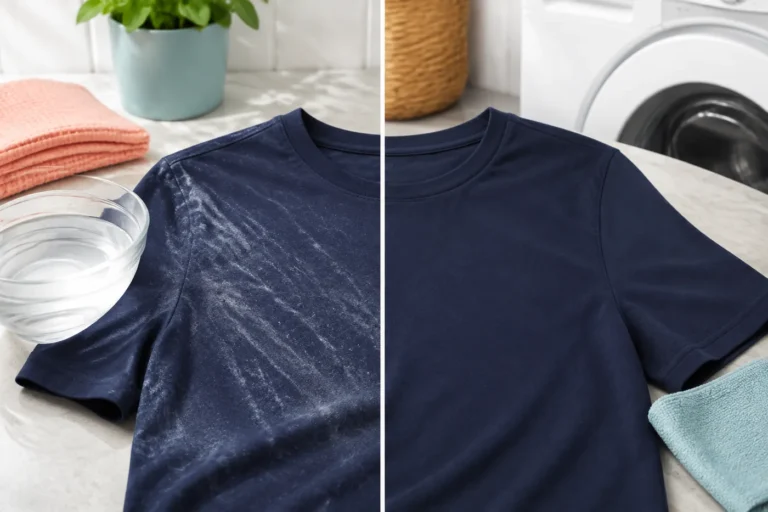
| Blue, white, or waxy streaks that appeared after washing | Separate detergent residue from color loss or dye transfer | Remove detergent stains from clothes |
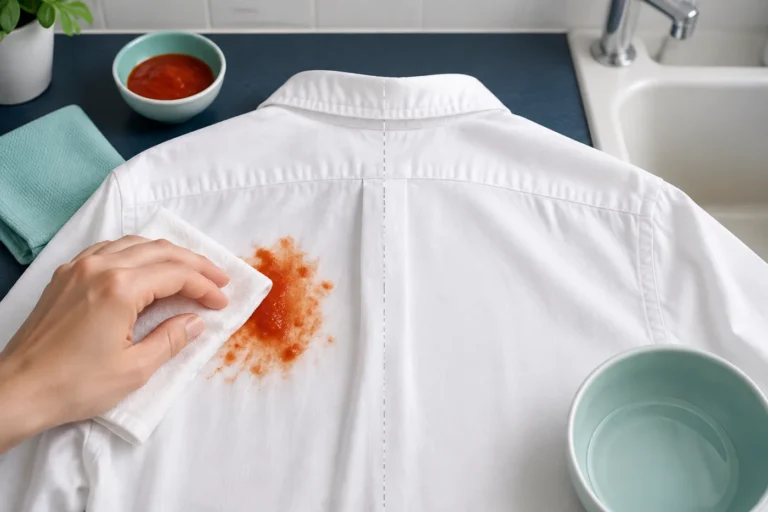
| Red-orange tomato sauce, ketchup, or pasta sauce | Remove solids and treat the oily and colored parts in sequence | Remove tomato sauce stains |
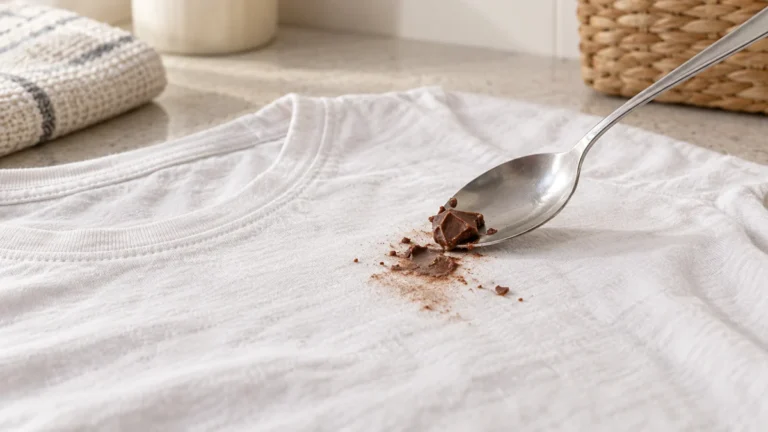
| Chocolate, cocoa, frosting, or a milk-and-chocolate mark | Remove excess without grinding it into the fabric | Remove chocolate stains |
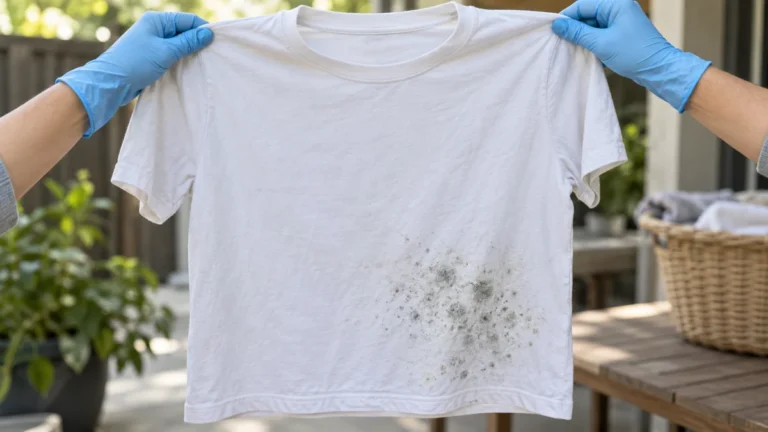
| Visible mold spots or a musty garment after damp storage | Decide whether the item can be safely cleaned or should be discarded | Remove mold from clothes |
| Washable or permanent marker line | Identify the marker and protect the fabric beneath the stain | Remove marker from clothes |
| Nail polish or lacquer-like color | Check the fiber and finish before considering any solvent | Remove nail polish from clothes |
If none of these descriptions fits, do not guess a chemical category. Photograph the mark in daylight, note the garment and fiber label, and record everything already applied. That information is useful to a cleaner and prevents incompatible products from being layered on the fabric.
What to do before a full treatment
For a washable garment with no hazardous contamination, these preparation steps reduce accidental spreading:
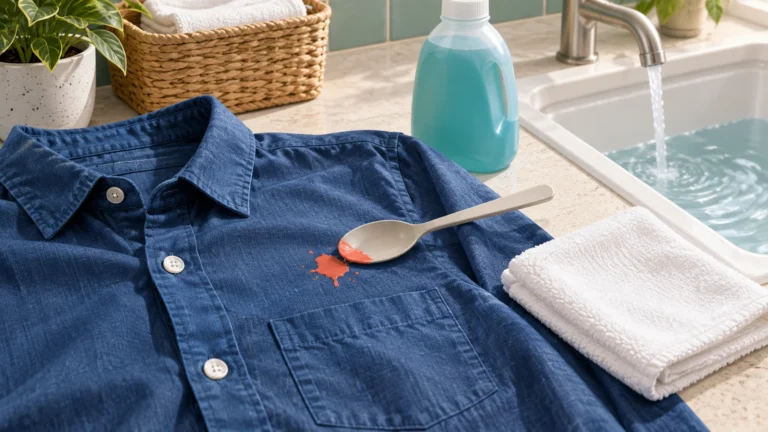
- Remove excess material gently. Lift solids with a spoon or dull edge. Do not grind them into the weave.
- Blot liquid with an absorbent white cloth. Move to a clean area of the cloth as color transfers. Rubbing can enlarge the affected area or abrade the surface.
- Protect the clean part of the garment. Place an absorbent towel beneath the stained area when the focused method calls for working from the back.
- Read both labels. The garment label sets the fabric boundary; the stain-product label controls dilution, contact time, rinsing, and compatible materials.
- Keep treatments separate. Do not improvise a cleaning mixture. Rinse thoroughly between different products when their labels and the garment instructions allow another treatment.
- Inspect before heat. After washing, check the area in good light. Air-dry while evaluating it; do not use a tumble dryer or iron to “see whether it comes out.”
Prompt action can help, but speed does not justify skipping the label or applying a stronger product. A careful five-minute identification step is usually more useful than treating the wrong stain family quickly.
Fresh, washed, and dried stains are different cases
The stain is still fresh
Remove excess material and keep it from spreading. Use the focused guide for the stain rather than assuming all fresh marks need cold water, hot water, or dish soap. Temperature and product choice depend on the stain and fabric.
The garment was washed but not dried
Do not treat a remaining mark as proof that the method failed. Confirm what was used, rinse out residue if the label permits, and reassess the stain type. A blue or white streak that appears only after laundering may be detergent residue rather than the original spill.
The garment went through the dryer or was ironed
Record the heat exposure and expect a slower result. Repeat only a fabric-compatible treatment. Do not compensate with harder scrubbing, a longer unverified soak, or a stronger chemical mixture. If the garment is valuable or the affected area is weakening, stop and consult a cleaner.
When the mark may not be a removable stain
Some marks are changes to the material rather than removable deposits:
- bleach or another chemical removed the original dye;
- abrasion changed the surface sheen;
- heat distorted, glazed, or scorched fibers;
- color transferred and bonded during washing;
- the coating or print lifted; or
- mold or a solvent weakened the material.
Cleaning cannot restore missing dye or rebuild damaged fibers. Stop when the fabric thins, pills, becomes sticky, loses color, or changes texture. A repair, recoloring specialist, or replacement decision may be more realistic than another cleaning cycle.
When to use a professional cleaner
Take the garment and your treatment notes to a professional when:
- the label says dry clean only;
- the fiber, trim, coating, or dye is uncertain;
- color transfers during a hidden-area test;
- the garment is valuable, structured, vintage, or difficult to replace;
- the stain involves paint, ink, nail polish, mold, fuel, or another material whose safe treatment is unclear;
- an unknown product has already been applied; or
- the stain remains after a label-compatible treatment and the fabric is beginning to change.
Tell the cleaner what caused the mark, when it happened, whether it was washed or heated, and every product already used. Concealing an earlier treatment makes the next decision harder, not safer.
The short stain-removal order
- Read the garment and fiber labels.
- Identify the stain and whether heat was applied.
- Remove excess material without spreading it.
- Open the focused stain guide that matches.
- Follow the garment and product labels.
- Rinse between different treatments when another treatment is permitted.
- Check the mark before using dryer or iron heat.
- Stop for dye transfer, material damage, uncertainty, or a dry-clean-only label.