12 Bathroom Cleaning Hacks That Save Time Safely
The most useful bathroom cleaning hacks reduce buildup, prevent cross-contamination, and remove extra decisions from the job. They do not depend on risky chemical mixtures or one cleaner for every surface. Use the small habits below between full cleaning sessions, and follow the product label and surface manufacturer’s instructions whenever they are more specific.
Quick answer
The five habits that save the most work
- Remove hair and dust before adding moisture.
- Squeegee wet shower surfaces after use.
- Run effective ventilation and let textiles dry with space around them.
- Keep toilet tools separate from sink and counter cloths.
- Clean small fresh spots before they become dried buildup.
Choose a hack for the problem you have
| What slows you down | Try this habit | Why it helps |
|---|---|---|
| Hair turns into wet streaks | Vacuum or sweep while surfaces are dry | Loose debris lifts instead of spreading |
| Shower spots return quickly | Squeegee after the final shower | Less water remains to dry on the surface |
| The room stays damp | Improve ventilation and spread towels out | Moisture leaves the room and fabric faster |
| Cleaning feels like one large job | Use a two-minute reset plus a weekly routine | Fresh messes are handled before they harden |
| You keep changing tools and products | Store a small labeled kit safely nearby | The correct basics are ready without improvising |
Keep every shortcut inside these limits
Never mix cleaning products, including bleach with vinegar, ammonia, toilet-bowl cleaner, or another disinfectant. Open a window or use the exhaust fan when the label calls for ventilation. Keep products away from children and pets, and use only on surfaces named by the label. Cleaning with soap or detergent and water is usually enough for routine home care; disinfecting is more relevant when someone is sick or at higher risk.
12 bathroom cleaning hacks that are actually practical
1. Build a small, surface-specific cleaning kit
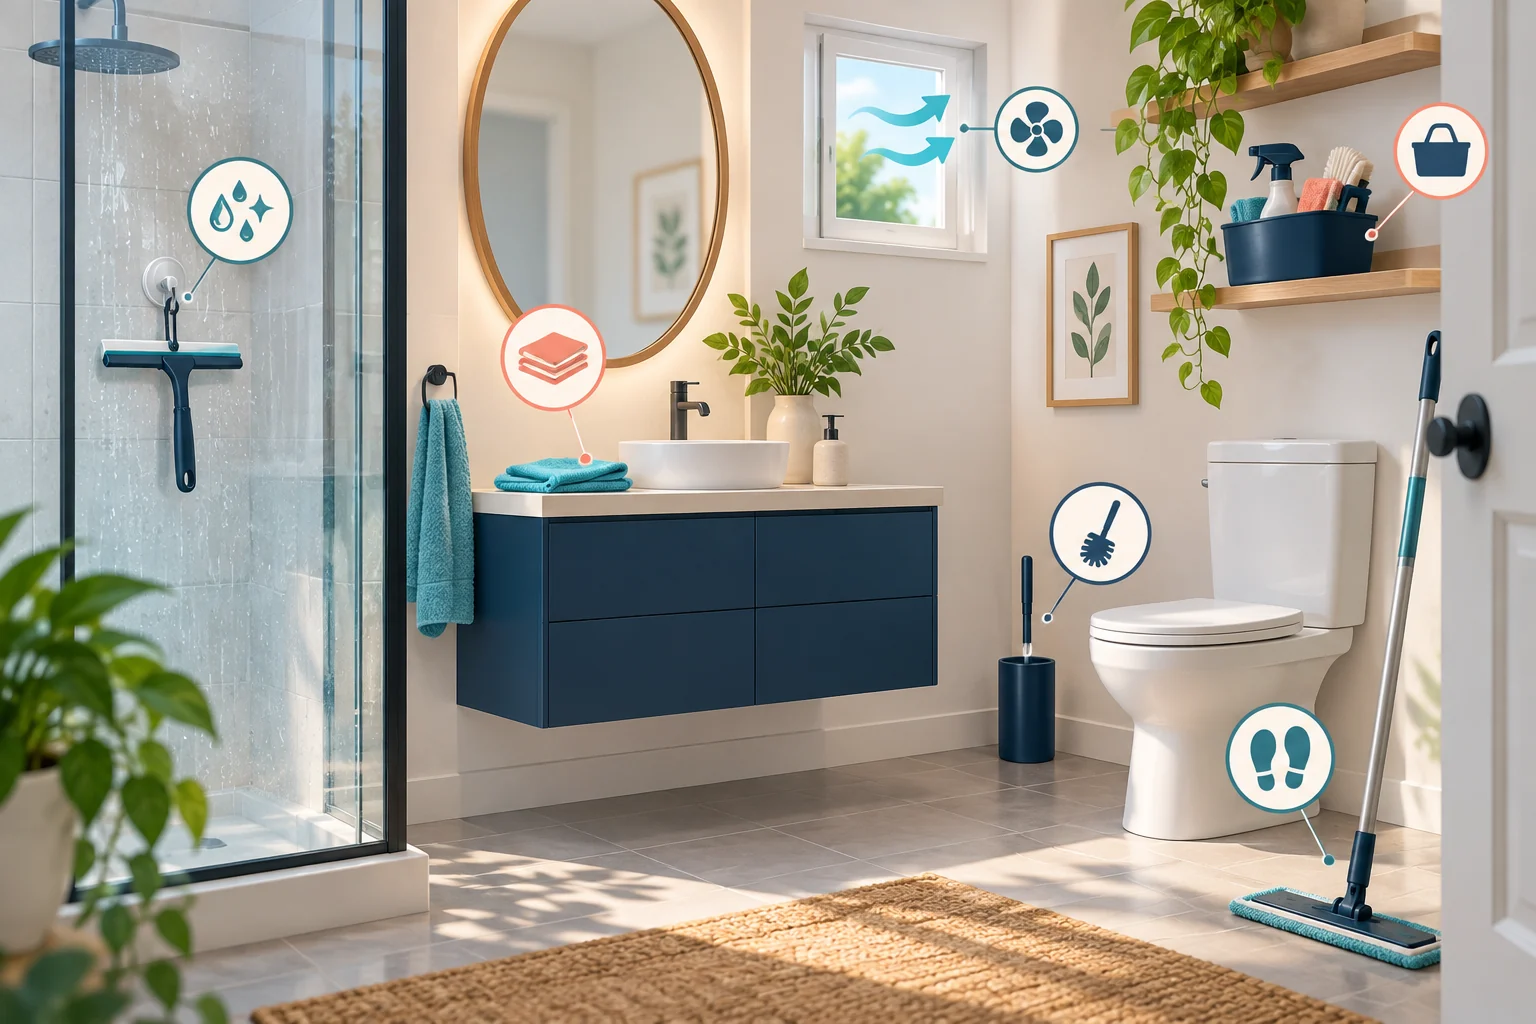
Keep the few tools you use most in a labeled caddy: microfiber cloths, a non-scratch tool approved for your fixtures, a toilet brush, gloves when labels require them, and the cleaners suitable for your actual surfaces. Store the kit in a secure place that children and pets cannot reach. A compact kit saves time because it removes the temptation to substitute an incompatible product.
2. Assign cloths by zone
Reserve one cloth or color for the toilet area and a different set for the sink, counter, and mirror. Move from cleaner zones toward dirtier ones, and do not return a toilet cloth to another surface. Launder reusable cloths according to their care instructions and let them dry completely before storage.
3. Remove dry debris before spraying anything
Pick up visible hair, then vacuum, sweep, or wipe loose dust from ledges, baseboards, the toilet exterior, and the floor while they are dry. Cleaner added too early can turn hair and dust into paste-like streaks. Dry-first cleaning makes the following wet pass faster and easier to inspect.
4. Work from high surfaces toward the doorway
Start with accessible upper ledges and fixture areas, then work down to the tub or shower floor and the bathroom floor. Finish near the doorway so you do not step across a damp surface. This order also collects anything that falls during cleaning in the area you handle last.
5. Squeegee the shower after the last use
Pull water from compatible glass or smooth wall surfaces with a clean squeegee, then leave the tool where it can dry. Do not press it across loose caulk, damaged grout, textured finishes, or material the manufacturer says to avoid. Reducing standing water helps limit spots and supports the EPA’s central mold-prevention principle: control moisture.
6. Give damp towels and mats room to dry
Spread towels over a bar instead of leaving them folded or piled, and hang bath mats only when their care instructions permit it. Wash items that remain damp or smell musty rather than masking the odor. If the smell returns after washing, use our guide to remove mildew smell from towels and check the room’s moisture source.
7. Treat fresh splashes before they dry
After washing hands or brushing teeth, remove fresh water and toothpaste from a compatible sink or counter with the appropriate cloth. Plain water may be enough for a fresh water-soluble spot; use a cleaner only when needed and allowed for the finish. Dry the area so you can see whether residue remains.
8. Apply mirror cleaner to the cloth when appropriate
If the product and mirror instructions allow it, lightly apply cleaner to the cloth instead of saturating the mirror. This gives you more control near frames, backing edges, outlets, switches, and nearby painted surfaces. Never spray into electrical fittings, and stop if the mirror coating or frame reacts.
9. Use label contact time instead of extra scrubbing
More pressure is not always more effective. Apply the correct amount, wait only for the time stated on the label, and keep a disinfected surface visibly wet for the required contact time. Do not let a product dry when its directions require rinsing, and do not add another chemical while you wait.
10. Clean the toilet last with dedicated tools
Handle the flush control, lid, seat, exterior, bowl, and base with tools kept for that zone. Follow the toilet-cleaner label and rinse or dispose of materials as directed. Never add bleach or another cleaner to a bowl that may contain product residue.
11. Pair ventilation with a moisture check
Run effective exhaust ventilation during bathing and afterward as the fan manufacturer or building guidance recommends, or open a suitable window when conditions allow. Periodically check the fan’s accessible grille for dust and confirm that dampness is clearing. Recurring condensation, peeling paint, swollen material, or mold can signal a ventilation or leak problem that cleaning alone will not solve.
12. Attach a two-minute reset to an existing habit
After the final evening use, clear the counter, hang towels, remove obvious hair, dry fresh splashes, and check that ventilation is working. This is a maintenance reset, not a substitute for cleaning. Use the full bathroom cleaning checklist for the weekly sequence, deeper tasks, and stop conditions.
Popular bathroom hacks to skip
- Mixing products for a stronger cleaner: combinations can release dangerous vapors or change how a product works.
- Using vinegar or another acid everywhere: acids can damage some stone, grout, coatings, and metal finishes.
- Scrubbing every surface with an abrasive pad: scratches can permanently dull a finish and make future soil more visible.
- Using very hot water on a cold fixture: sudden temperature change can damage some materials; follow the manufacturer’s care instructions.
- Flushing disposable wipes: follow the wipe and plumbing guidance and place non-flushable products in the trash.
When a quick habit is not enough
Stop and investigate when mold keeps returning, a cabinet or wall feels soft, water appears around a fixture, sewage backs up, the fan does not clear moisture, or a surface changes color or texture during cleaning. Leave for fresh air if strong fumes cause coughing, burning eyes, dizziness, or breathing trouble, and seek emergency or Poison Control guidance as appropriate. Do not return to add another product.
Frequently asked questions
What is the fastest way to keep a bathroom cleaner?
Control moisture and handle fresh messes early. Squeegee compatible shower surfaces, hang towels with room to dry, remove dry hair before it becomes wet, and wipe fresh sink splashes. These habits reduce buildup but do not replace a regular cleaning routine.
Should I disinfect the bathroom every day?
Usually not. CDC guidance says routine cleaning with soap or detergent and water removes most germs in ordinary home situations. Disinfect after cleaning when someone is sick or at higher risk, using a suitable product exactly as labeled.
Can one homemade cleaner work on every bathroom surface?
No universal mixture is safe for every material. Natural stone, coated metal, glass, acrylic, fiberglass, grout, wood finishes, and painted surfaces have different limits. Follow the surface maker’s care instructions and the cleaner label.
How do I stop bathroom mold from returning?
Correct the moisture source first. Improve effective ventilation, dry wet surfaces, repair leaks, and clean recurring small areas appropriately. Extensive growth, hidden moisture, sewage contamination, or affected porous building materials may require professional assessment.
Sources
These bathroom cleaning hacks use public-health guidance for cleaning, disinfecting, chemical safety, and moisture control. Product labels and material-specific care instructions remain the final authority for a particular surface.