Dryer Making a Loud Noise? Identify the Sound Before You Arrange Service
Quick answer
A new loud dryer noise can come from a loose item, an unbalanced load, an appliance that is not sitting firmly, or a part that needs model-specific repair. The sound is a clue, not proof of one failed part. First look for items in the drum, the lint-screen area, and around the appliance. Stop using the dryer instead of continuing to test it if you notice smoke, sparks, a burning smell, a hot plug or outlet, severe shaking, or a sound that is grinding, scraping, or getting worse.
Do not keep running it when the noise comes with a safety warning
Stop the dryer and arrange appropriate help if you smell burning, see smoke or sparks, find a scorched plug or hot outlet, or see the appliance move or shake strongly. If a gas dryer has a gas odor, leave the area and contact the gas utility or emergency service from a safe location; do not operate electrical switches or create a flame.
Lint and restricted exhaust airflow are separate fire-safety concerns. The U.S. Consumer Product Safety Commission advises cleaning the lint screen and checking the exhaust path regularly. Do not run a dryer without its lint screen installed.
Start with the sound and when it happens
| What you notice | Safe first check | Do not assume |
|---|---|---|
| A brief squeak only in the first seconds | Compare it with the normal-sounds section of the model manual; note whether it stops quickly | That every squeak means a worn bearing |
| Rattle or knock with clothes inside | Let the dryer stop, check pockets and the drum, remove objects resting on or against the appliance, and check the lint-screen opening only as the manual allows | That an internal part has failed before loose items are ruled out |
| Thump with sheets, comforters, or shoes | Stop the cycle, untangle or reduce the load, and use the care instructions for bulky items | That a drum roller is definitely the cause |
| Persistent squeal, screech, grind, scrape, or rumble | Confirm the dryer is level and the drum is free of loose items; then use the manual or arrange service | That the sound identifies one replaceable part or a safe DIY repair |
| Clicks or a low operating sound on a gas dryer | Check the owner’s manual for normal ignition and burner sounds for that model | That any click is either harmless or dangerous without the model guidance |
GE Appliances notes that a short start-up squeak can be normal on some dryers, while a squeak that develops after heating, a persistent thump, or a humming sound may not be normal. Whirlpool and Maytag also describe several possible causes for the same sound category, which is why the sound should guide the next check rather than diagnose a part by itself.
Safe checks that do not require opening the cabinet
1. Stop the cycle and clear the drum
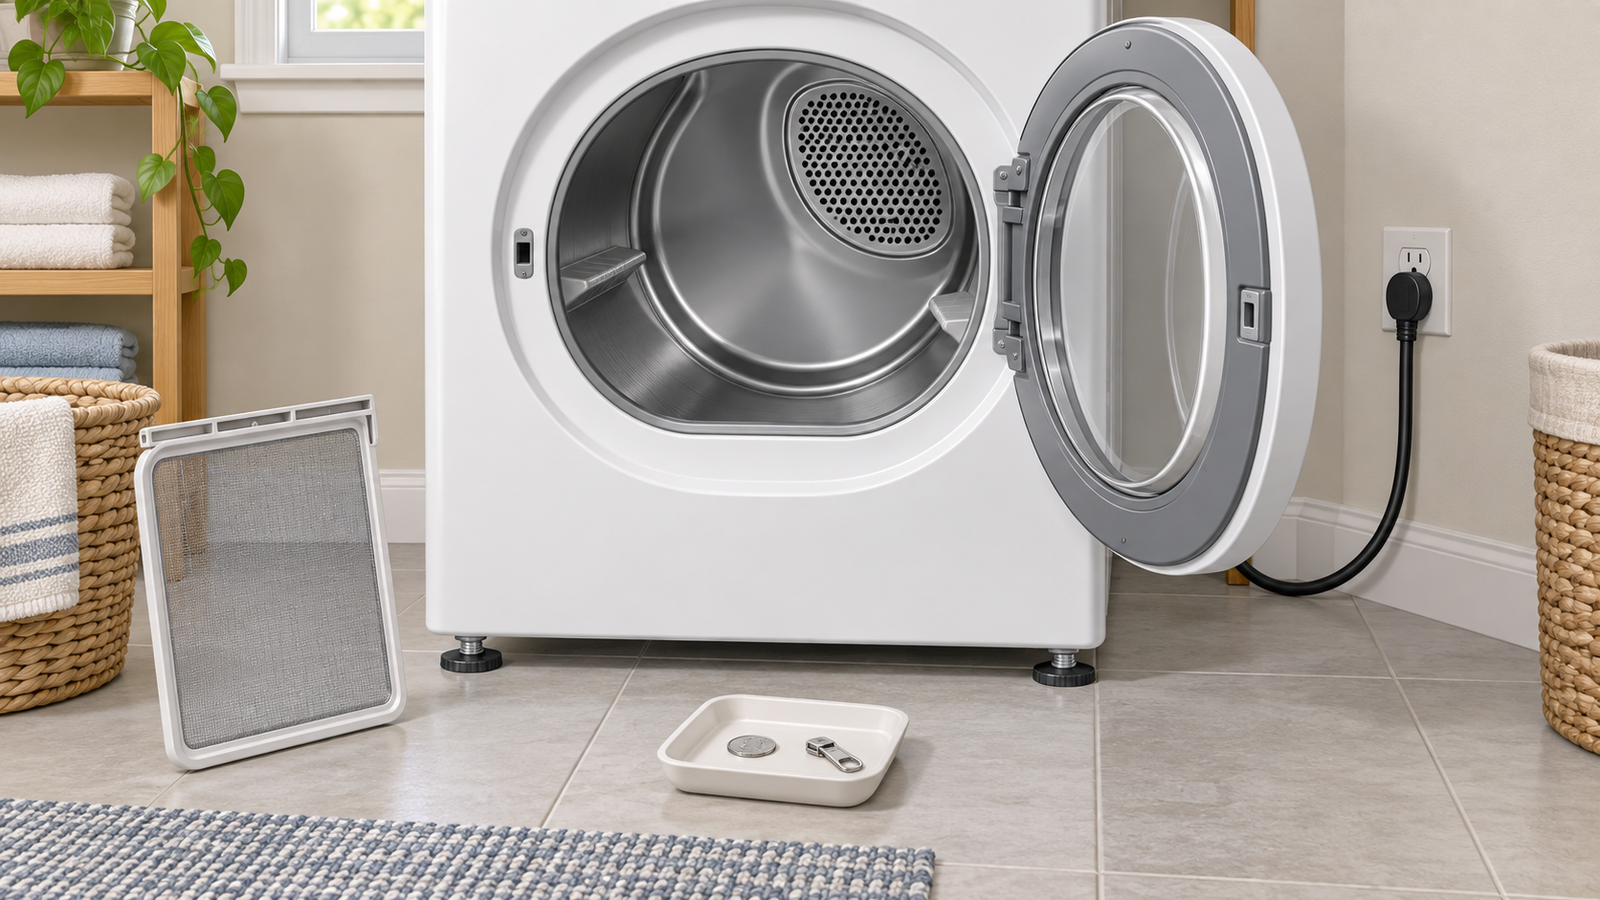
Let the dryer come to a complete stop. Check the drum for coins, buttons, zippers, clips, or other loose objects. A rattle can come from objects tumbling with the load. If you find something, remove it and check the next load’s pockets before restarting.
Do not reach into a moving drum. Do not remove the cabinet, drum, rear panel, or belt cover as a general noise check. Those procedures vary by model and can expose sharp edges, moving parts, gas connections, or electrical components.
2. Look at the load before blaming the dryer
Large bedding, curtains, and other bulky items can bunch into one heavy mass and make the drum thump. Stop the cycle, separate the fabric, and reload it loosely according to the care label and the dryer manual. Shoes and other firm items can also create a noticeable thump; use a drying rack if the item’s instructions call for air drying.
If the same sound continues with an ordinary balanced load, do not keep running cycle after cycle to “wear it in.” Note whether it begins at start-up, after the dryer warms, or only as the drum turns, then move to the service boundary below.
3. Check the lint screen and the visible opening
Remove the lint screen, clear it as the manual directs, and reinstall it fully before running the dryer. GE Appliances advises checking the lint-filter opening for foreign objects, while warning that edges can be sharp if you need to reach into that area. If an object is not easily visible and removable within the model’s routine instructions, leave it there and arrange service rather than probing deeper.
The CPSC advises cleaning the lint screen before or after each load, keeping the exhaust path clear, and having the dryer chassis cleaned periodically by a qualified service person. A dryer that suddenly takes much longer to dry can indicate restricted airflow, even if it is not the source of the noise.
4. Make sure the appliance is stable and clear around it
With the dryer off and cool, look for items leaning on it, stored on top of it, or loose in a pedestal drawer. Confirm all feet rest on a solid, level floor. Manufacturer guidance identifies an unlevel appliance and nearby loose items as possible contributors to rattle, knock, or vibration.
If moving the dryer or adjusting its feet requires disconnecting a gas connection, working on a hardwired appliance, or forcing a vent connection, stop and use a qualified installer or appliance technician.
What the timing can tell you
Timing is more useful than guessing from one word such as “squeak.” Write down whether the noise happens only at the beginning, every time the drum turns, after heat begins, while the dryer slows down, or only with a certain type of load. This record helps a service technician and keeps you from repeatedly opening or running the machine.
A sound that repeats with the drum can be associated with the load, the drum path, or an internal support component. A sound that begins after the dryer warms may have a different cause from a brief start-up squeak. A rumble can involve the blower area, but accessing that area requires model-specific disassembly. Treat these as reasons to describe the symptom accurately, not as permission to order or replace a part without the manual.
When to stop and arrange dryer service
- Grinding, scraping, screeching, or rumbling is persistent or worsening.
- The drum wobbles, stops turning, or the dryer vibrates strongly.
- The noise occurs with a normal balanced load after loose items and the dryer position are checked.
- The dryer also smells hot or burning, shows an error code, takes much longer to dry, or has airflow symptoms.
- A panel, belt, drum support, blower wheel, gas line, or live electrical component would need to be accessed.
For a model-specific support path, record the model number, the exact sound, its timing, and whether the dryer still heats and turns. If the dryer runs but stays cold, use our Dryer Not Heating guide rather than treating it as a noise-only problem.
Keep the next load quieter and safer
Empty pockets, separate bulky items, keep the lint screen clean, and keep the exterior vent path working. Those habits can prevent ordinary loose-item or load noises and reduce lint-related airflow problems. They do not repair a damaged internal component, so a new persistent sound still deserves model-specific assessment.